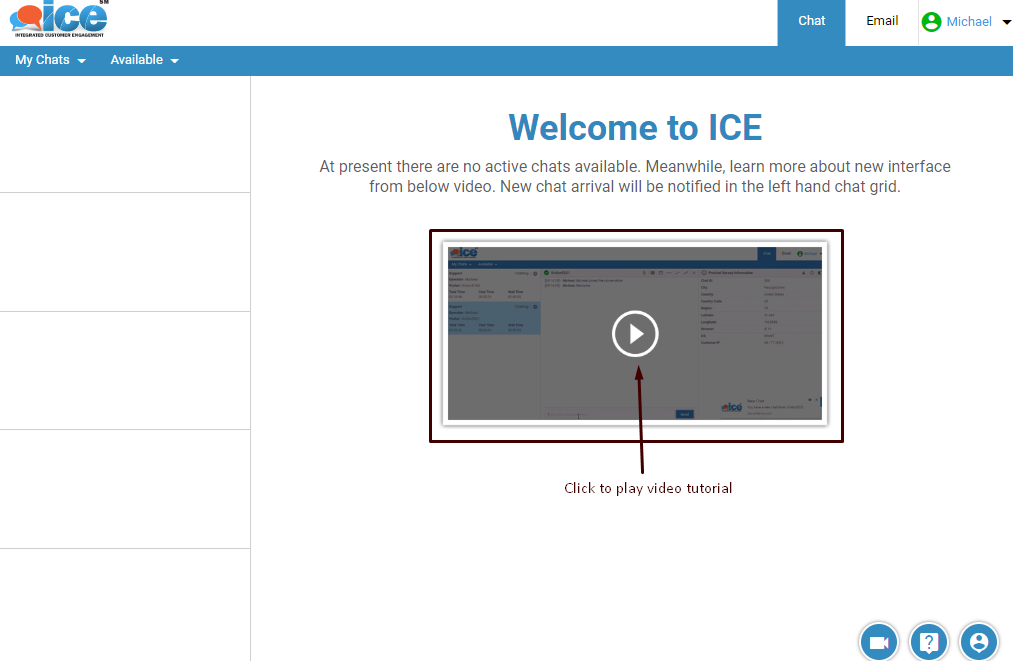
Once you log into ICE successfully, the system redirects to the Operator console as shown in the below screen.
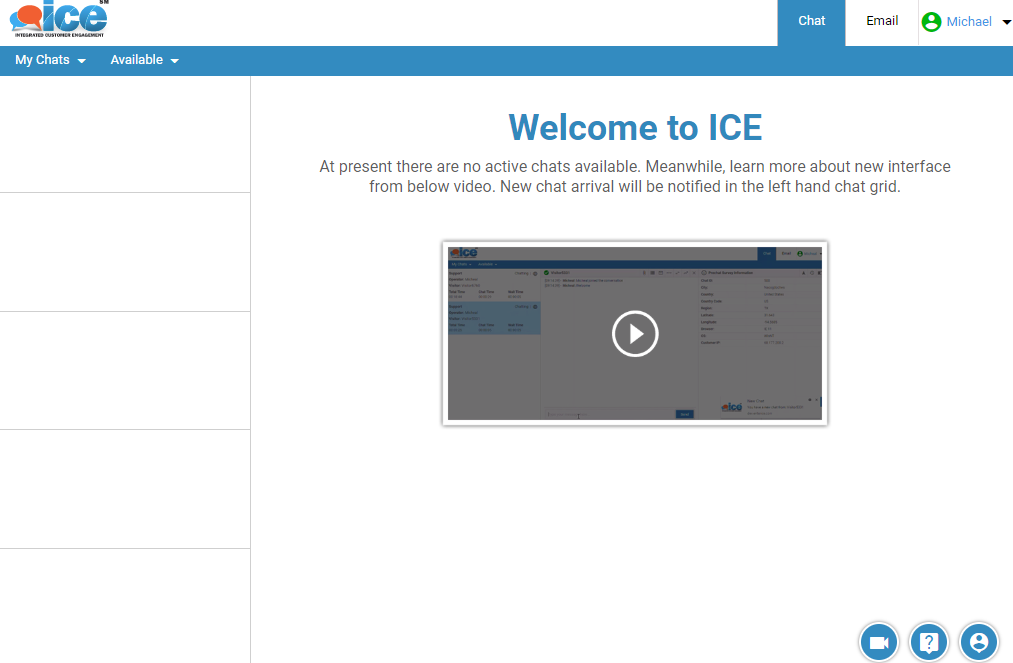
Operator console before chat session
The above screen shows the console when no chat has arrived. Given below are the elements of the above screen-
1. User Account-
Located on the top rightmost corner of the screen, this section includes salient options for a particular user. This is as shown highlighted in the screen below-
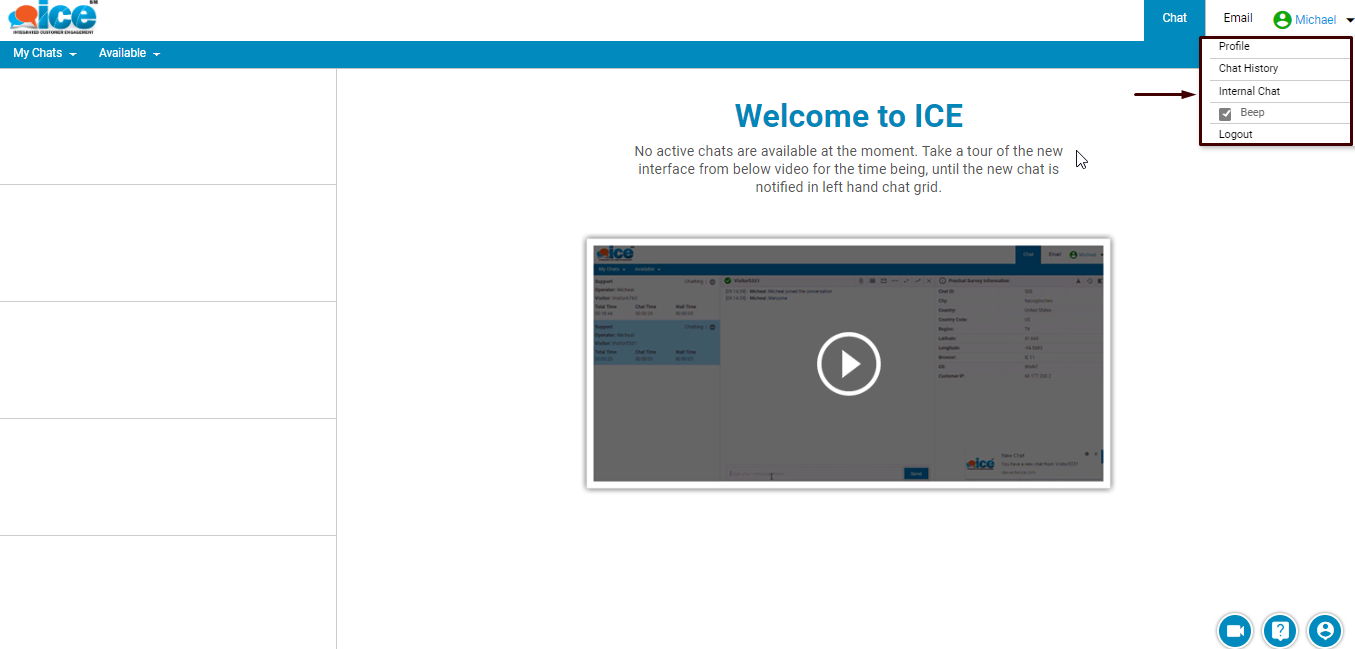
The list of options under user account include-
•Profile– Provides multiple interface to user such as personal information, settings, change password and clear stuck chats. Click Profile for detailed representation.
•Chat History– Opens in a new tab and displays reports as per the provided entries in the fields. Check Chat History for more details.
•Internal Chat– Allows agent/supervisor to chat internally with other available agents/supervisors either of the same or different skill.
•Beep- On checking the checkbox, the user console receives a tone every time when a chat is arrived.
•Logout– Helps to log out a user from the system.
Notes–
A. The system will ask to select a reason to log out.
B. A user needs to dispose an ongoing chat before logging out of the system. Unless disposed, system will not allow the user to log out.
2. Chat Tab–
The below screen shows the highlighted chat tab in the operator screen-
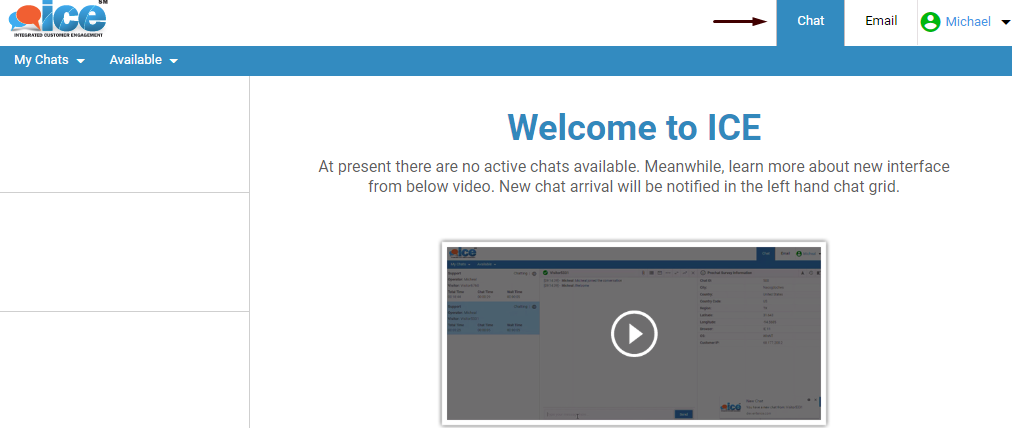
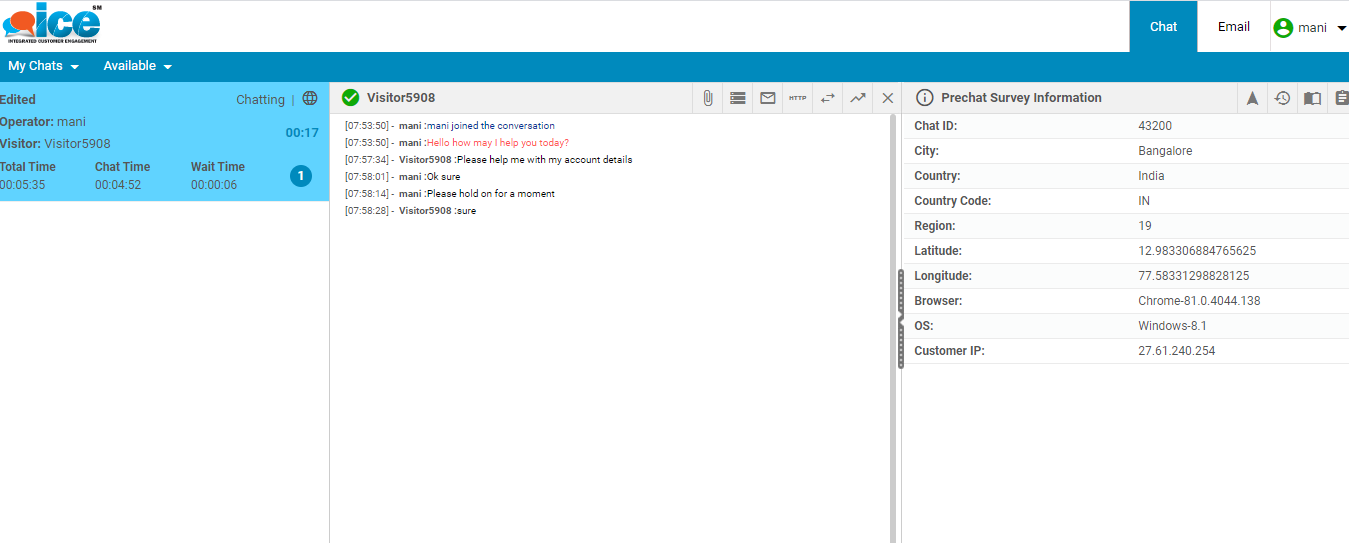
When an operator clicks on Chat tab, the system will redirect to following console-
3. Email Tab–
The Email tab is located just next to chat tab as shown highlighted in the operator console below-

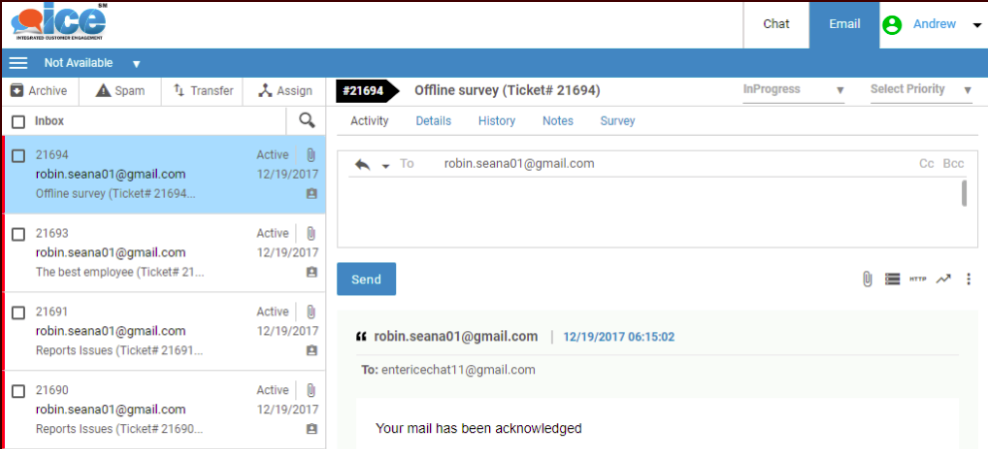
A user can click on this tab to open up Email interaction console. A sample screen of the same is shown below-
4. Available Dropdown Box-
An operator can set his availability or unavailability as and when required through an Available drop down feature. This is as shown in the screen below-

The operator will continue receiving chats when the status is set to Available. There will be no incoming chats if the status is set to Not Available. Further, default status of an operator can be selected from Profile.
5. My Chats Drop Down Box-
This is a filter where an operator has the option to filter chats by choosing one of the two options from drop down box as per the requirement. This is shown in the screen below.

6. Help Icon-
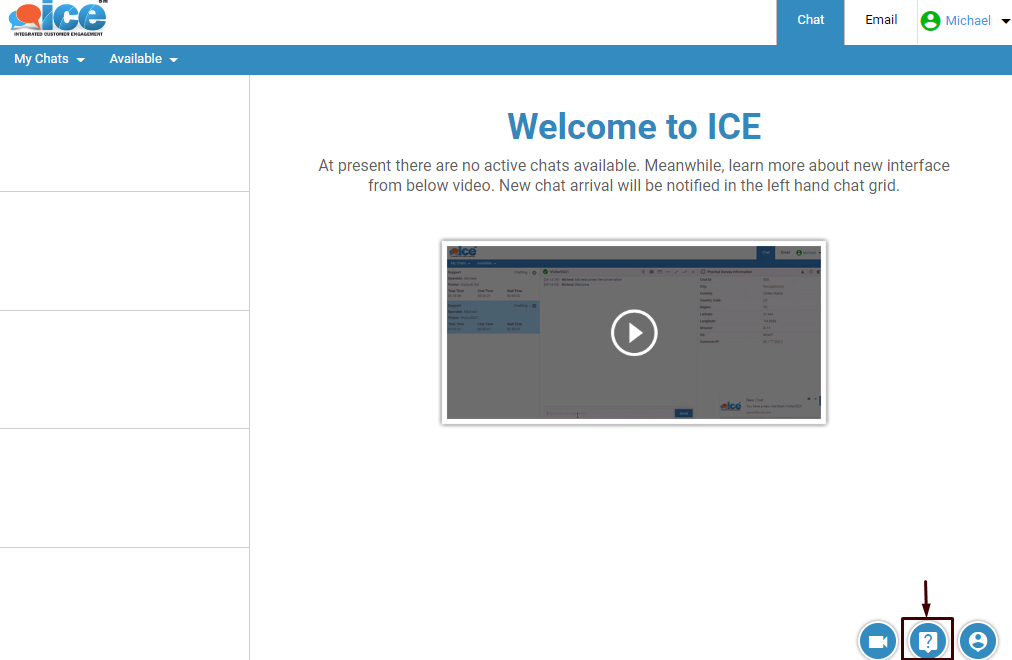
A user can always click  icon in case of any help, doubts or concerns regarding the operations of software. This will redirect the user to ICE Help Manual. The help icon is shown highlighted in the screen below-
7. Support Icon-
This icon is denoted by  and is shown highlighted in the screen below-
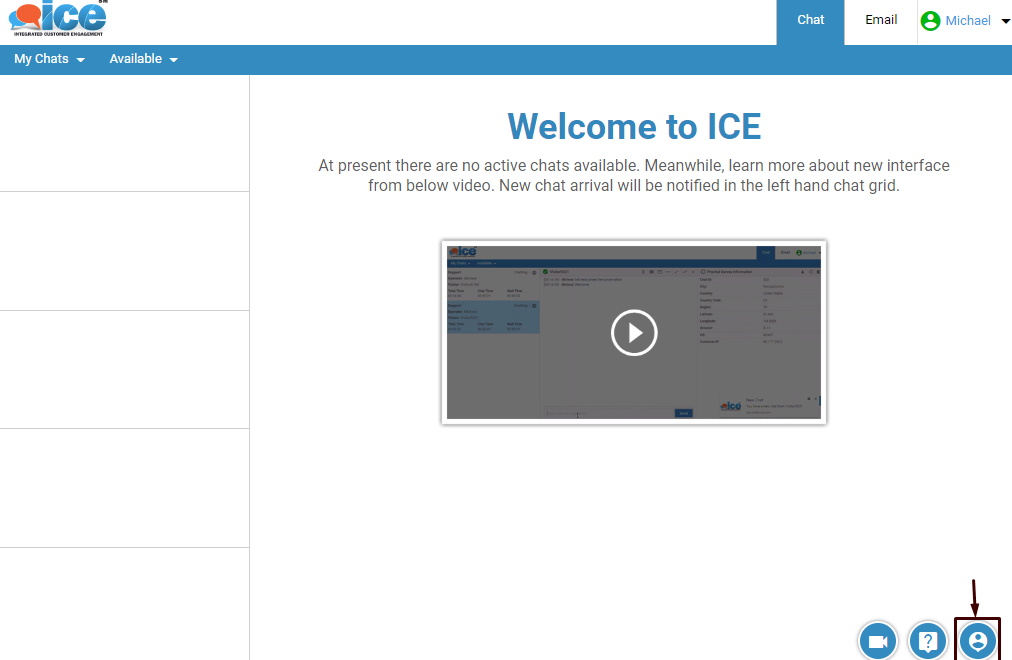
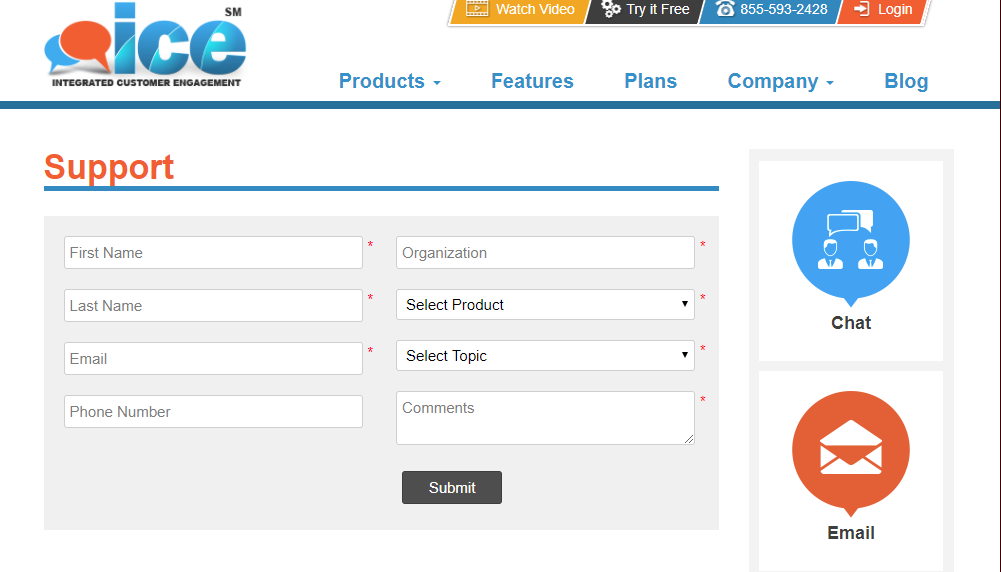
The click action performs redirecting the user to support window, where user can fill in the required entries in the fields. Once finished, when user clicks on Submit button, a ticket will be generated in ICE help desk. Shown below is the Support console-
8. Video Guide-
The video guide helps a new user to demonstrate about the interface. A user could access the video tutorial by  icon and is shown highlighted in the below screen-
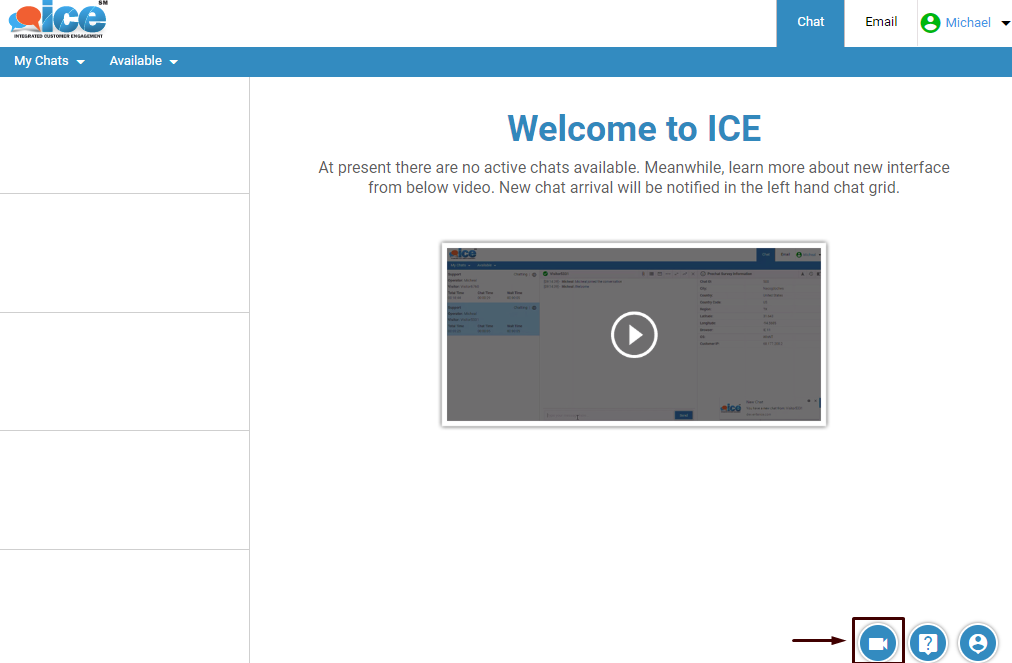
Further, an operator could also access a video tutorial by ready to play video button on the console as shown below-
