ICE chat offers additional platform for the agents to provide uninterrupted support to their visitors through the medium of its mobile application.
ICE mobile chat application is compatible with both Android as well as iOS platforms. Hence, the application can be downloaded from Playstore and Apple store respectively.
Further, the mobile chat application for agent inherits the same environment and functionality like that of desktop application.
- Once an agent has downloaded the mobile chat application, it will be displayed in the following format-
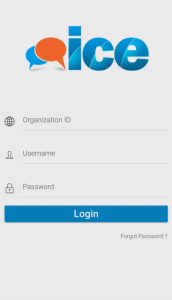
- After entering the credentials in required fields, agent will be redirected to the following console-

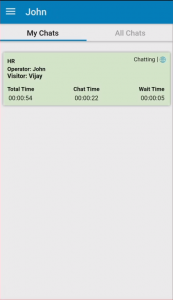
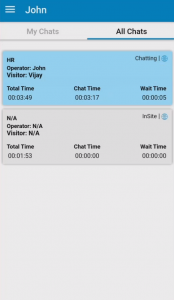
- The above console will include two tabs- My Chats and All Chats. The “My Chats” tab will display the personal chats of agents. This tab will be by default selected. “All Chats” will display all the chats of the same skill.
- When an agent receives an incoming chat, the console will display it in following format-
- The console with “All Chats” tab selection will be displayed in the following form-
- An agent can also access his/her profile settings through the stack lines as shown in the below screen-

- This will redirect the agent to profile screen. This is as shown below-
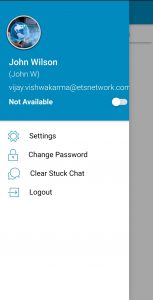
- An agent can change his/her availability status such as Available or Not Available from the button located next to the status option as shown in the below screen-
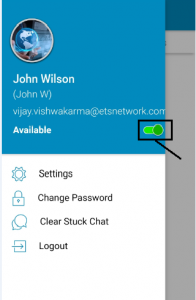
- The screen also displays other options such as Settings, Change Password, Clear Stuck Chat and Logout.
Settings- It allows agent to make chat level settings, same as in the desktop application. Click “Settings” and the system will redirect to the following screen-
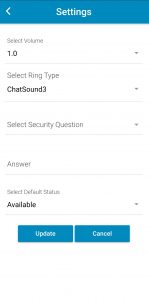
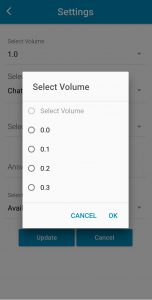
- Volume Settings- Click “Select Volume” dropdown box to set a volume level of the chat and click OK button after selecting the desired volume level. This is as shown below-
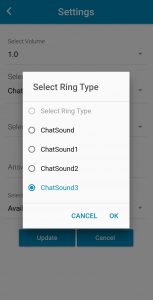
- Chat Ring Settings- Select the desired ring type from the dropdown box and click on the OK button. This is as shown in the below screen-
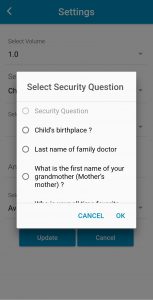
- Security Question- Select a security question from dropdown box like the one as shown below-
- Answer field- Select a security question from the list as shown in the below screen-
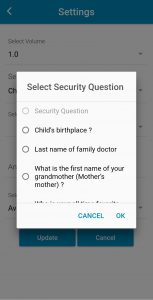
- Provide the answer of the security question in the respective field. The selected security question will be used at the time when an agent attempts for forgot password process.
- Select Default Status- An agent can set his/her default availability by choosing the status from dropdown box. This is as shown below-
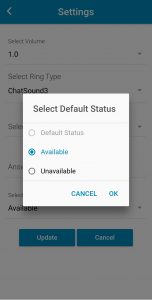
Click Update button when all the settings are done.
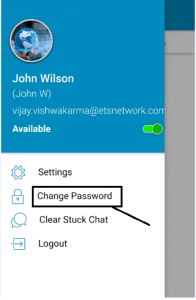
Change Password- An agent has the option to change his existing password for ICE mobile chat app.
- To change a password, click on Change Password tab as shown in the below screen-
- The app will redirect to the following screen-

- Enter the old and new password in the respective fields. Re-enter the new password in the Confirm New Password field. Click Update button when all the changes are done.
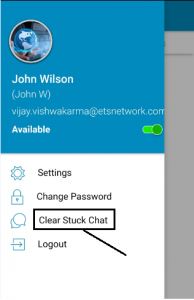
Clear Stuck Chat- An agent can use a clear stuck chat option to clear any stuck within the application.
- Click Clear Stuck Chat tab to clear a stuck chat as shown in the below screen-
- The application will redirect to chat console displaying that the stuck chat has been cleared

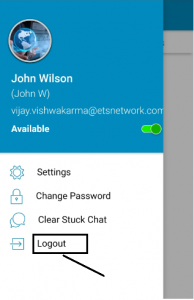
Logout- An agent can logout from application through logout tab.
- Click Logout tab as shown in the below screen-
- The app will redirect to the following screen-
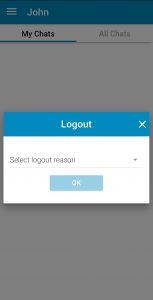
- As shown in the above screen, the system will prompt for a logout reason. An agent can select a valid logout reason from the dropdown box. This is as shown in the below screen-
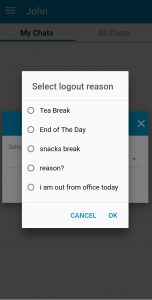
- Once selected, click OK button.
New Chat Arrival-
On a new chat connectivity, the system displays the following message on the agent console-
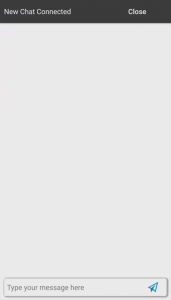
- When an agent clicks Close button, the chat Window appears on agent console as shown below-
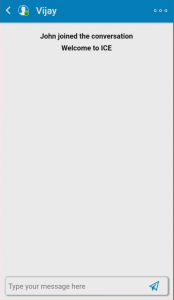
Chat Tool Bar-
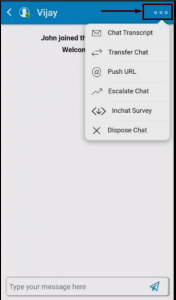
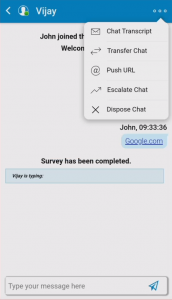
A chat tool bar in ICE mobile application includes similar options like ICE desktop version. These include- chat transcript, transfer chat, Push URL, Escalate chat, Inchat Survey and Dispose chat as shown in the below screen-
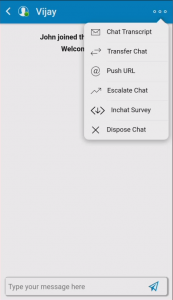
To access a chat tool bar, click the dots on the chat console as shown below highlighted below-
- Chat Transcript- Allows an agent to send a transcript to the provided email. Click on the option and the system will open up an email Window. This is as shown in the below screen-
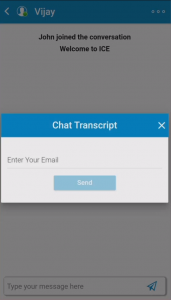
- Enter the email address in the provided field. Click Send button. The email transcript will be sent to the mail recipient
- Transfer chat- Transfer Chat allows the agent to transfer an ongoing chat session. Chat can be transferred to a particular operator in the same skill or to any available operator with the required skill.
- Push URL- Allows an operator to send the URL to the visitor during the chat. Click the option and the system will open up a pop-up box as shown below-
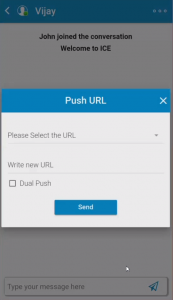
- An agent needs to enter the URL in the Push URL pop up box. This is as shown below-
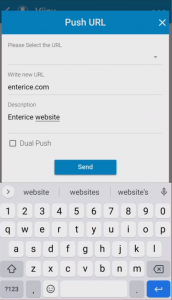
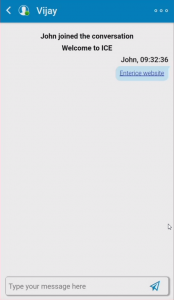
- Click Send button. The URL will be displayed in the console as shown in the below screen-
- Escalate Chat- An agent can escalate an ongoing chat to the available supervisor(s). Click the option and the system will display the escalate chat Window as shown below-
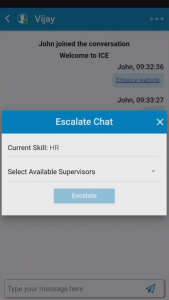
- Select supervisor name from the list and click on Escalate button to escalate the chat
- In-Chat Survey- Allows an operator to trigger a survey to the visitor console during an ongoing chat. Once the survey is completed from visitor’s end, the system will display the status in the agent console. This is as shown below-
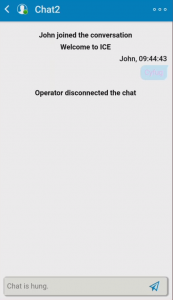
- Dispose Chat- Dispose chat allows an operator to close an ongoing chat with visitor. When an operator disconnects the chat, the following message is displayed on the console-
Visitor Info and Details-
ICE mobile agent console also displays information and details of the connected visitor on agent console as shown in the below screen-
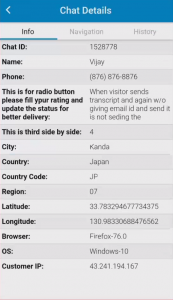
Chat details includes 3 categories or tabs including- Info, Navigation and History.
- Info Tab- The default opened tab on the console will be Info. An operator can get the information filled by visitor during pre chat survey at the time of chat connection. Further, the pre chat information also displays information based on geographical details, IP, operating system, country and likewise.
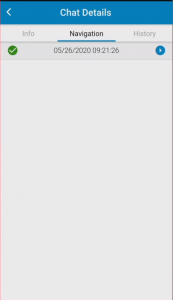
- Navigation Tab- An agent can learn about the pages visited by a visitor through a Navigation tab. This feature displays chatting status, current page of the visitor and Date/Time.
- History- This feature allows an operator to view the number of times of the chats have arrived from the particular skill. This is as shown in the below screen-
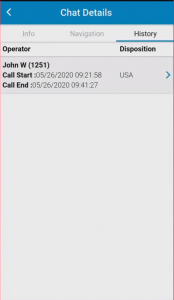
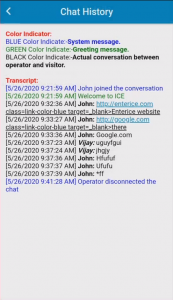
- The history tab also displays the chat transcript history for a visitor like the one as shown below-
