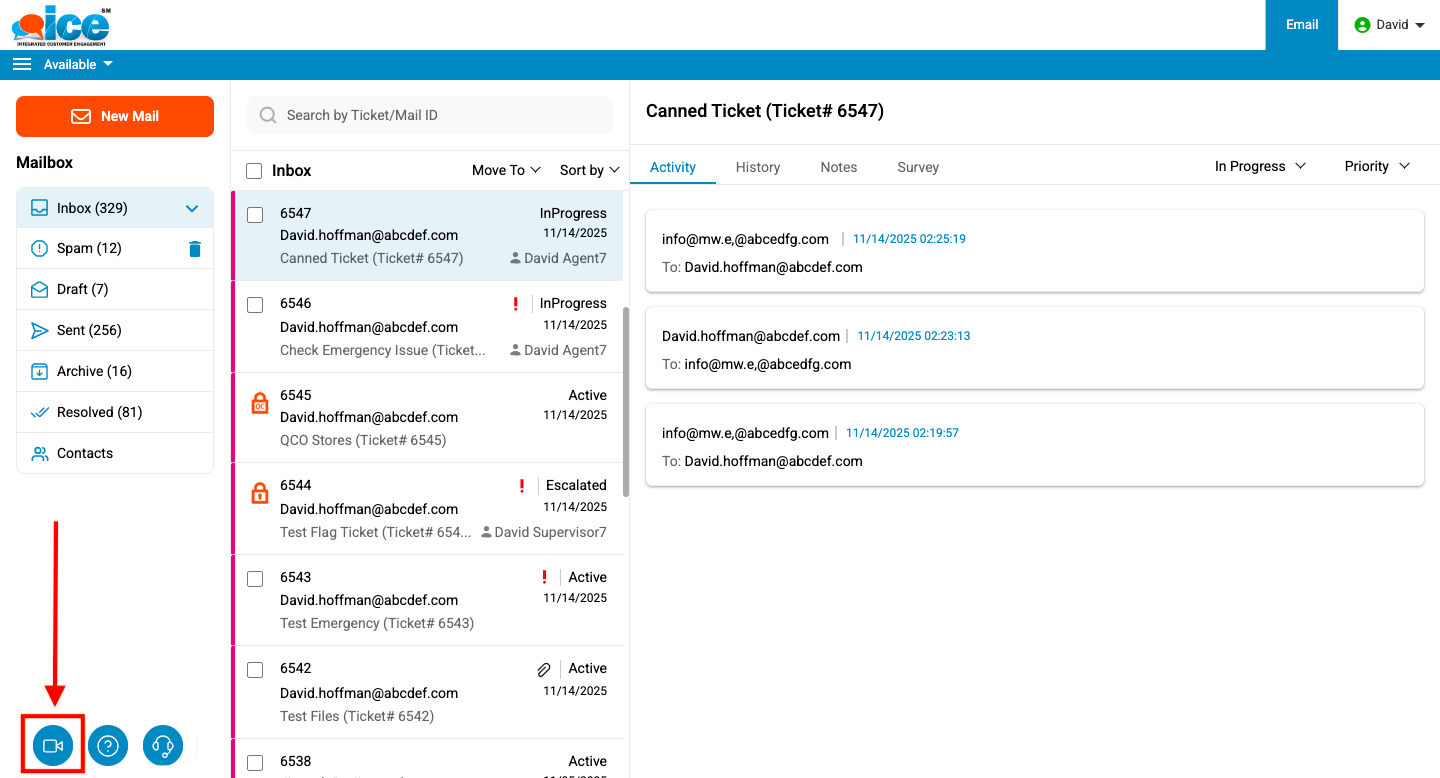
1. An email operator enters the credentials and the system redirects to the following screen-
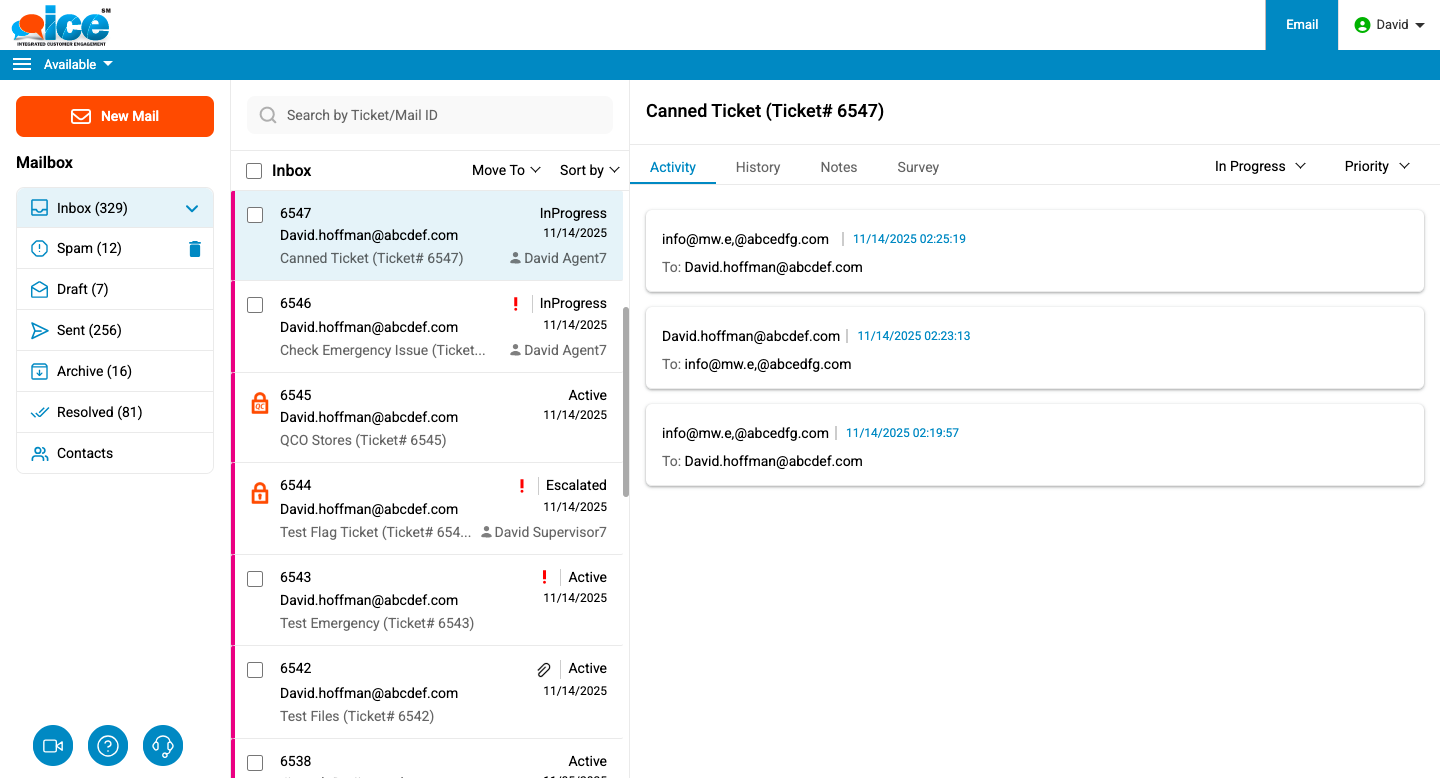
Note– The above screen may differ for the user with access to both modules. This is as shown below-
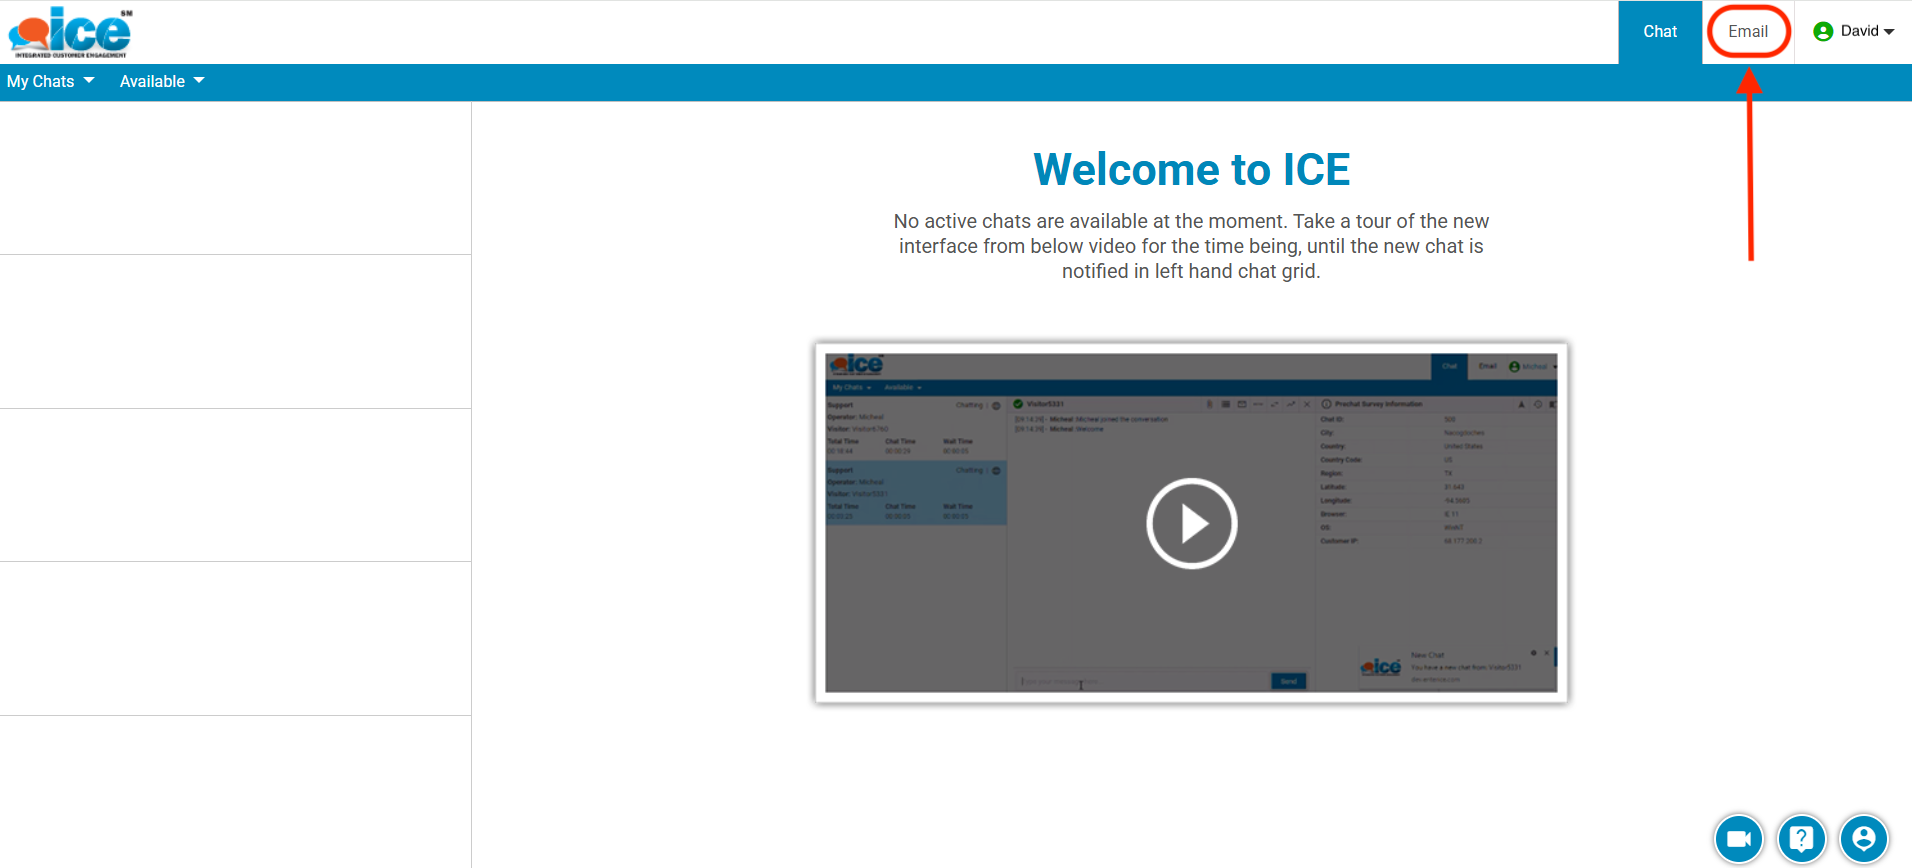
Click Email tab as shown above to access Email console.
Like shown highlighted in the above screen, a user with access to both the modules needs to click on Email tab for an Email console.
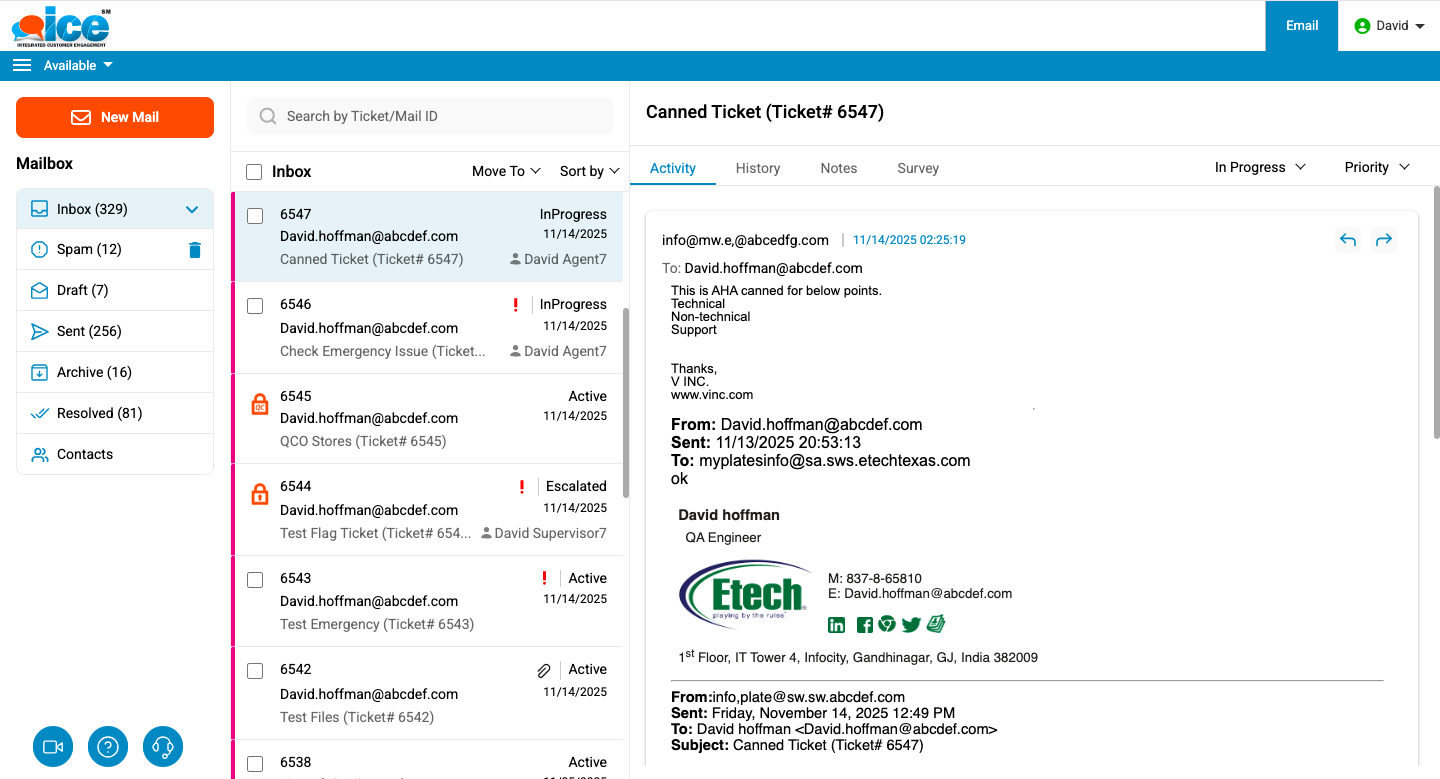
2. When an operator receives an incoming email, the console is displayed in the way as shown below-
3. User Account on the top right corner displays the following list of options from dropdown box as shown below-
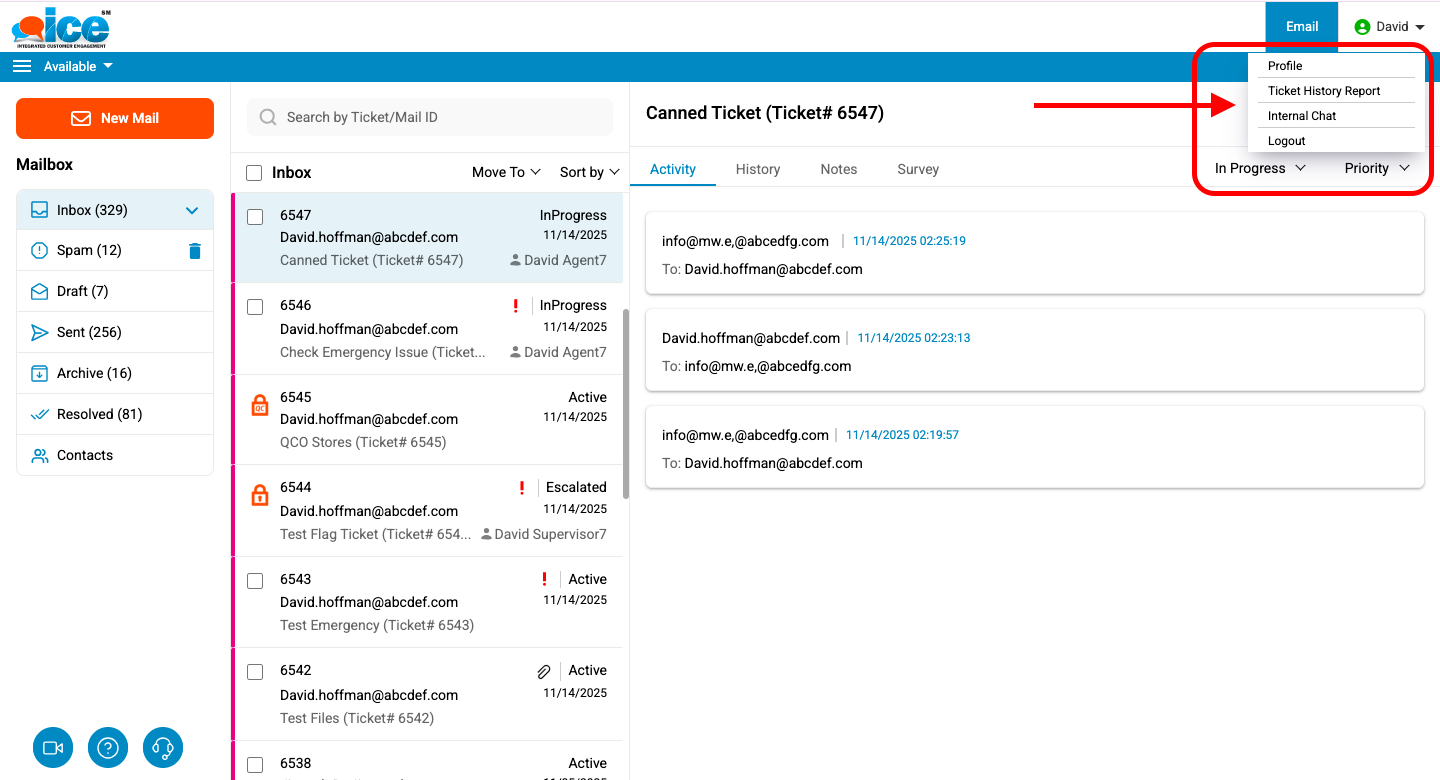
- Profile– Provides multiple interface to user such as personal information, settings and change password.
- Ticket History Report– Opens in a new tab and displays reports as per the provided entries in the fields.
- Internal Chat– Allows a user ( Email agent) to chat internally with other available operators.
- Logout– Helps to log out a user from the system.
4. Available Dropdown Box-
An operator can set his availability or unavailability as and when required through an Available drop down feature. This is as shown in the screen below-
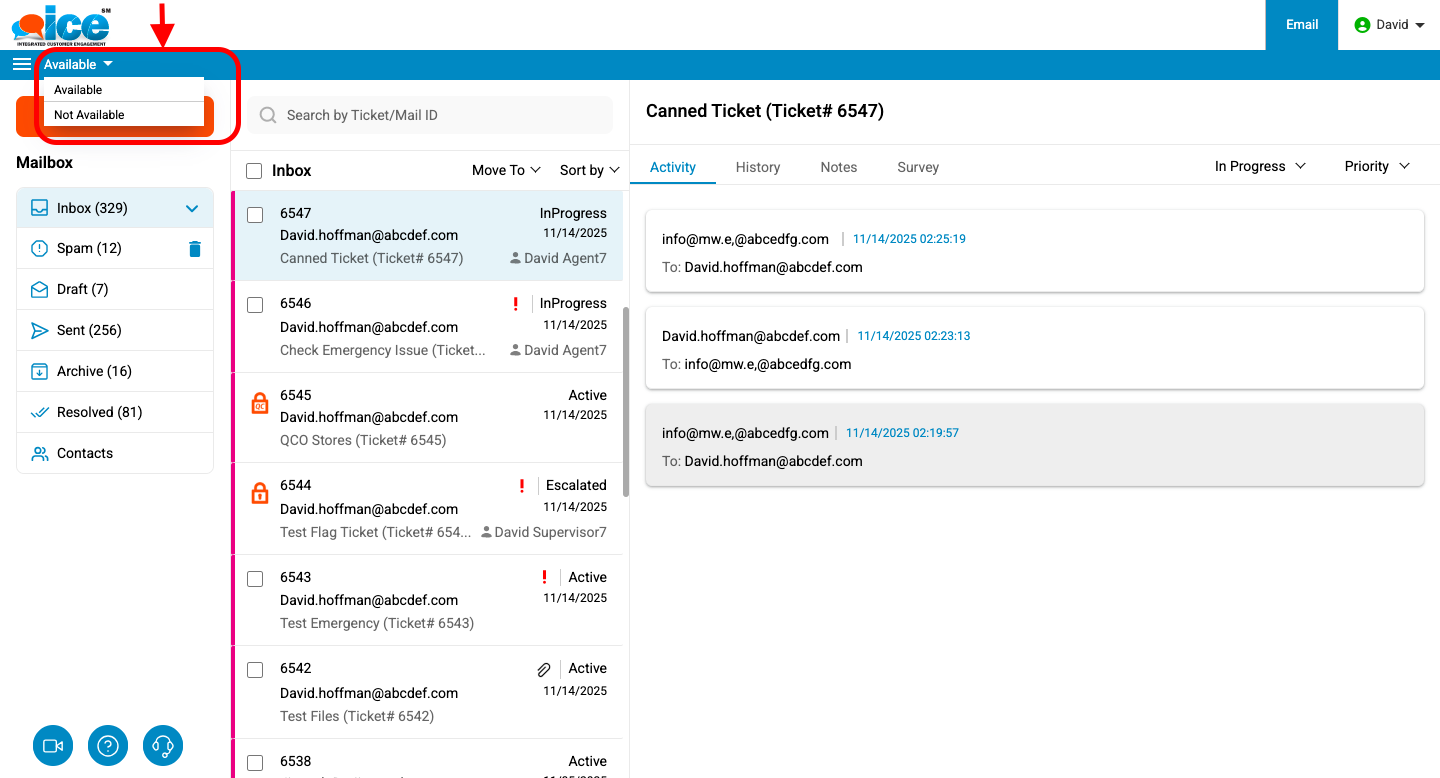
The operator will continue receiving tickets from other agent or supervisor when the status is set to Available. No tickets will be received if the status is set to Not Available. Further, default status of an operator can be selected from Profile.
5. Move to dropdown – An Email operator console includes various buttons to manage and configure email. This is as shown below-
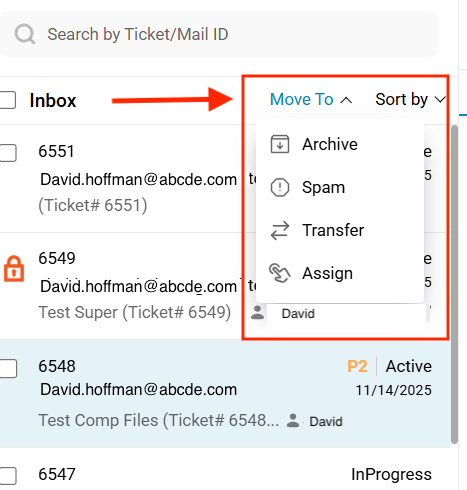
The list of buttons includes Archive, Spam, Transfer, and Assign options. Above the Move To dropdown, a Search text bar is available to help you search for a ticket.
Note: Tickets with lock icon against it are the tickets that are assigned to others and can be only viewed.
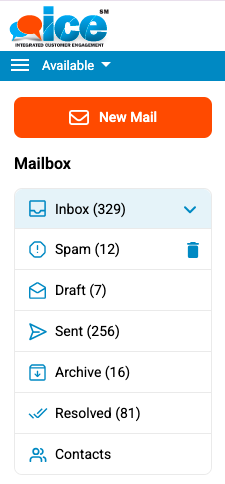
6. Folder List- It displays a list of folders like Inbox, Spam, Draft, Sent, Archive and Resolved.
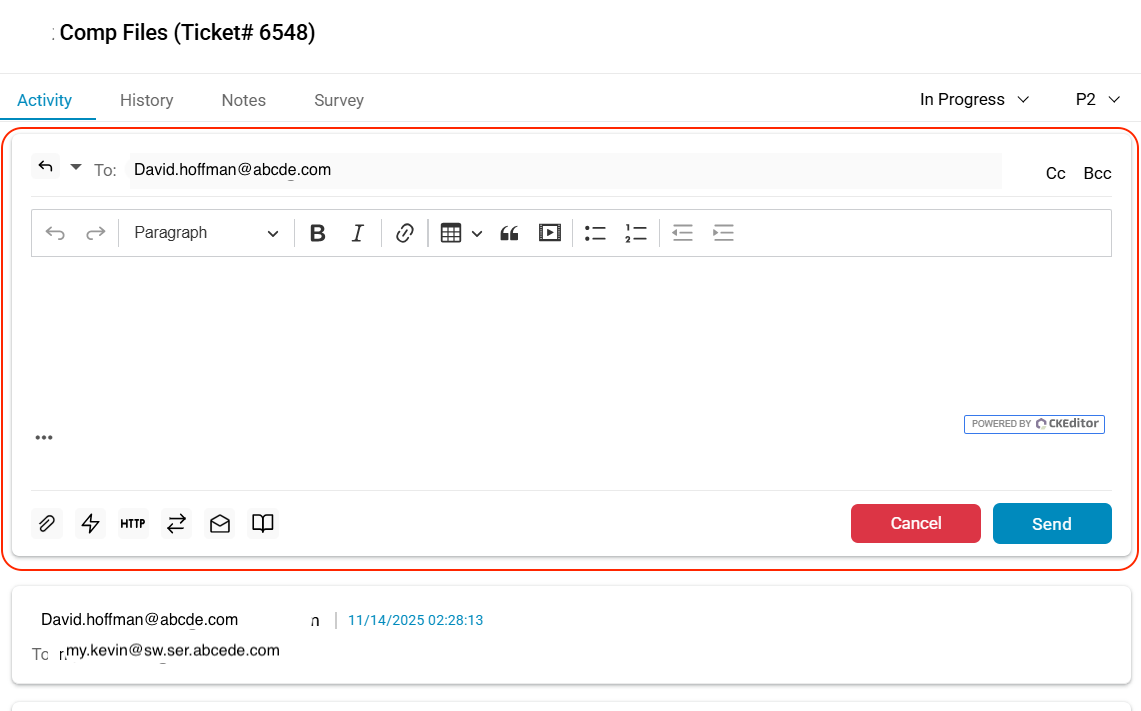
7. Editor Section- It allows an email operator to reply or forward a ticket to the customer who has raised a ticket. Also, it provides options like Canned Responses, Attach File, Escalate and Save as Draft along with information section such as activity, details, history, notes, and survey. This is as shown below-
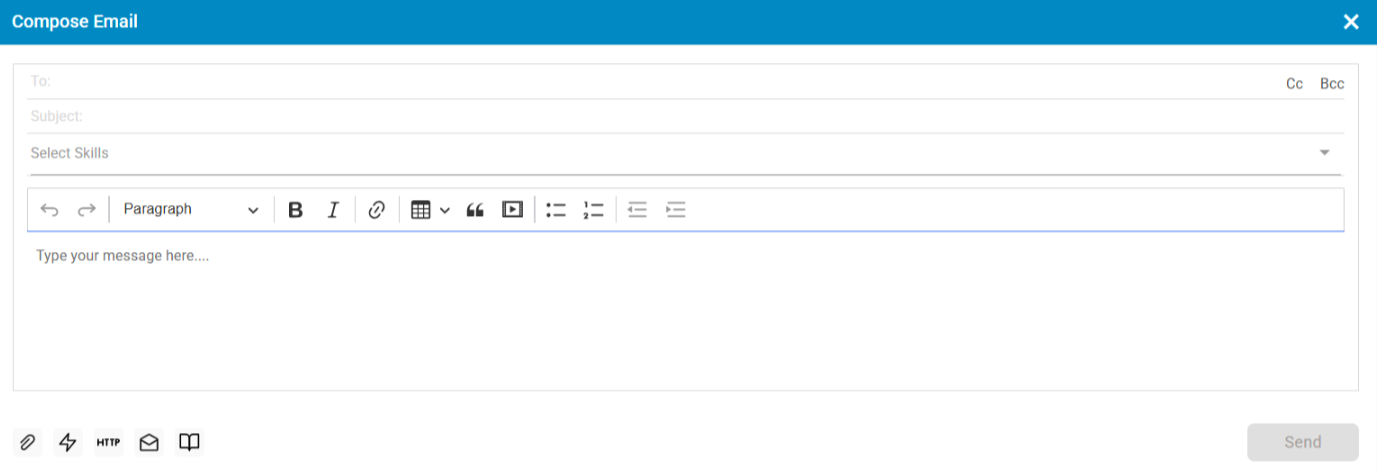
8. Compose Icon- This is used to compose an email and is denoted by  icon on the top left corner. Click it and the system will redirect to the following screen-
9. Help Icon-
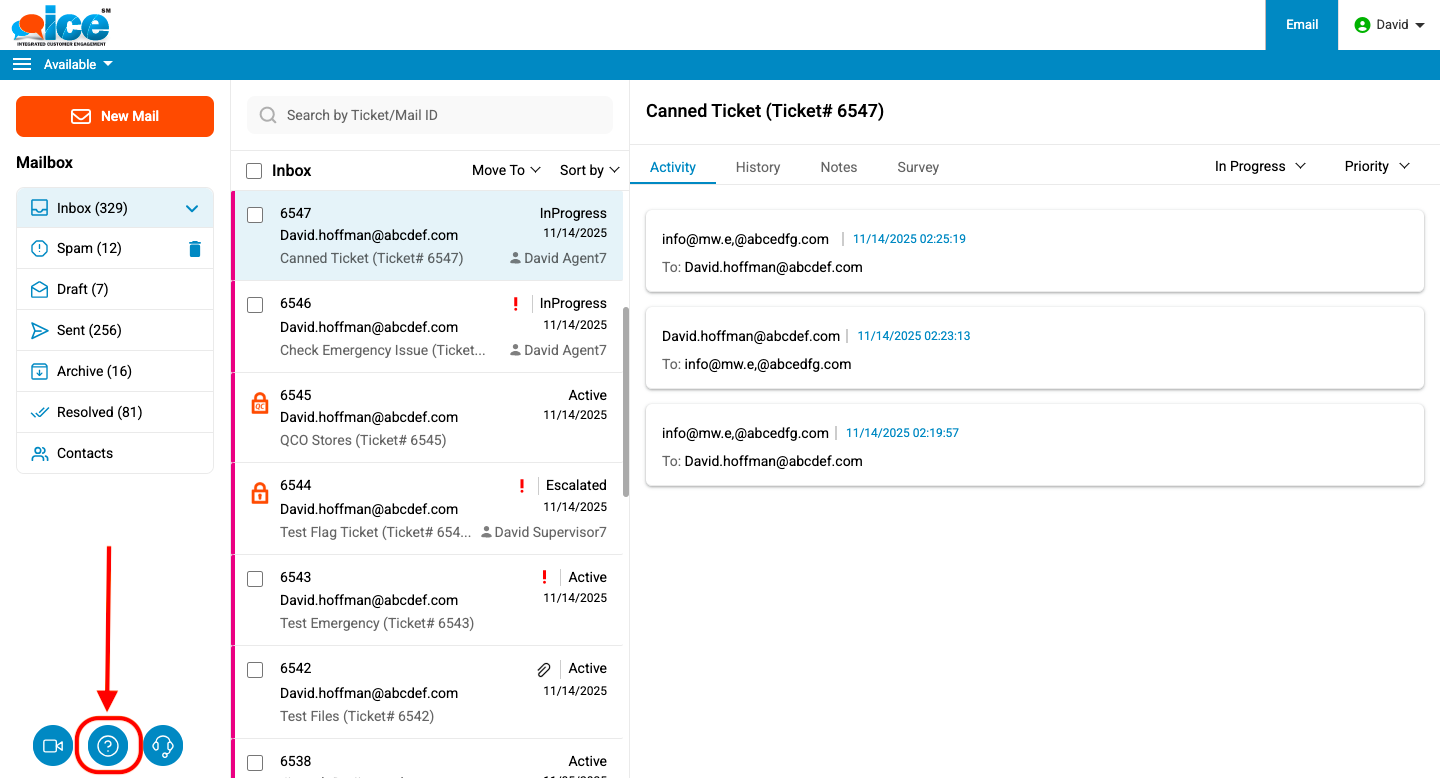
A user can always click ![]() icon in case of any help, doubts or concerns regarding the operations of software. This will redirect the user to ICE Help Manual. The help icon is shown highlighted in the screen below-
icon in case of any help, doubts or concerns regarding the operations of software. This will redirect the user to ICE Help Manual. The help icon is shown highlighted in the screen below-
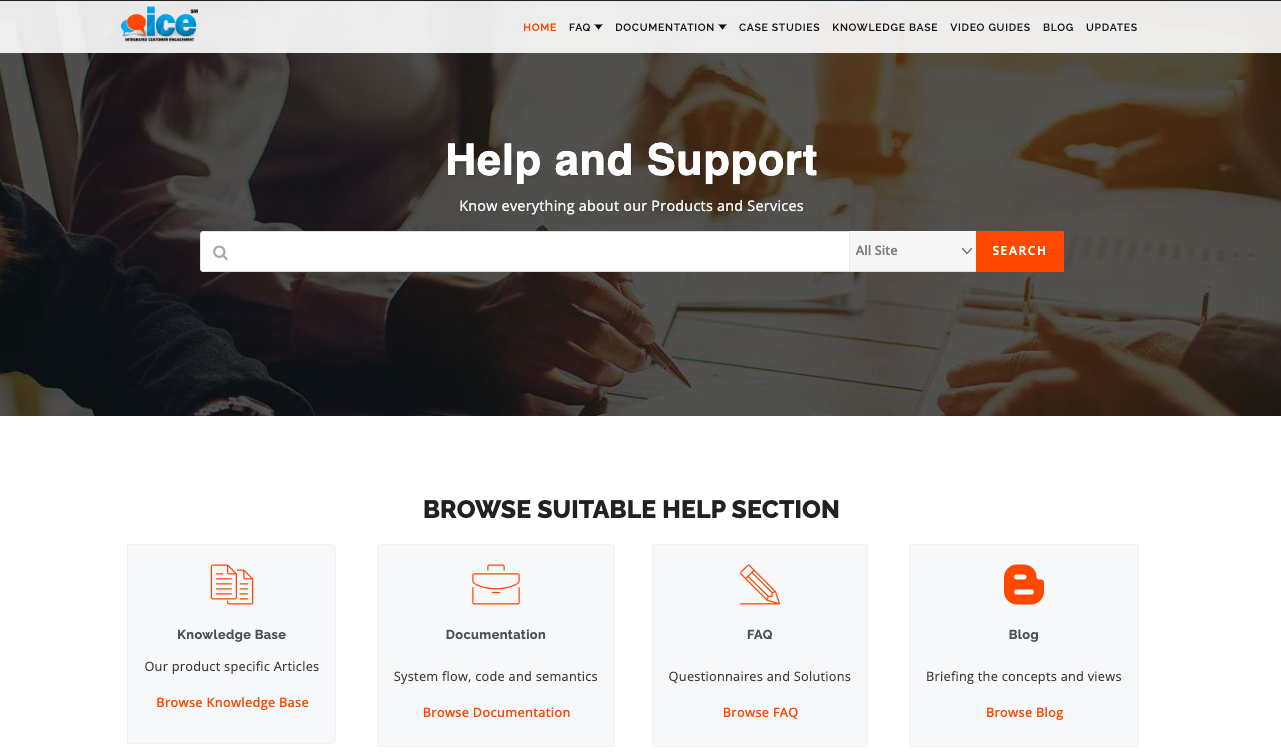
Once the user clicks the Help button, they will be directed to the User Manual/Knowledge Base as shown below, where they can access the required information.
10. Support Icon-
This icon is denoted by ![]() and is shown highlighted in the screen below-
and is shown highlighted in the screen below-
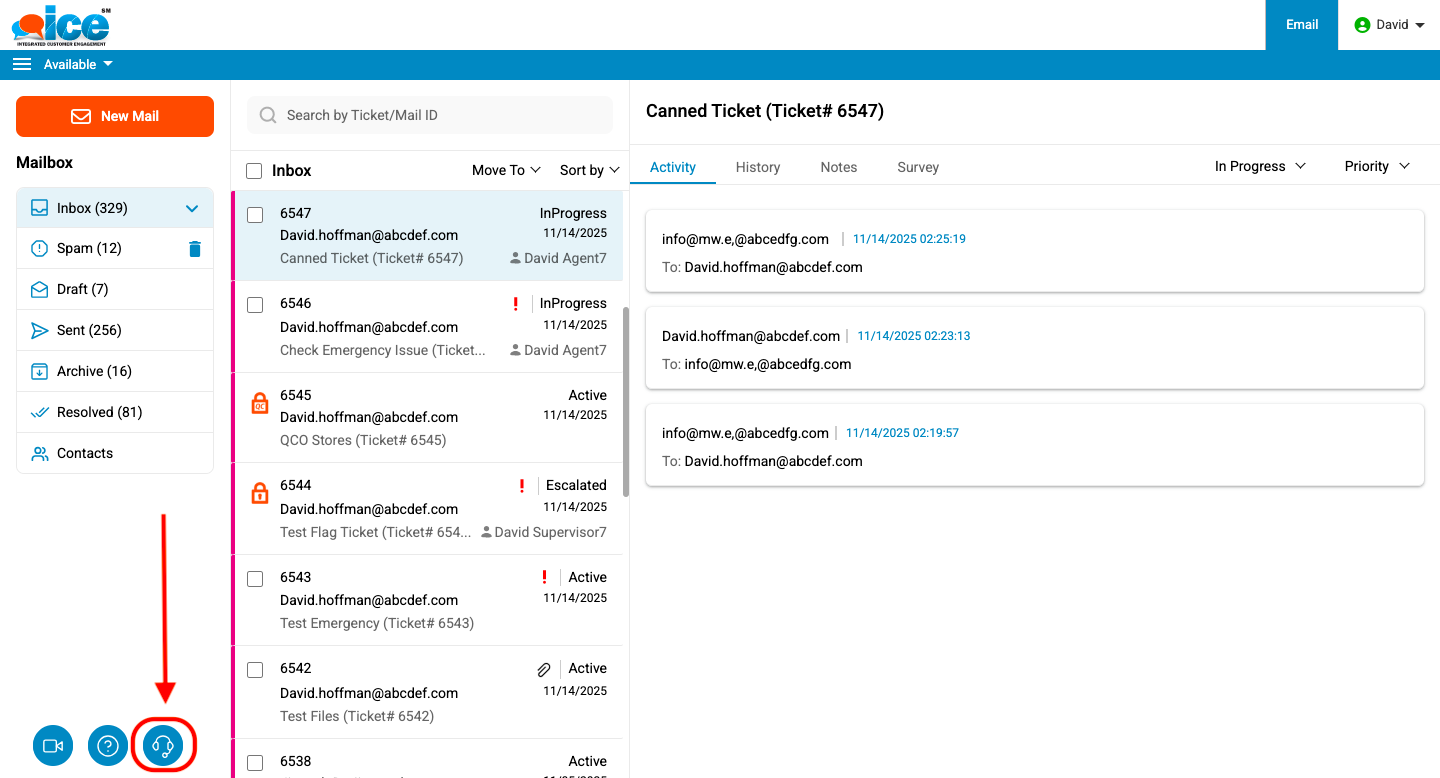
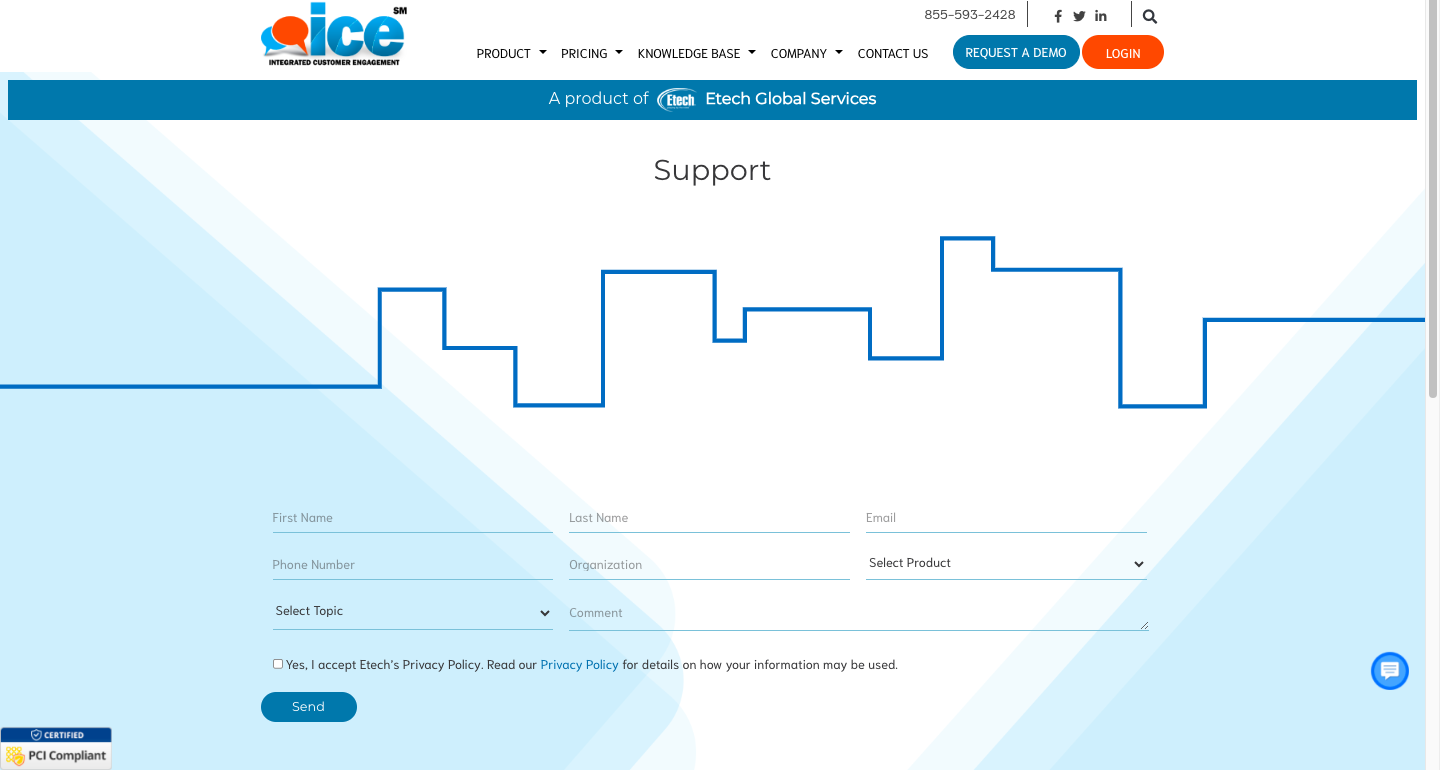
The click action performs redirecting the user to support window, where user can fill in the required entries in the fields. Once finished, when user clicks on Submit button, a ticket will be generated in ICE help desk. Shown below is the Support console-
9. Video icon
When users click the video icon, they can access a video guide that provides an on-demand walkthrough of the portal whenever assistance is needed. This icon is denoted by 
