ICE application integrates with Salesforce to store visitor details and information during their first visit. This helps the ICE users to retrieve the information whenever the same visitor connects with an agent next time. All information is stored in Salesforce.
ICE Admin has authority to create tables in Salesforce. To create a table, an Admin should have access to Salesforce account. The below screen displays a Salesforce console-

An admin can add fields as per the requirement.
To configure Salesforce integration from admin panel, go to Common>Chat>Salesforce. The system displays the following console-
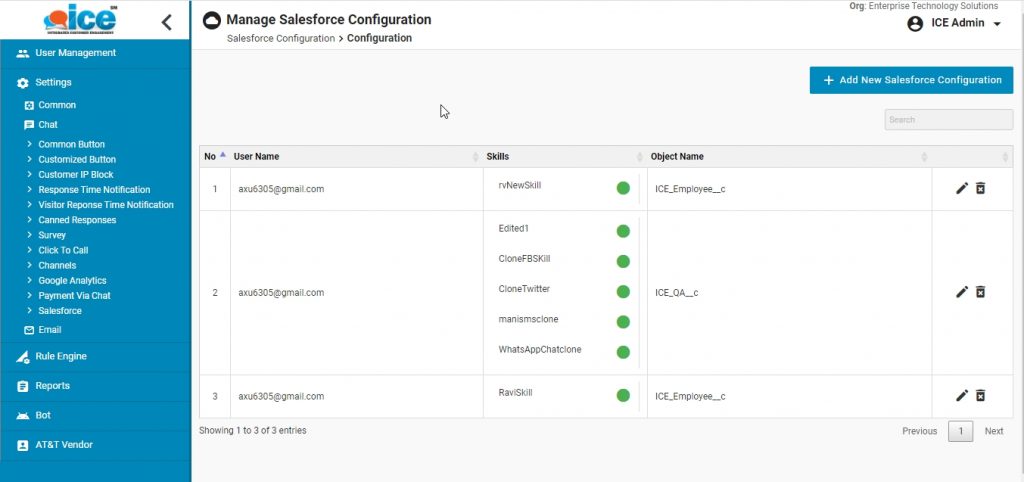
This is the home screen that displays created user names along with the assigned skills and object name.
Click Add New Salesforce Configuration to add a new salesforce configuration for a user name. This is as shown below –
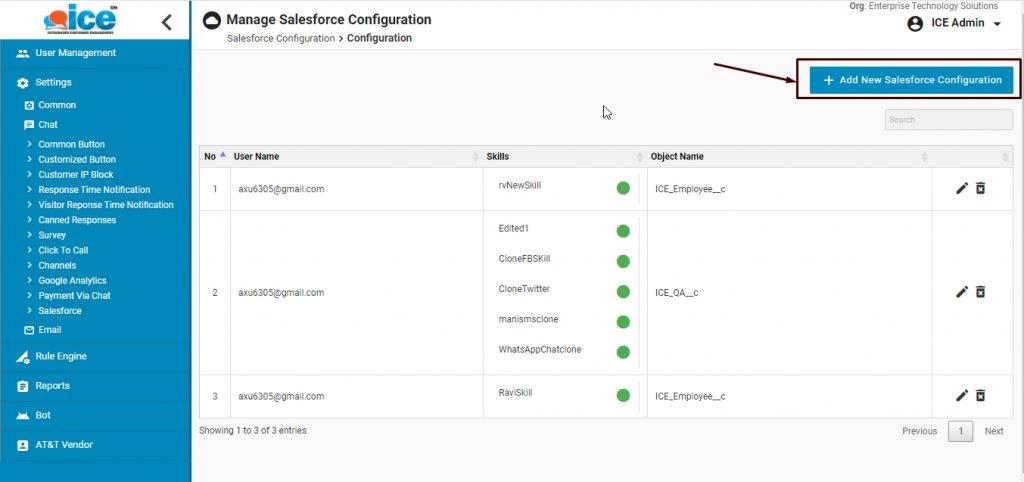
The system will redirect to the following console-
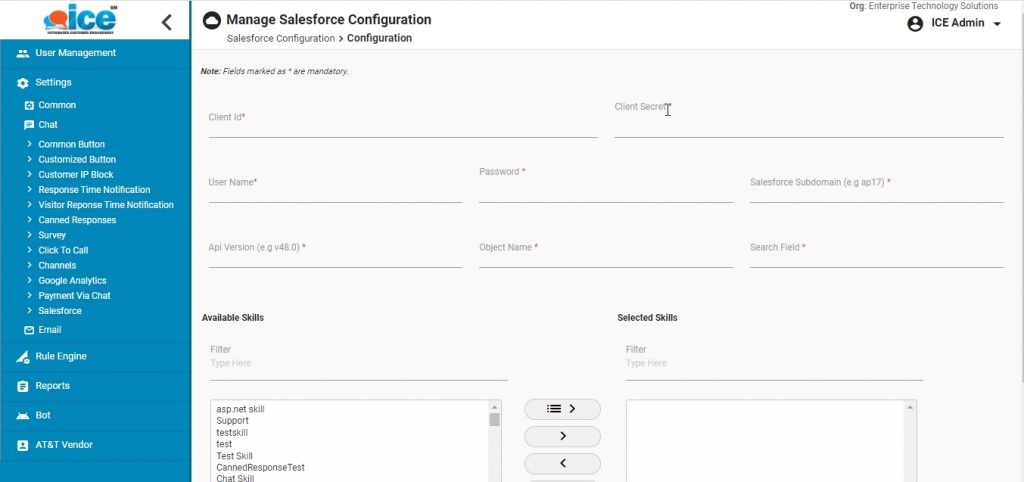
All the fields in the console are mandatory to be filled up by admin. Select the required skill from list of available skills to assign to the user name. Click Submit button and the system redirects back to the home screen.
Click Edit or Delete icons on the home screen to edit or delete a user name respectively. Click here to view the salesforce controls on agent console.