In order to get connected with an agent through SMS, a user needs to set a SMS account number through the Admin console.
The process is initiated by assigning a skill to SMS. To do so, select Settings > Common > Campaign > Campaign Administrator , and the user will be redirected to the following screen-
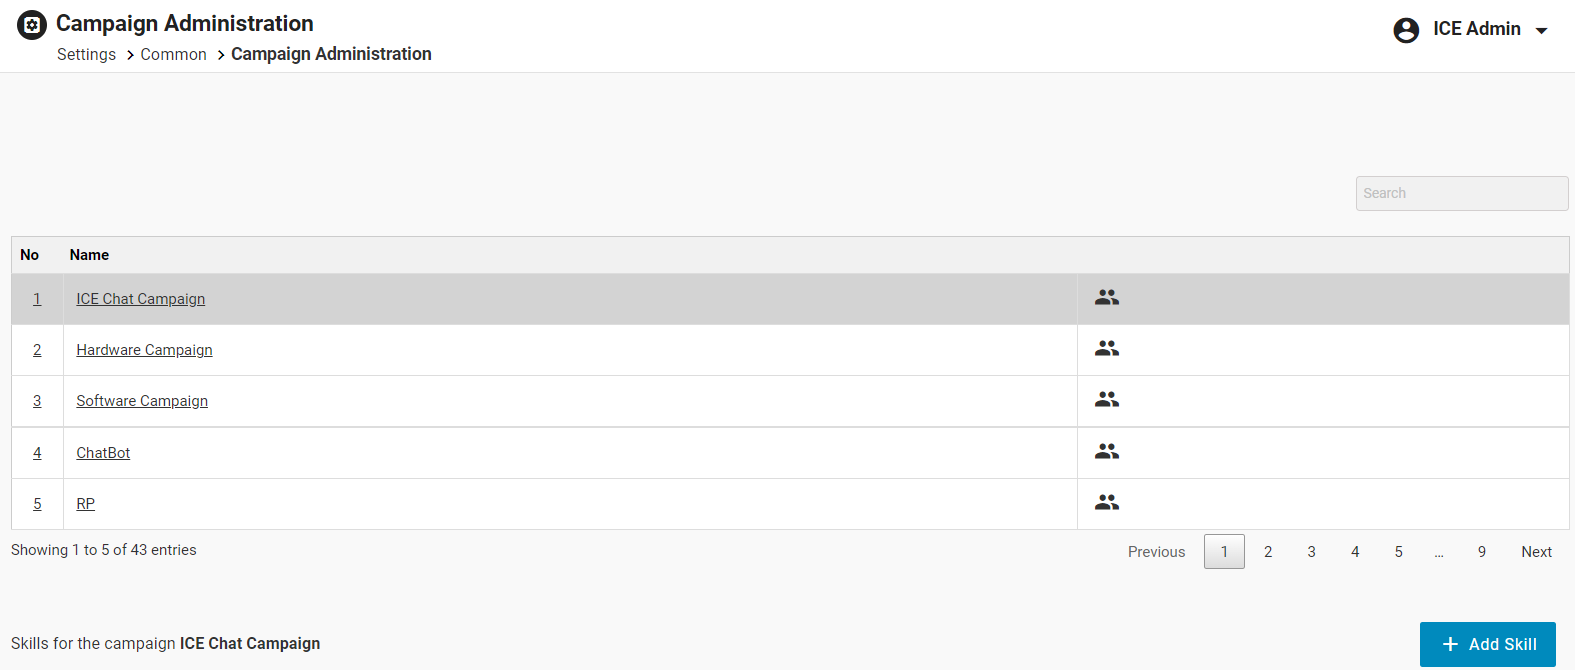
Select a particular campaign from the grid as shown highlighted on the screen:

Click Add Skill button for the selected campaign as shown on the below screen:

The user will be directed to the Add New Skill screen as shown below:

Configure the required details and select the SMS to chat option from the Select Mode dropdown list (in case the skill has to be linked with SMS).
This is as shown highlighted on the screen below:
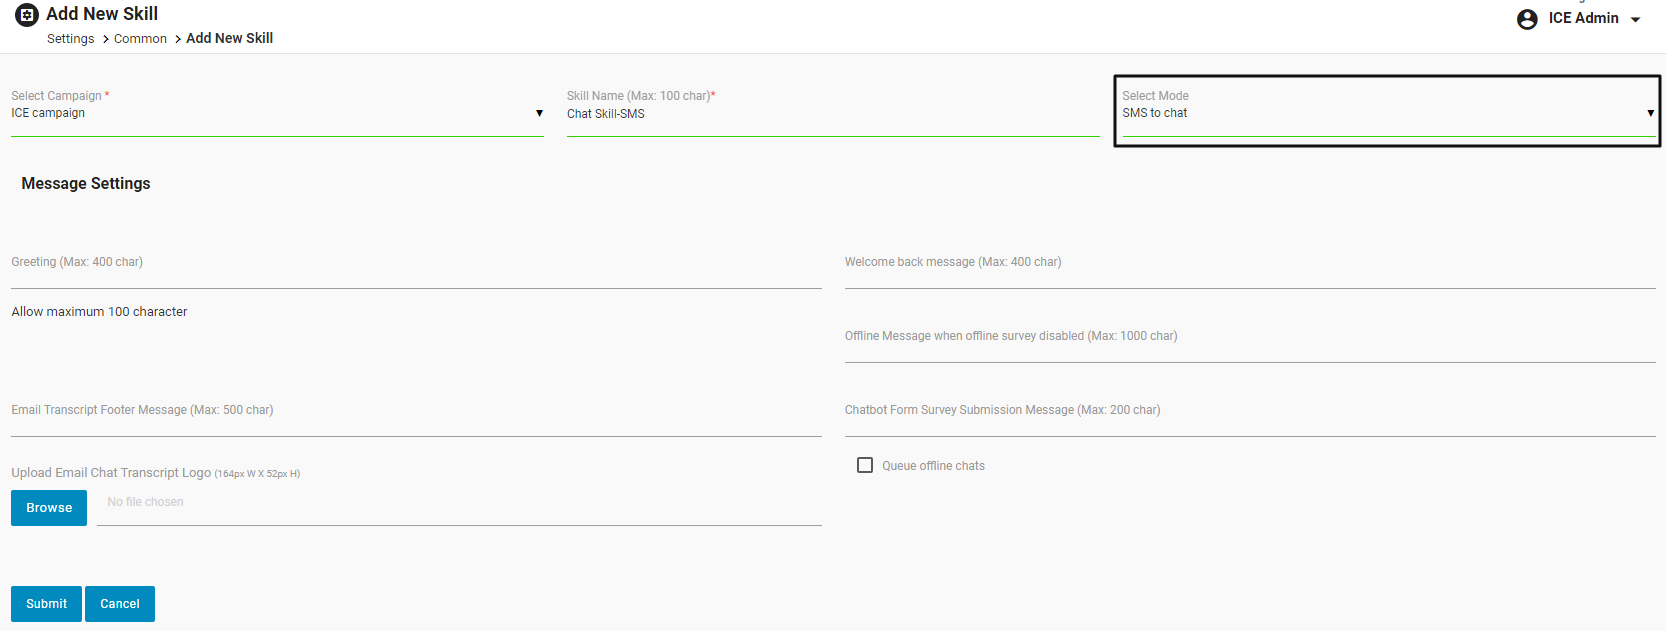
Under Message Settings, the admin can enter the details as follows:
- Greeting message: Enter greetings messages for the visitors initiating the chat for the first time.
- Welcome back message: Enter the welcome back message for the visitors initiating the chat again.
- Offline message: Enter the message that should be displayed to visitors when all agents are offline or not available.
- Email Transcript Footer message: Enter the message that will be displayed on the footer of the email when the chat transcript is shared.
- Chatbot Form Survey Submission message: Enter the message that should be displayed after the visitor submits the chatbot form survey.
- Upload the Email Chat Transcript logo: Upload the Email Chat Transcript logo from the system that should be displayed in the email to the visitor.
- Queue offline chats: Select the Queue offline chats checkbox to queue chats initiated from SMS when agents are offline or not available.
Note: All the messages configured above get automatically sent by ICE.
Then click Submit and the system will redirect the user to the skills grid displaying the newly created skill.
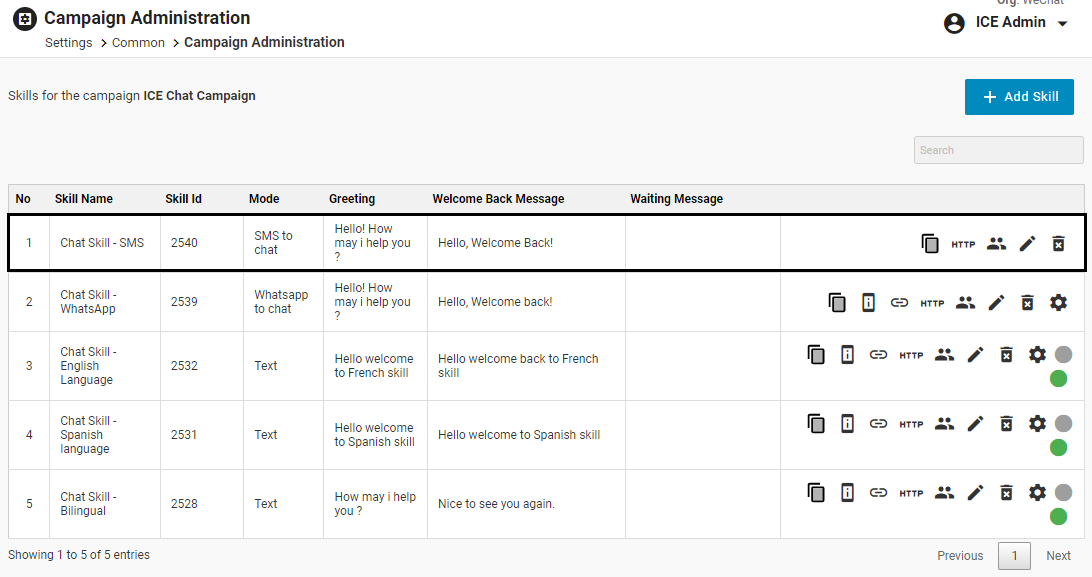
Click ![]() icon to assign the skill to a particular agent.
icon to assign the skill to a particular agent.
The system will direct the user to the Add / Edit Members In Skill screen:
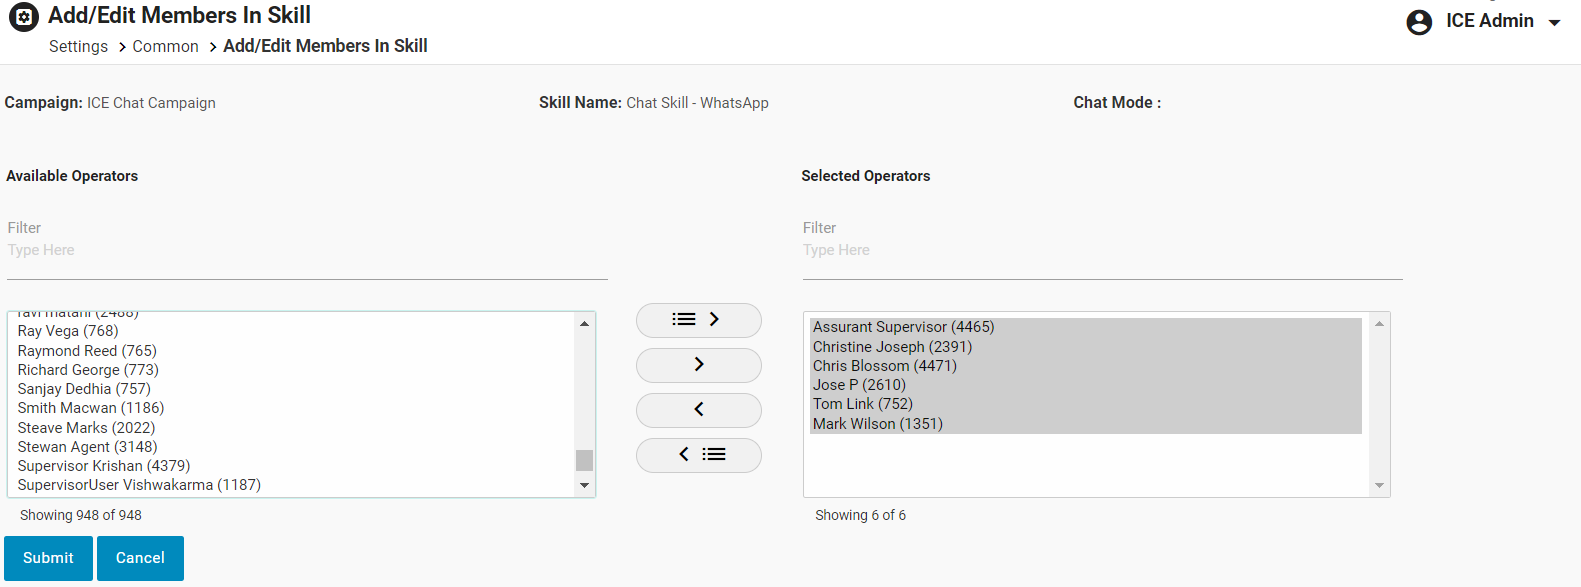
Select the operator(s) from the Available Operators column and through ![]() or
or ![]() buttons move the selected operators to the Selected Operators and click on Submit button.
buttons move the selected operators to the Selected Operators and click on Submit button.
To access the Channels page, select Admin > Settings > Chat > Channels and the following page screen appears:
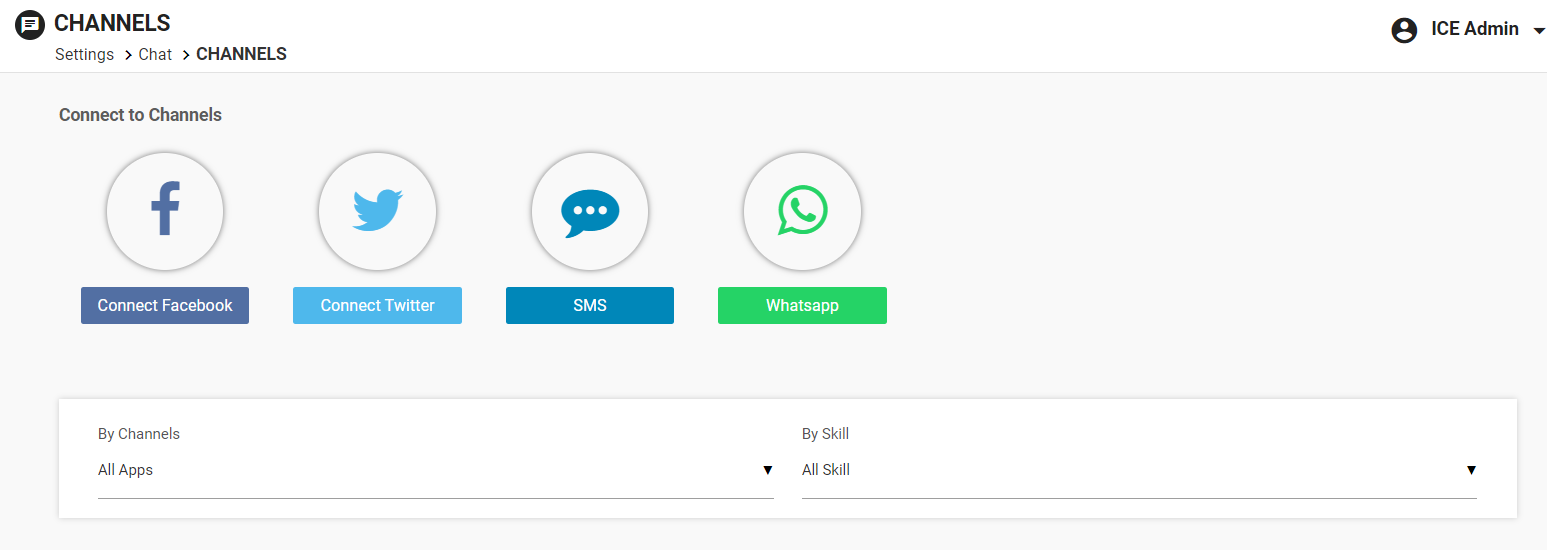
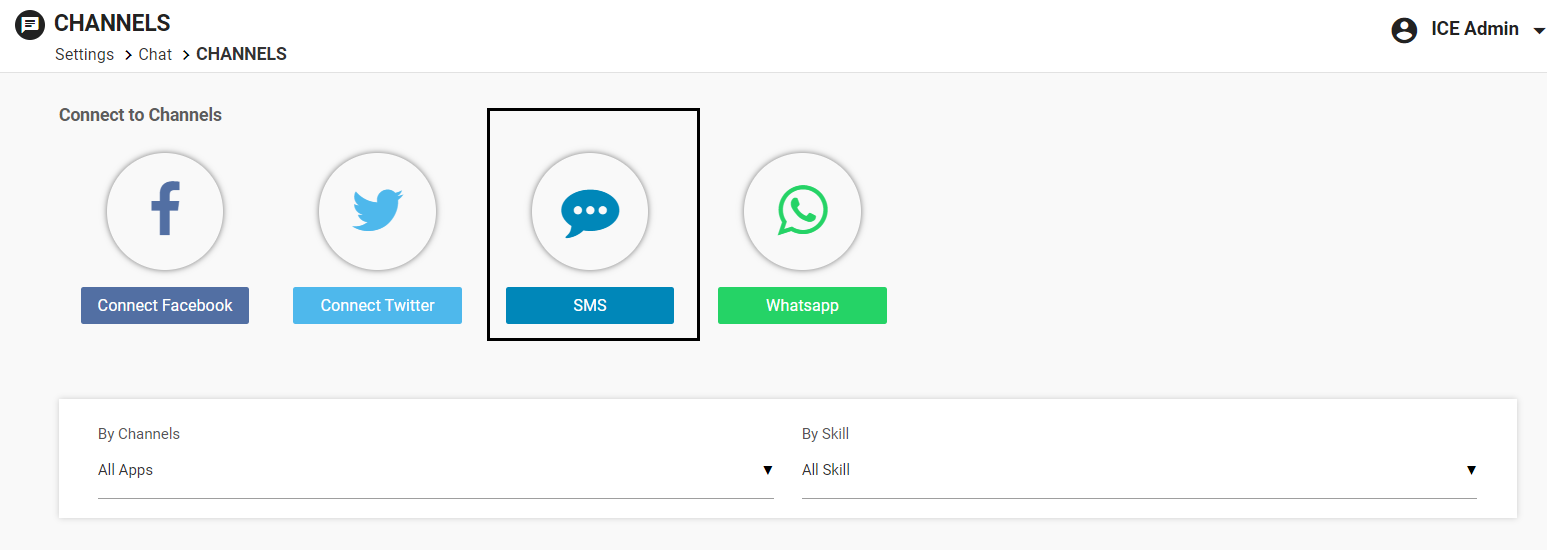
Click on the SMS icon as shown below:
SMS Configuration window appears as shown below:
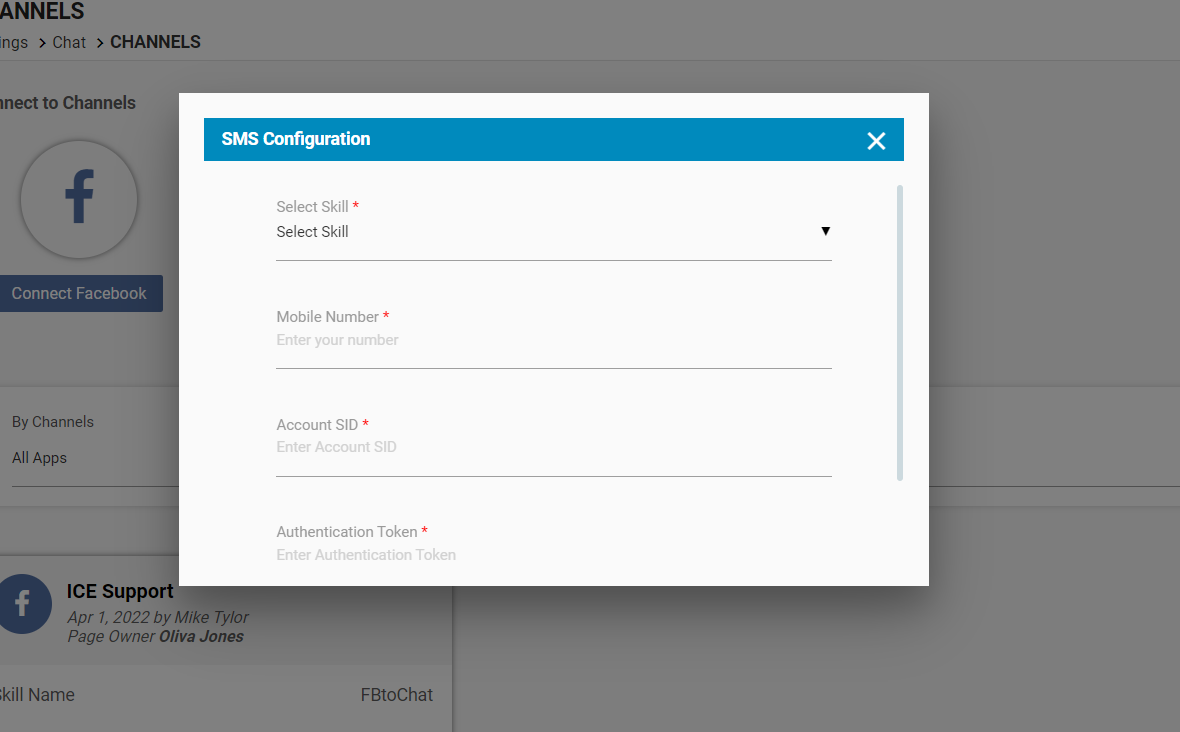
Configure the following details:
Skill: Select the skill from the dropdown list which is created specifically for the SMS to chat mode.
Mobile Number: Enter the unique phone number through which the chats from visitors will be received.
Enter the Account SID and Authentication Token along with the selection of the Skill and Mobile Number.
Account SID and Authentication Token are the individual keys for all the numbers configured for SMS.
Once configured, click on Save.
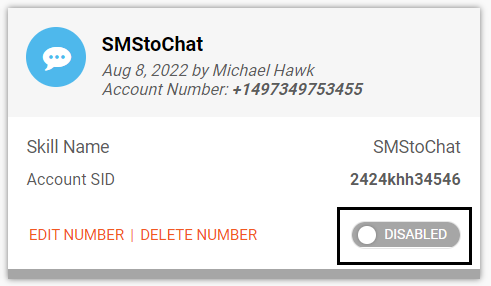
Once saved, the details of the configured SMS number will be displayed on the card in the following format:
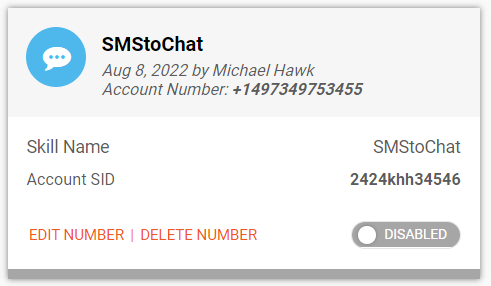
Note: This number should not be used for any other skills for the SMS channel.
This tab will display details like – Skill, Date of creation, Created by, Account number, and Account SID.
Admin can also edit or delete the configured number.
Admin can enable or disable this channel as well by clicking on the Enabled or Disabled toggle button.
To edit the SMS Configuration, click on the EDIT NUMBER option displayed on the same card. Then, the SMS Configuration pop-up window will be displayed as shown below:
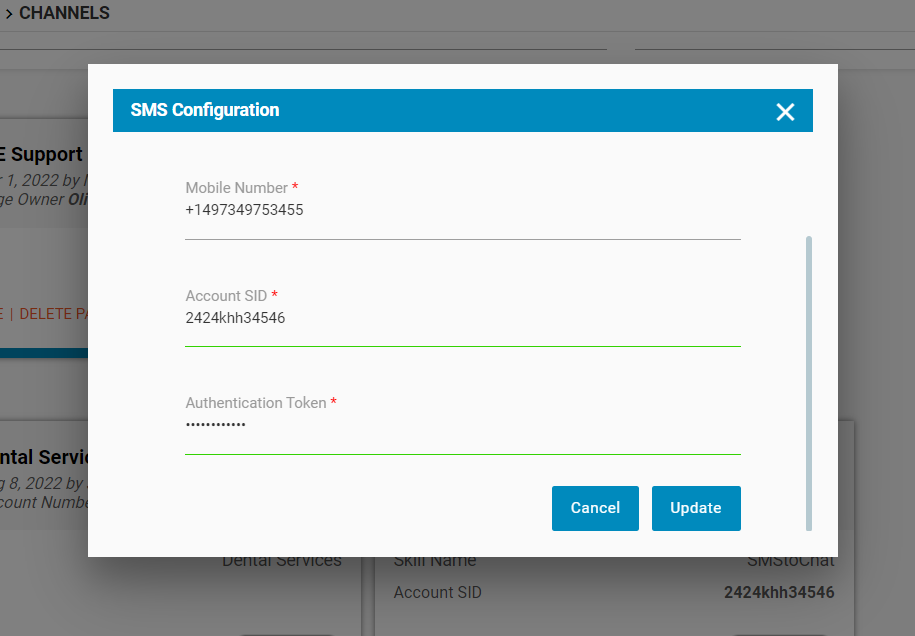
Update the required information and click on the Update button. The updated information will be displayed on the respective card.
Now, the agent can share the configured Account number with the visitors and the visitors can save this number on their phones.
Once saved, the visitor can initiate the chat with an agent through SMS. However, this will be a normal chat scenario for the agent. In this situation, an agent will be able to view a chat through the SMS icon on his/her console as shown below:
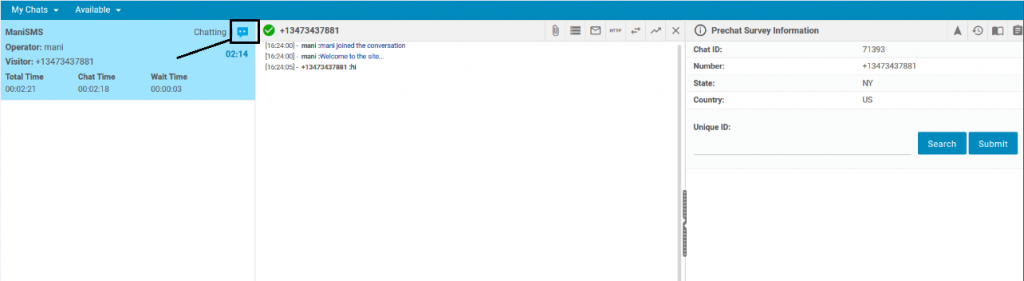
Instead of the visitor’s name, the system will display the visitor’s number on the console-
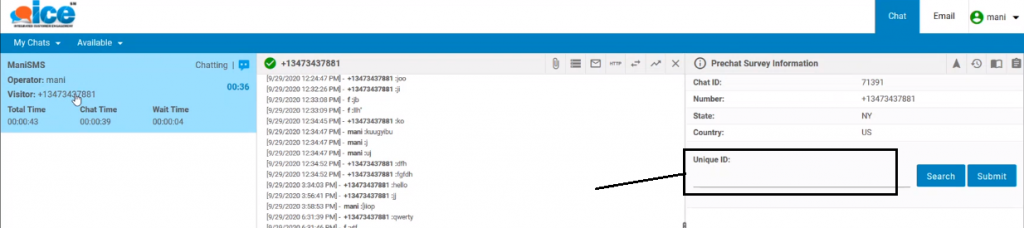
To the right of the console the system will display information about visitors as shown below:

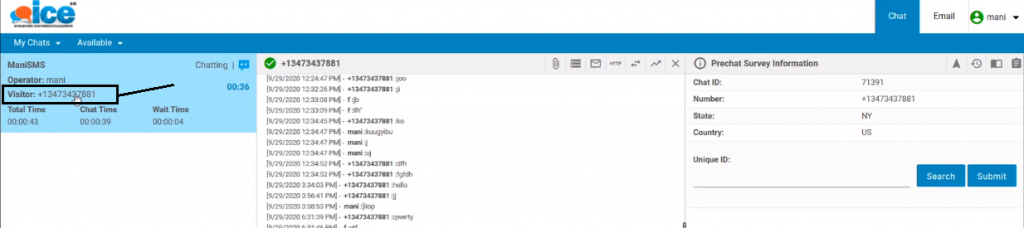
The section also includes a Unique ID field associated to the particular visitor as shown below:
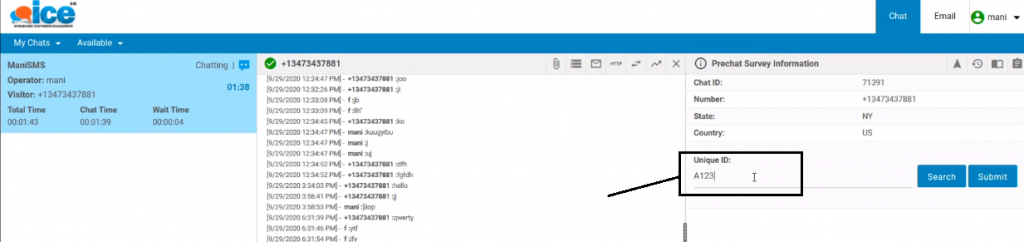
An agent can view previous chat records of the existing connected visitor by entering a unique ID in the respective field.
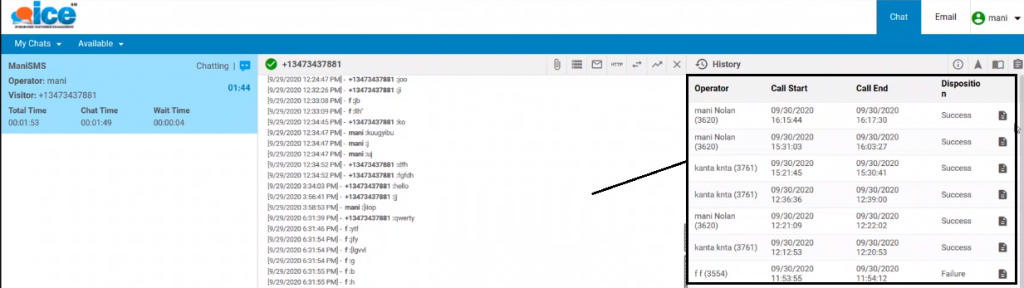
The previous data records are shown in the following format:
An agent has two options as the status to select while disposing of the chat as shown in the below screen:
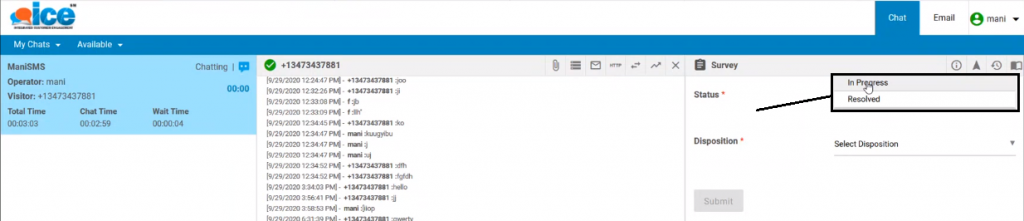
An agent can select In-Progress when a visitor’s concern about chat connectivity is not entirely completed. Similarly, an agent can select Resolved when the chat with the visitor is completed.