Whenever a visitor initiates a chat, firstly the chatbot will try to help the visitor by understanding and solving the visitor’s query. The visitors also have the option to connect to the live agent by requesting the same to the chatbot.
In case if no agent is available and the chatbot doesn’t understand the visitor’s query, then it will initiate a survey to get queries of the visitor. Once the visitor answers all the questions and submits the form, that form will be emailed to a user who is configured to receive Chatbot Form submitted by visitors. The same configured user once available will contact the visitor accordingly.
The questions displayed by the chatbot in a survey are configured by the Admin.
To create a Chatbot Form, select Bot > Chatbot Form.
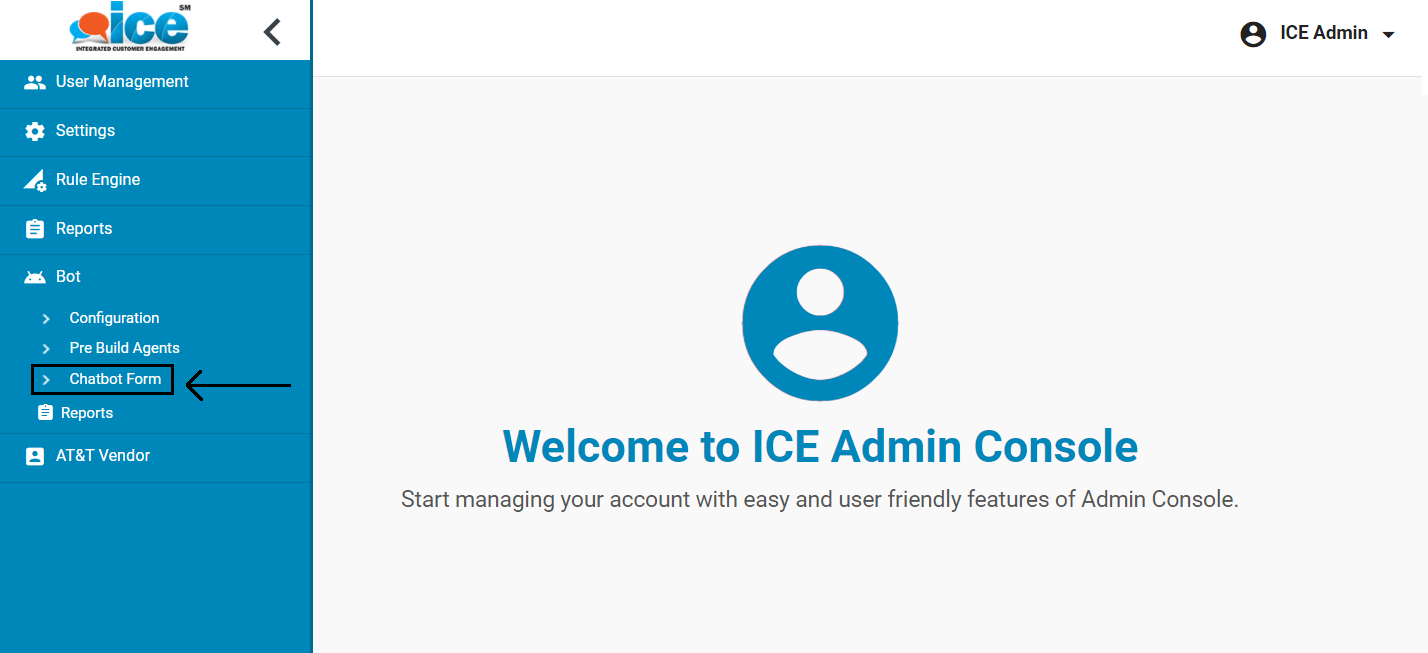
The Chatbot form page will be displayed as shown below:

To create a new Chatbot Form, click  button as shown highlighted above. The Create Chatbot form page will appear as shown below:
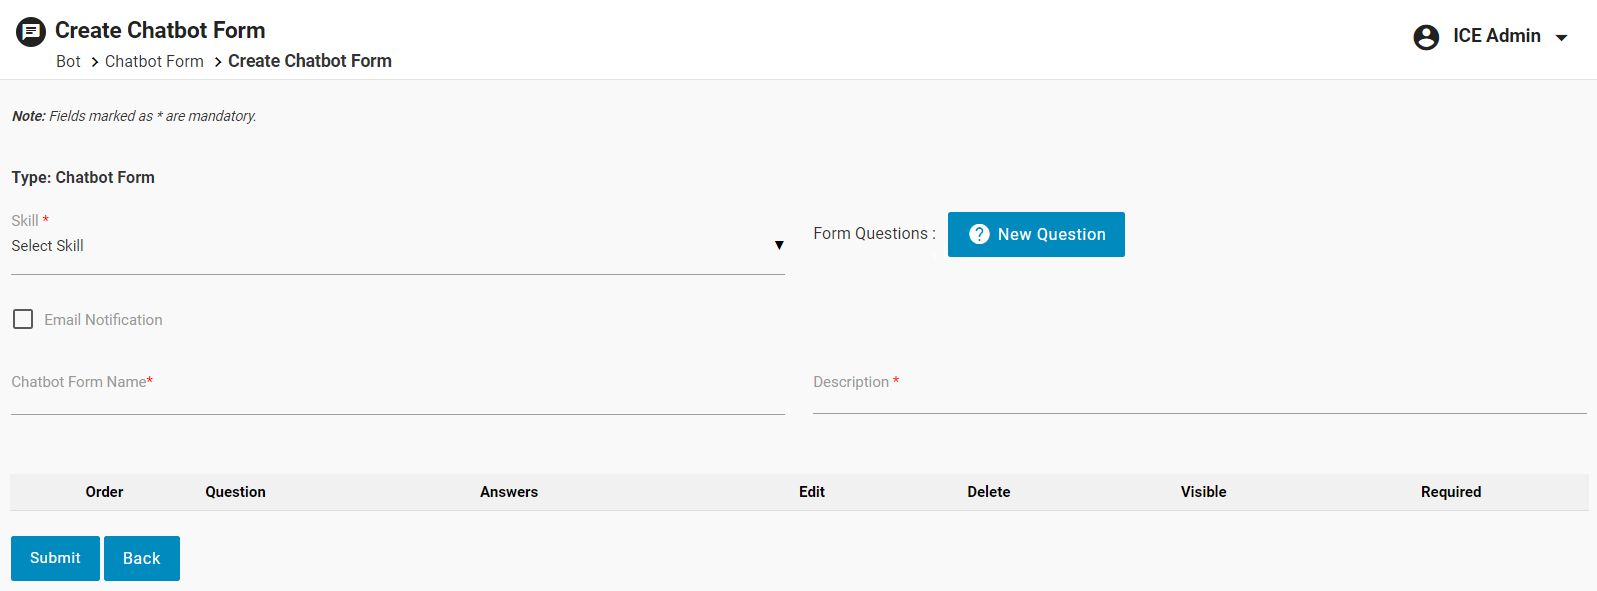
Follow the mentioned steps to create a chatbot form:
- Select Skill from the dropdown list.
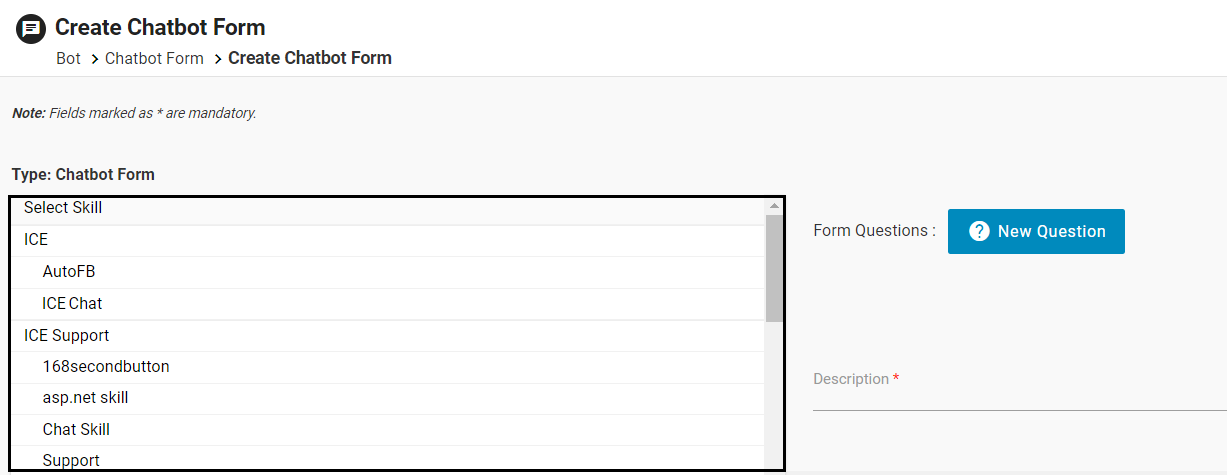
NOTE: Make sure the selected skill is enabled from Bot > Configuration.
- To form the questions, click
 button.
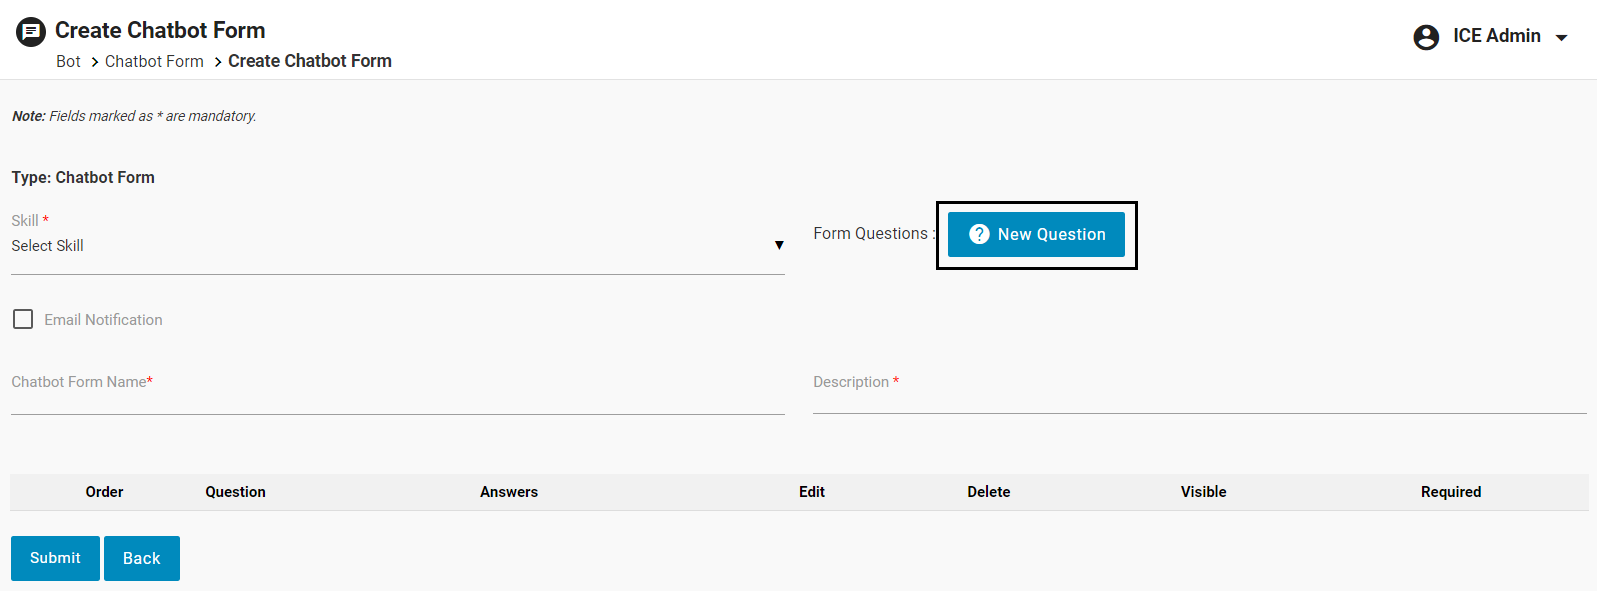
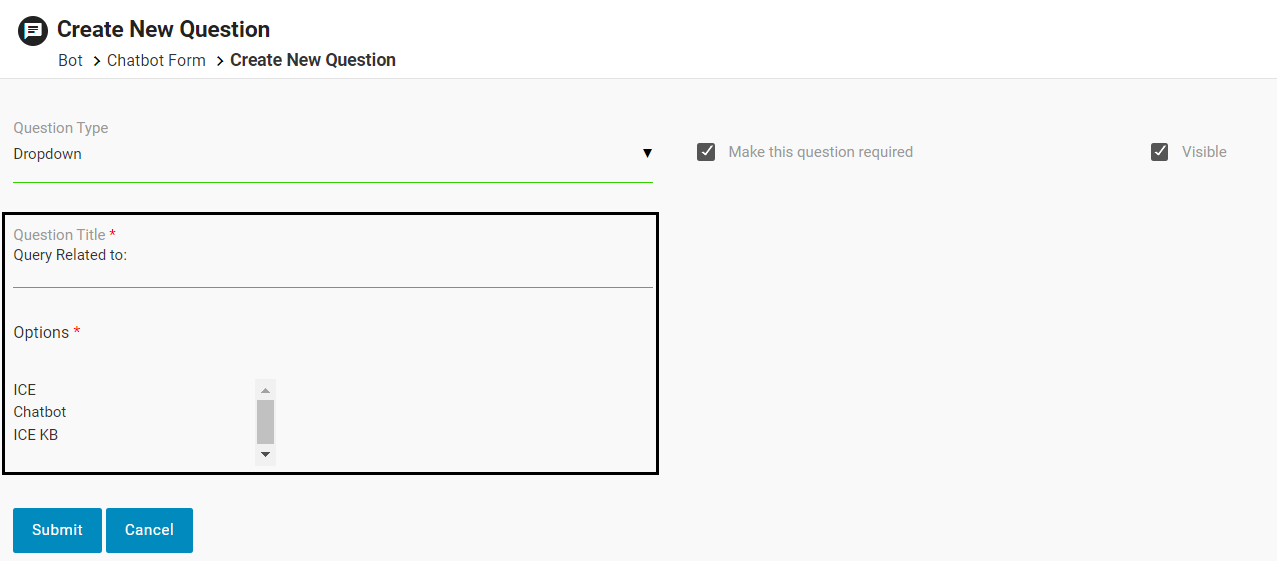
Create New Question page appears as shown below:
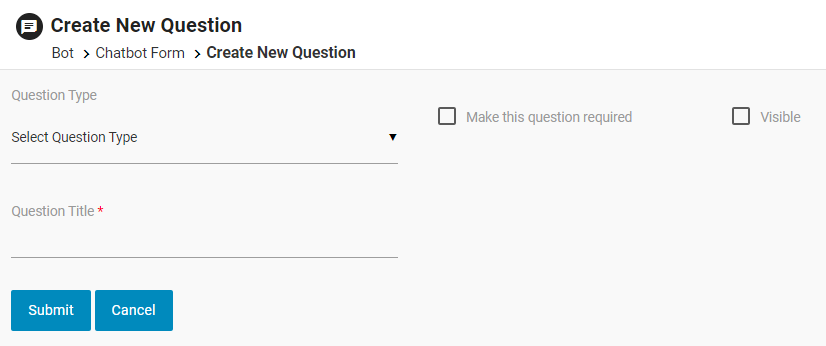
To add new questions in a Chatbot Form, follow the steps mentioned below:
- Select the Question Type from the dropdown list.
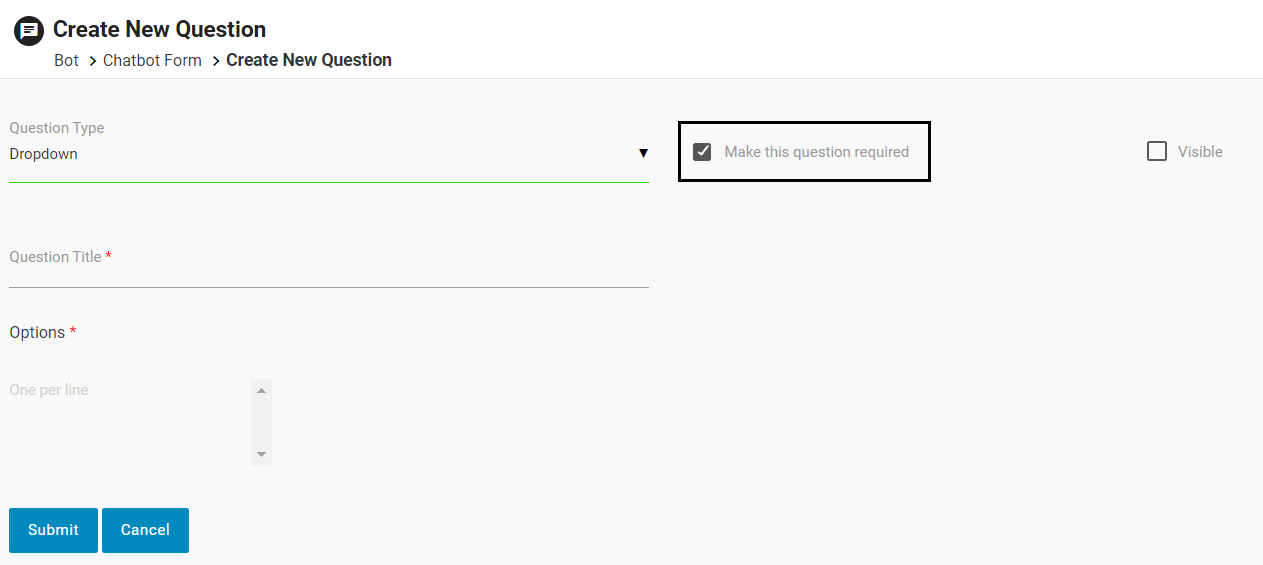
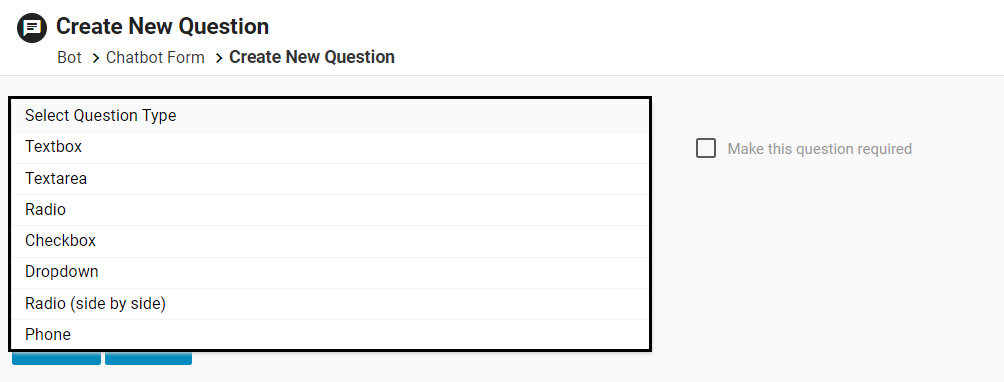 Select the Make this question required checkbox to make the configured question mandatory.
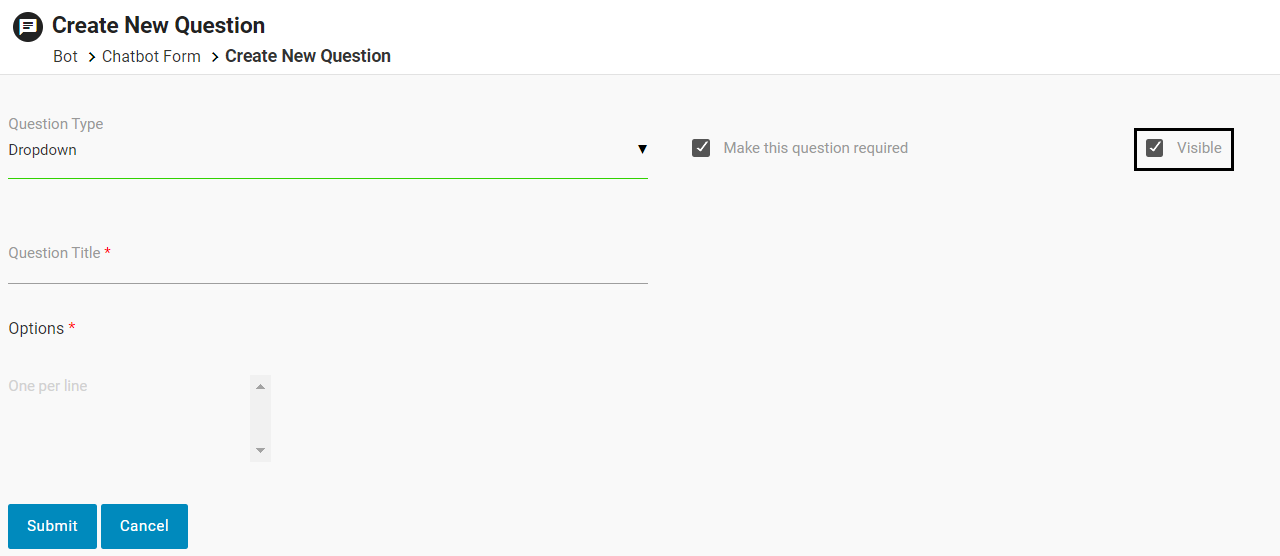
 Select Visible checkbox to display the configured question to the visitor.
 Enter the Question Title. If the options are applicable for the selected Question Type then enter the option names in the Options section as shown below.
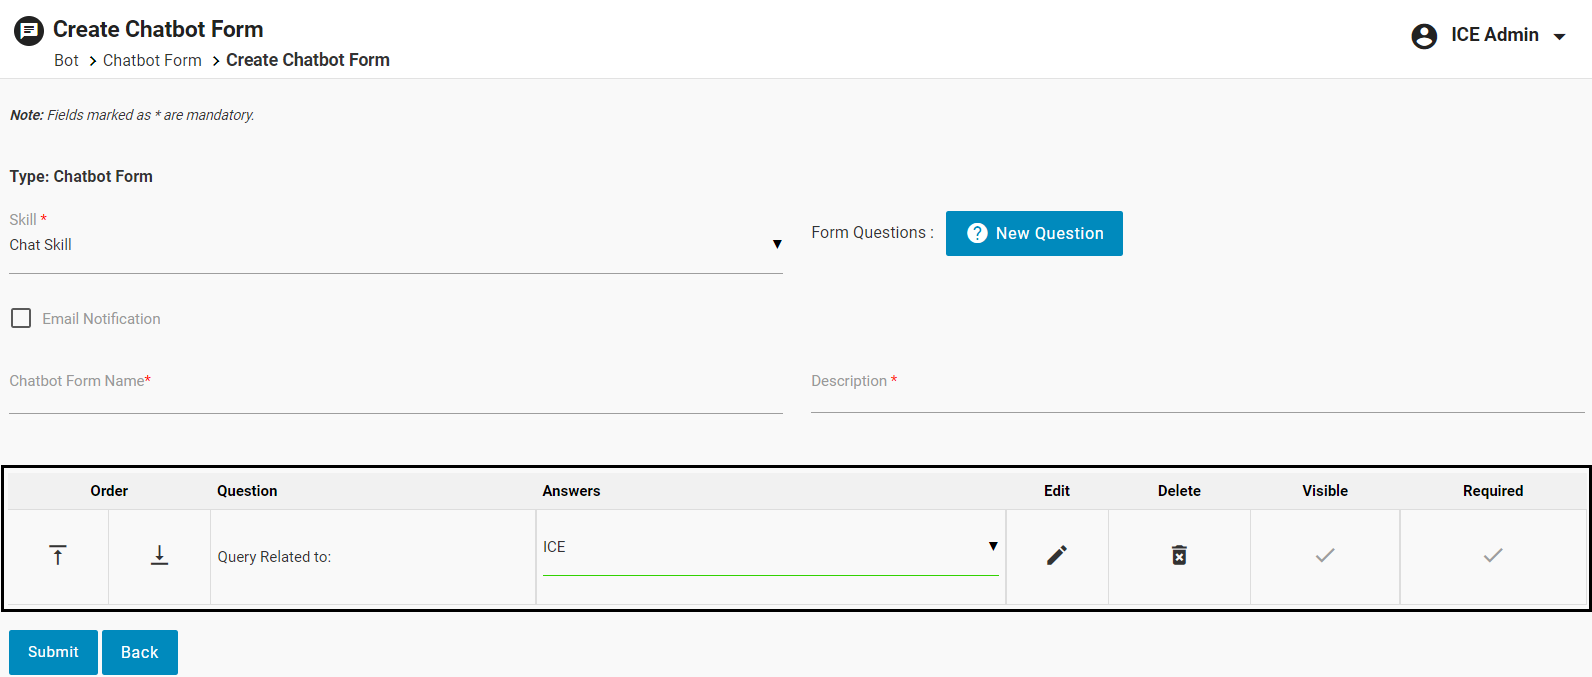
 Click Submit. The configured question will be displayed in the Create Chatbot Form page in a grid format as shown below:
Similarly, add desired questions in the configured form and all the questions will be displayed as shown below.
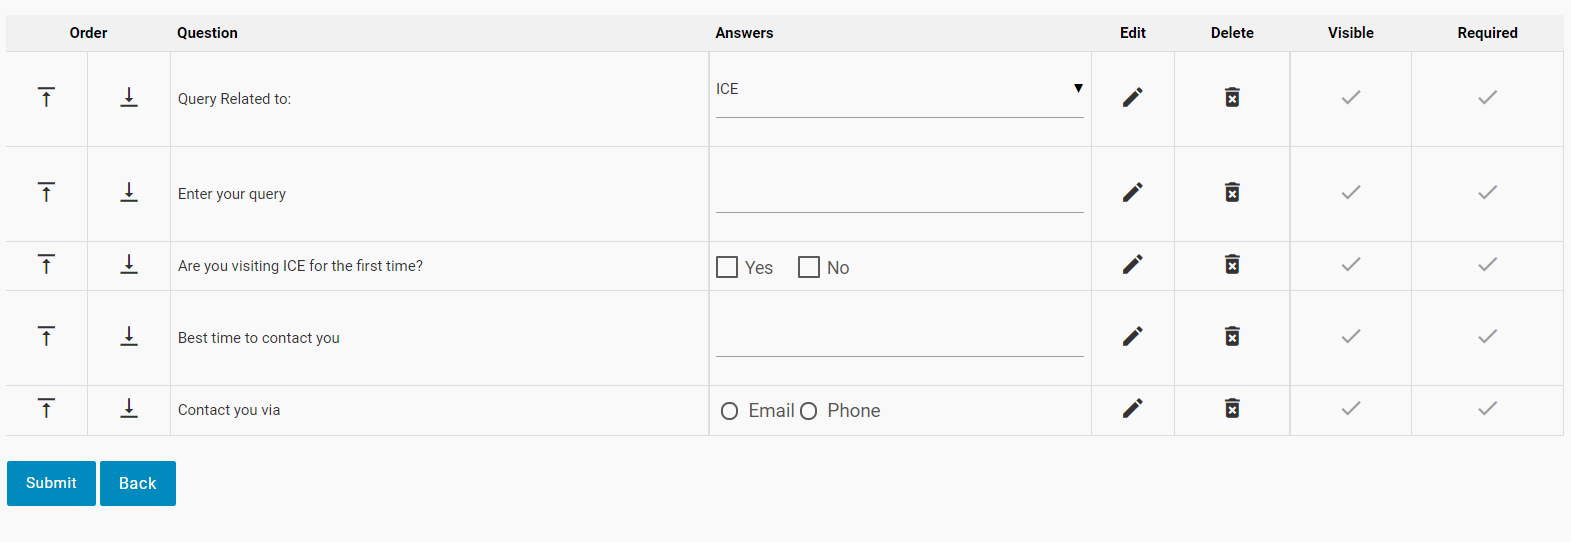
To change the order of the questions in a form, click on ![]() to move a particular question above or click on
to move a particular question above or click on ![]() icon to move the question below.
icon to move the question below.
From this grid, edit the question of a form by clicking the ![]() icon.
icon.
To delete any question, click on the ![]() icon.
icon.
Admin can update the question visibility status and can also make a question mandatory or non-mandatory from this grid.
To send the email notification to the user (agent or supervisor), select the Email Notification checkbox.
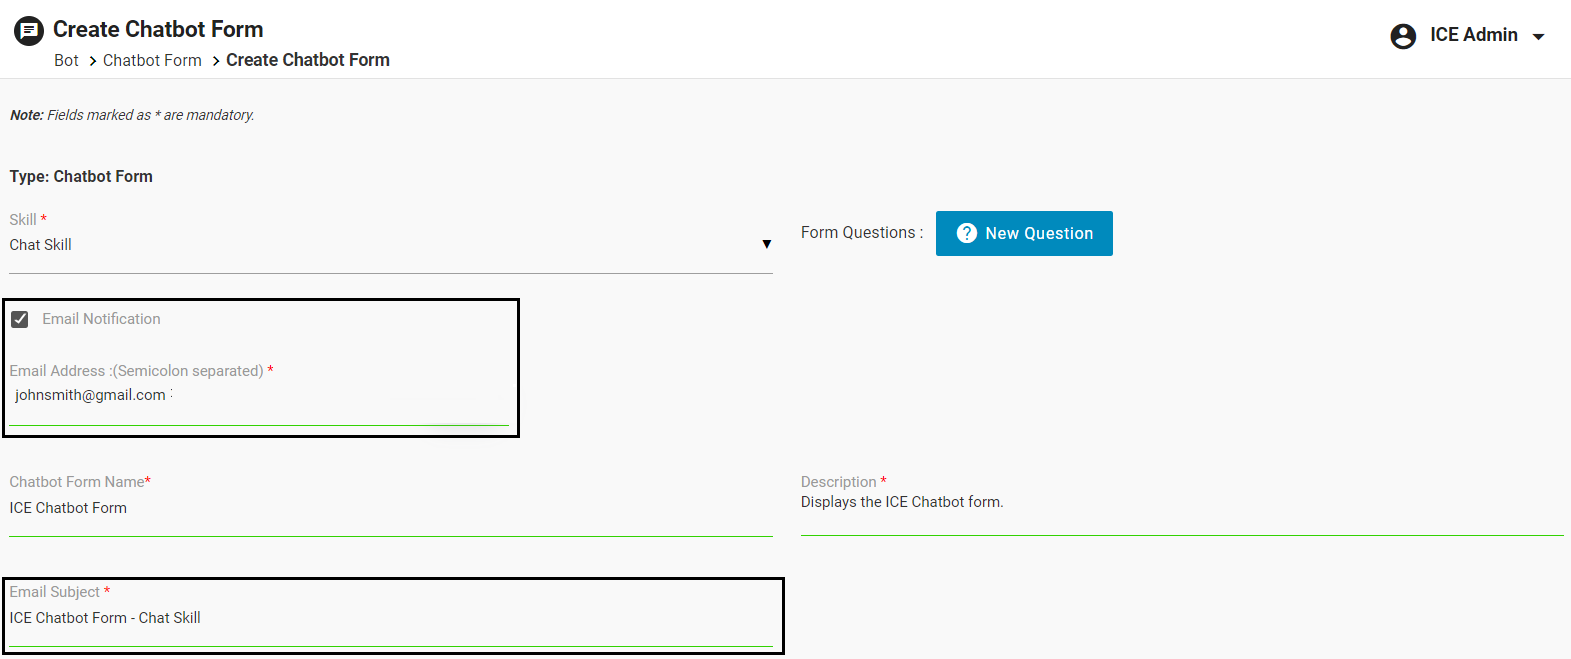
Enter the Email Address(es) of the recipient and configure the Email Subject both shown highlighted in the above screen.
Enter the Chatbot Form Name and its Description.
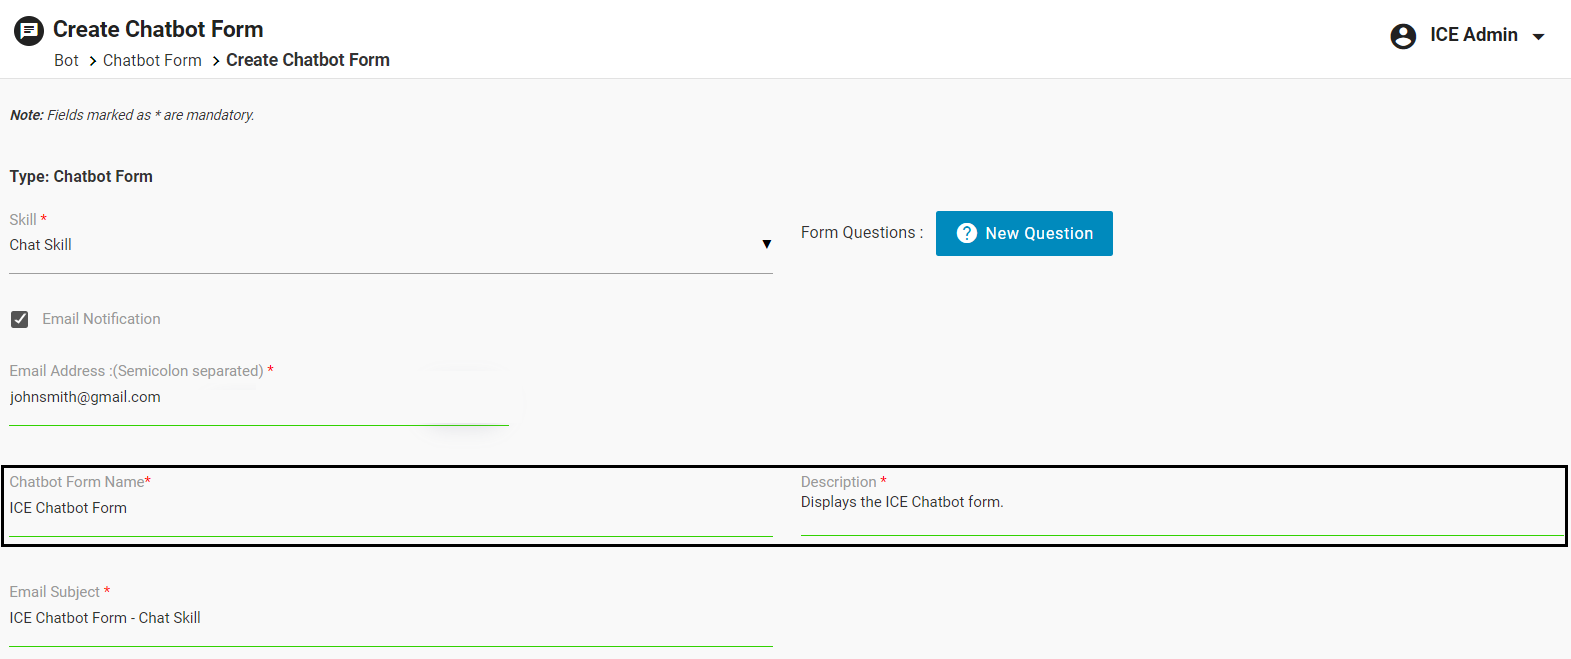
Once the form is configured, click Submit.
The configured form will be displayed in the Chatbot Form grid as shown below.

From this grid, edit any form by clicking the ![]() icon against that form.
icon against that form.
To delete any form, click on the ![]() icon against that form.
icon against that form.
To enable or disable any form click on ![]() icon against that form.
icon against that form.
To clone any form, click on ![]() icon against that form.
icon against that form.
Now, whenever the visitor initiates a chat, and the chatbot is unable to understand their query, then the chatbot will start displaying the questions of the form created for a specific skill one by one.
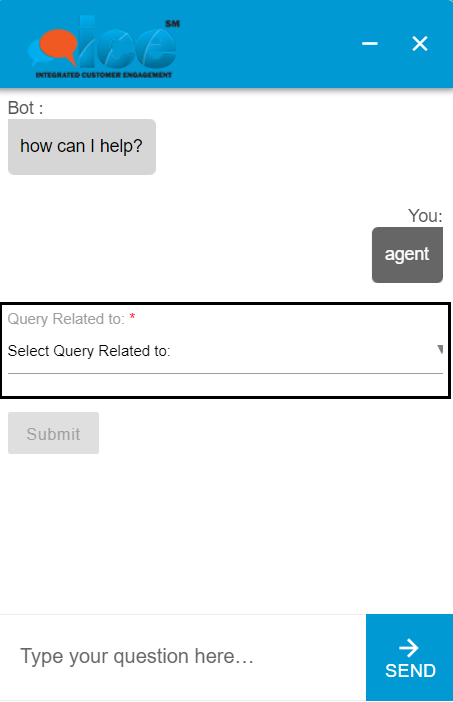
Once all the questions are answered by the visitor and they submit the form, a message will be displayed.
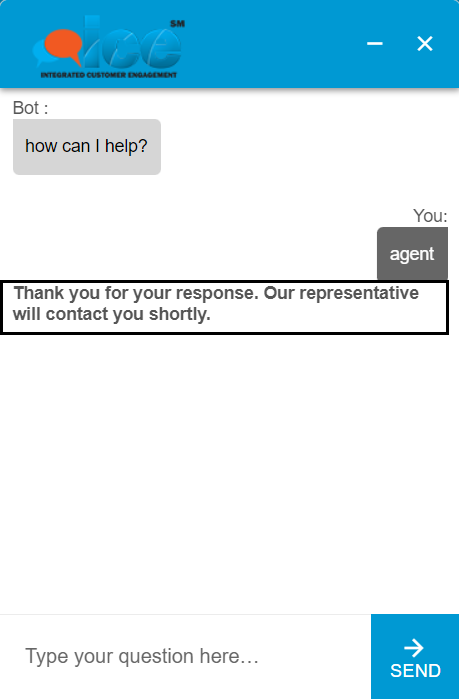
This message can be configured from Settings > Common > Campaigns.
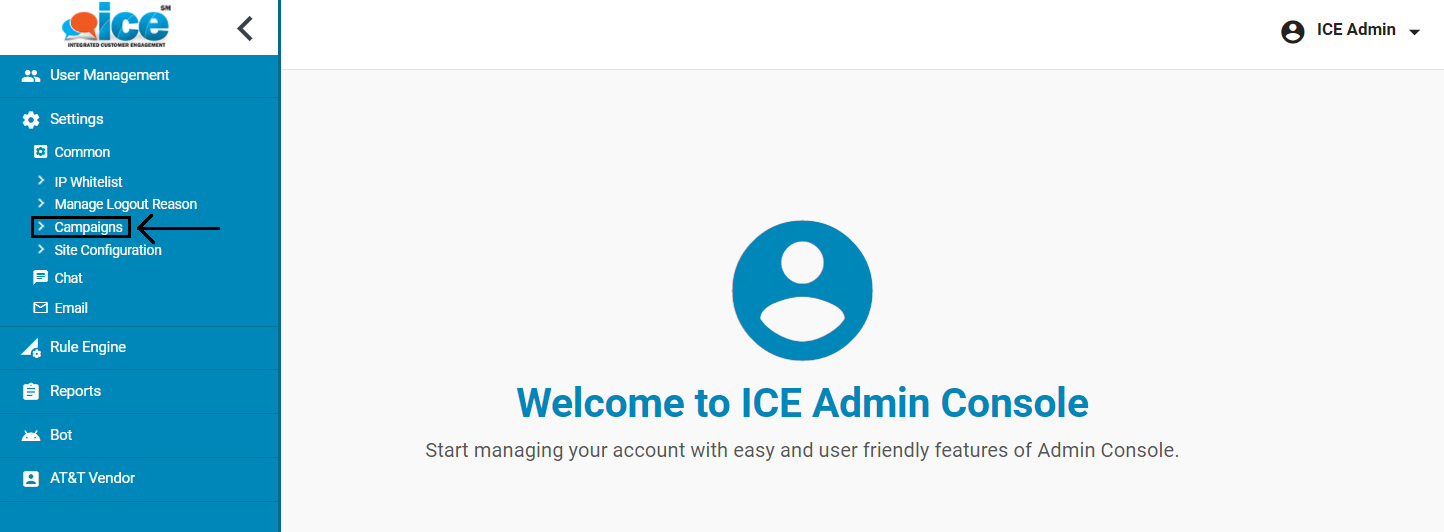
The Campaign Administration page appears as shown below:
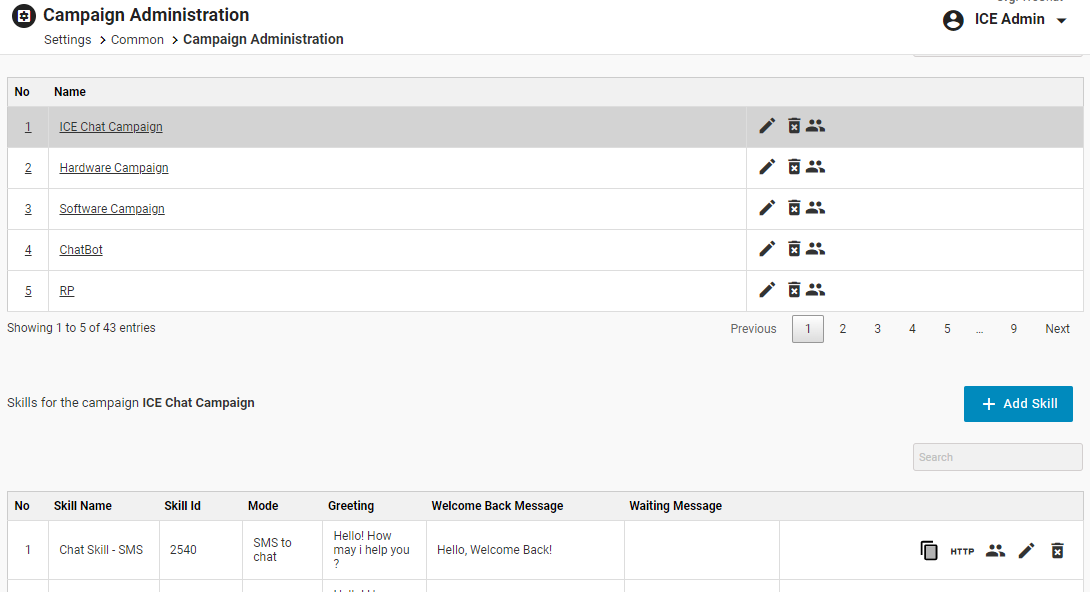
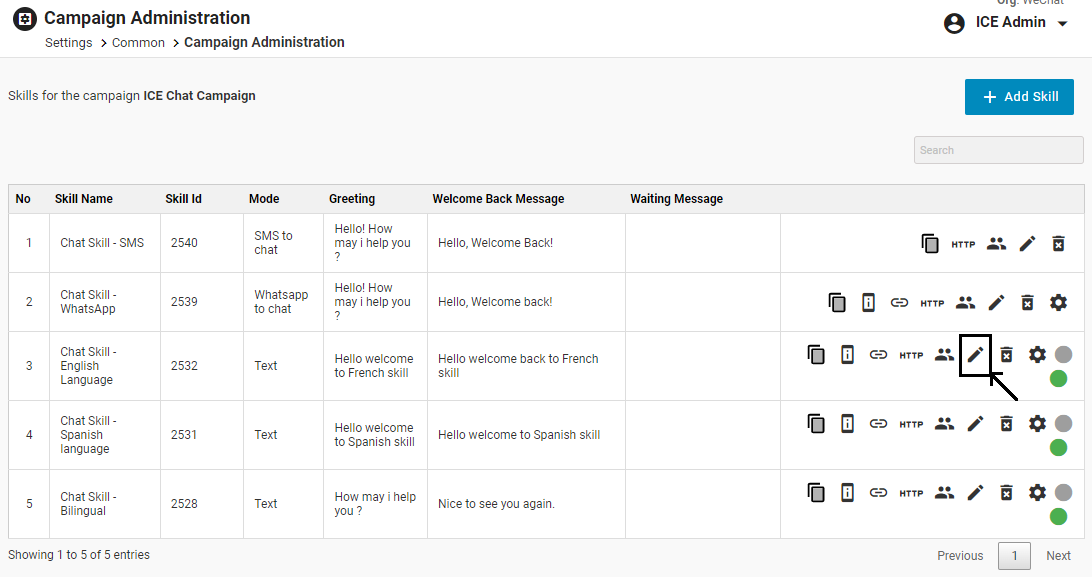
Search the campaign and the respective skill of that campaign. Click on the Edit ![]() icon against the specific skill to edit the Response messages.
icon against the specific skill to edit the Response messages.
Edit Skill page appears as shown below:
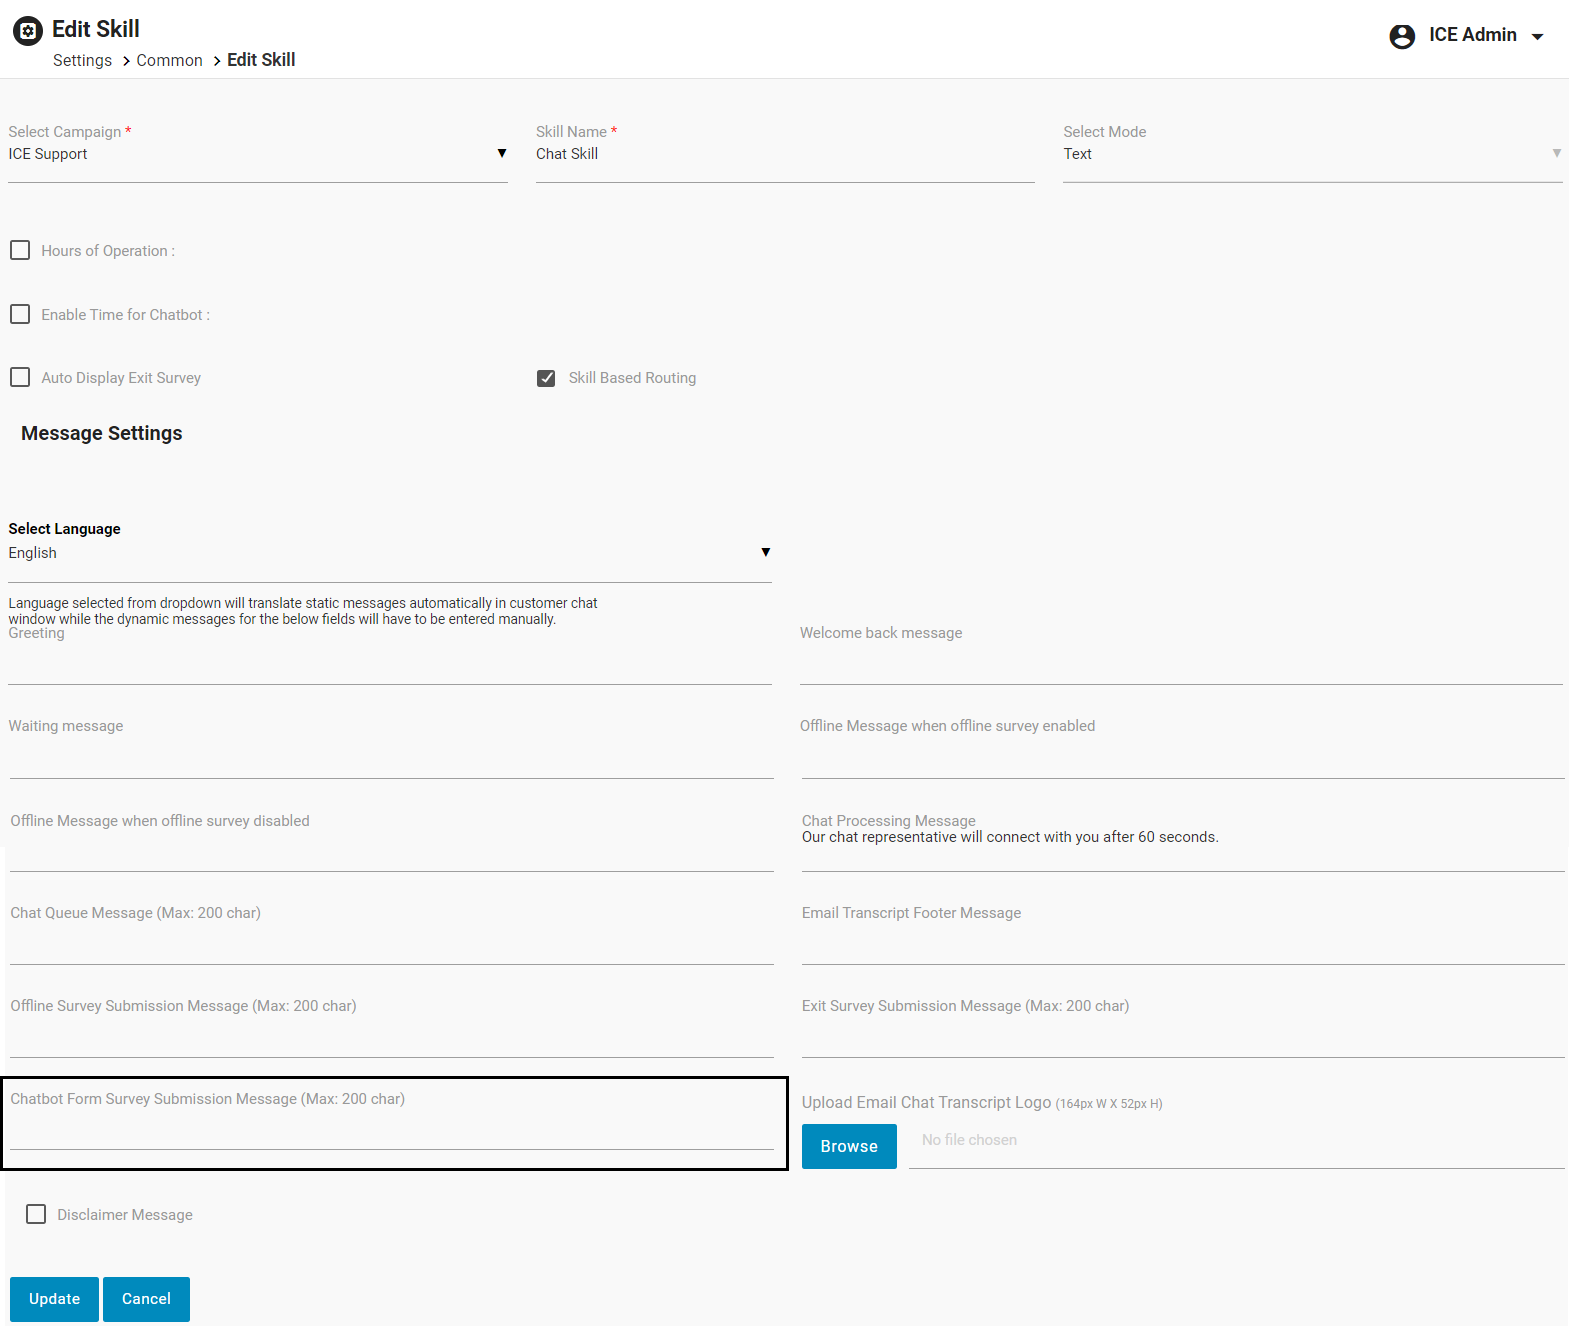
Enter the Chatbot Form Survey Submission Message in the space shown highlighted above. This message will be then displayed to the visitors, once they submit all the questions of the survey.