1. An email supervisor enters the credentials and the system redirects to the following screen-
Note– The above screen may differ for a supervisor with access to both, chat and email. This is as shown below-
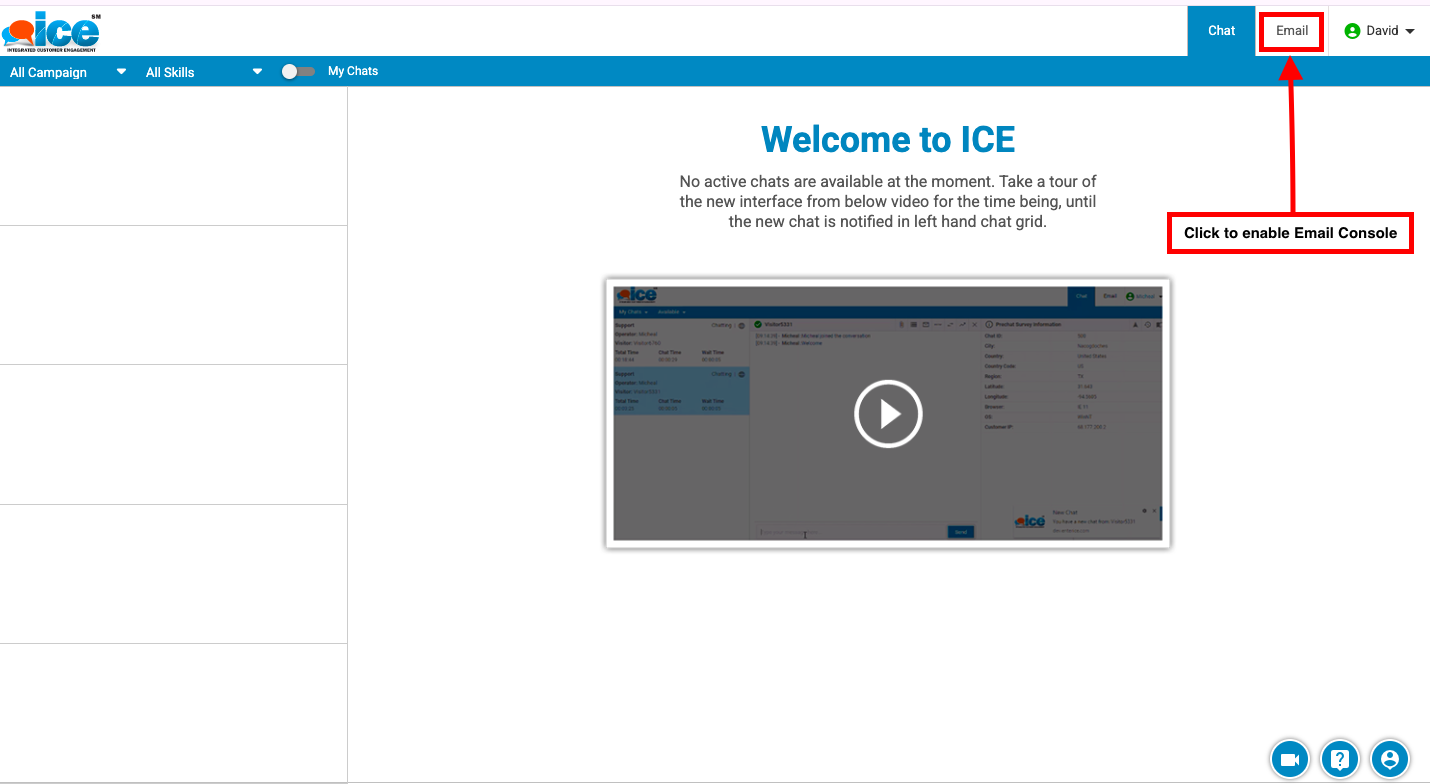
Like shown highlighted in the above screen, a supervisor with access to both the modules needs to click on Email tab for an Email console.
2. User Account on the top right corner displays the following list of options from dropdown box as shown below-
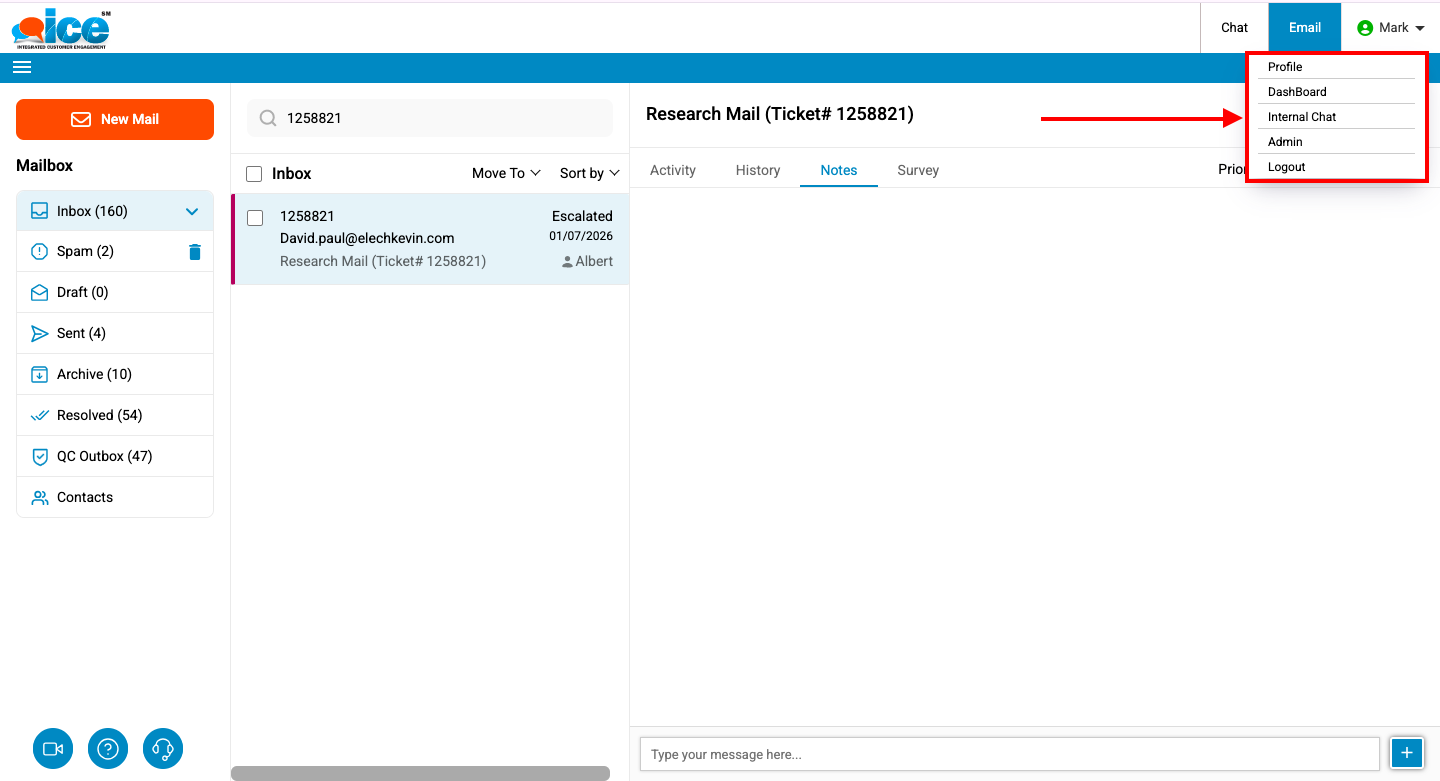
- Profile– Provides multiple interface to user such as personal information, settings and change password.
- Dashboard– Opens in a new tab and displays various attributes including Total online users, total tickets, operator details and so on.
- Internal Chat– Allows a user to chat internally with other available users.
- Admin– Allows a supervisor to access Admin console
- Logout– Helps to log out a user from the system.
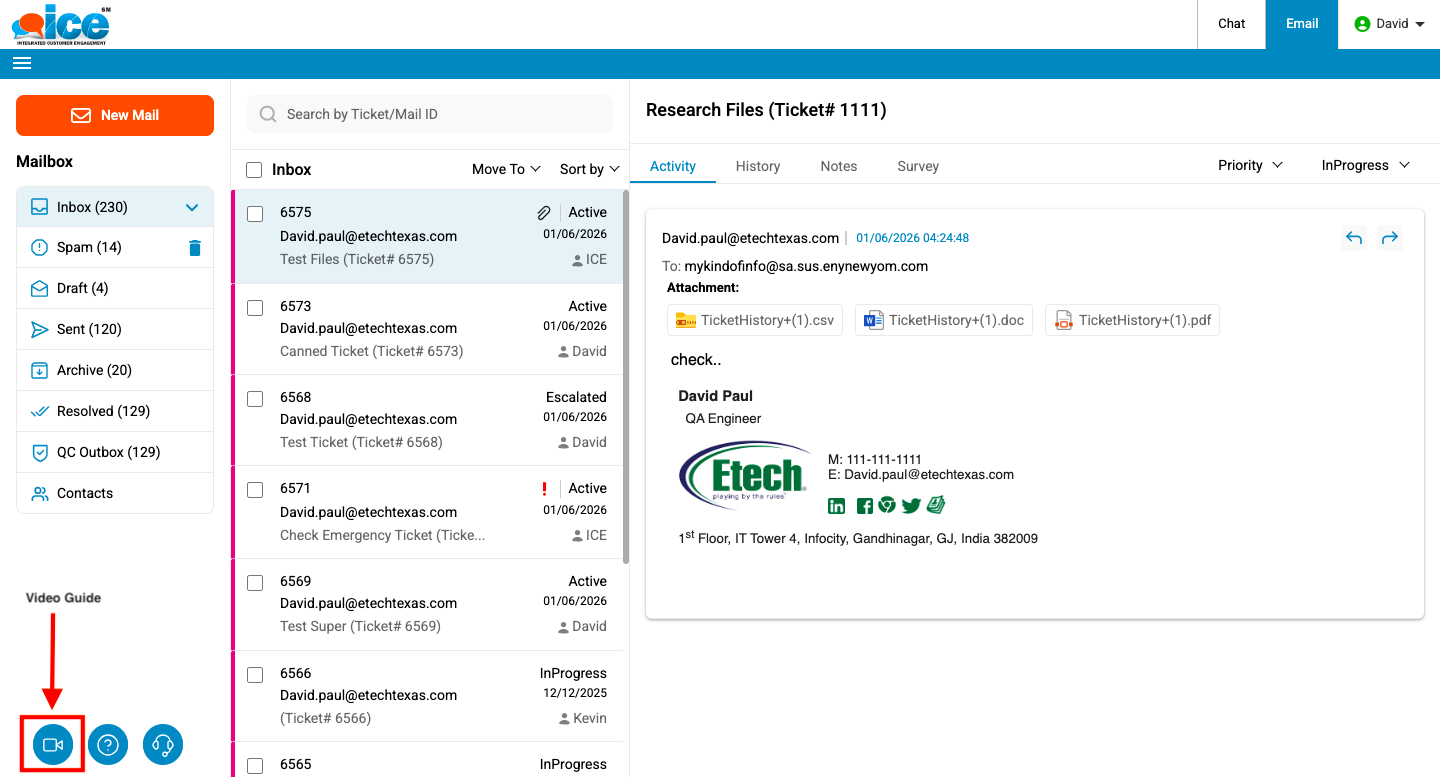
3. Email Grid– An Email operator console includes various folders to manage and configure email. This is as shown below-
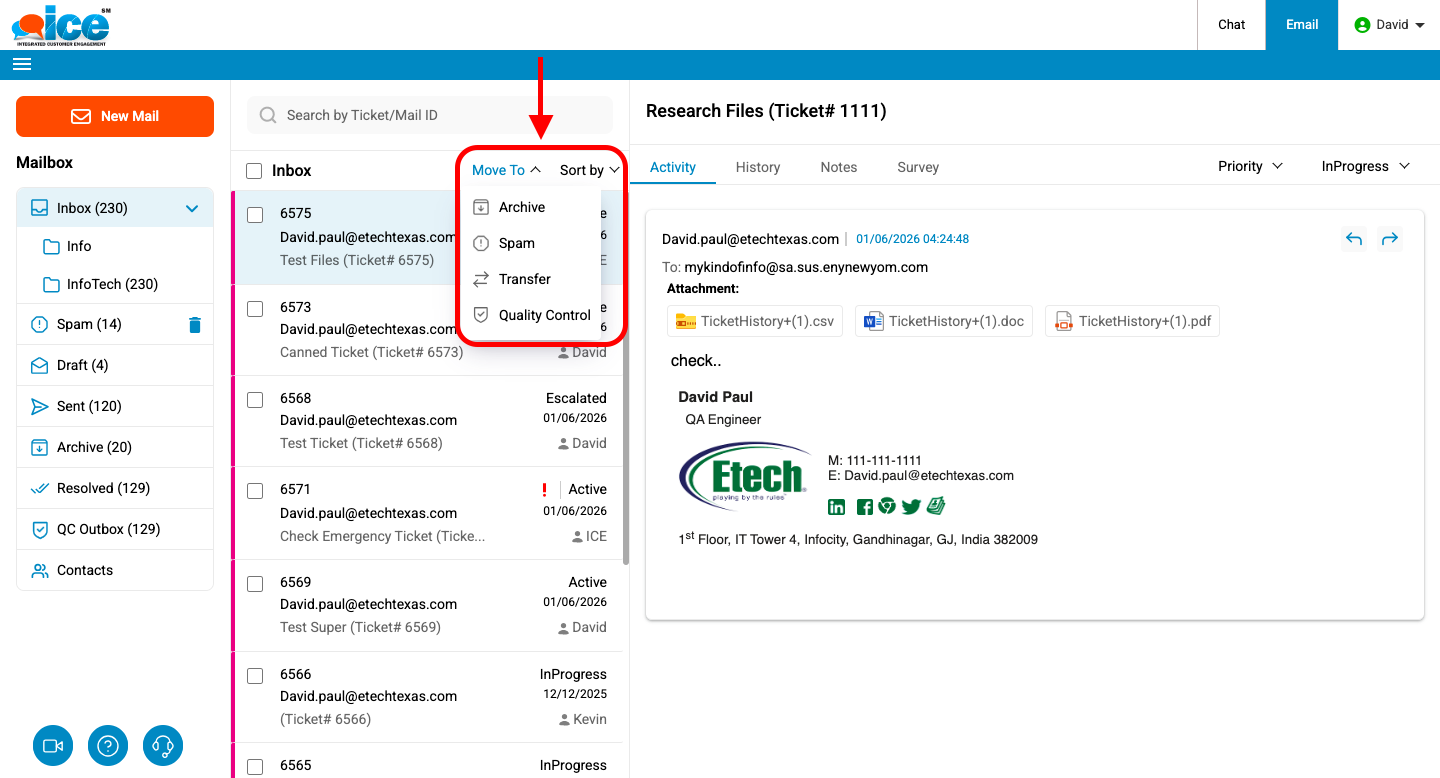
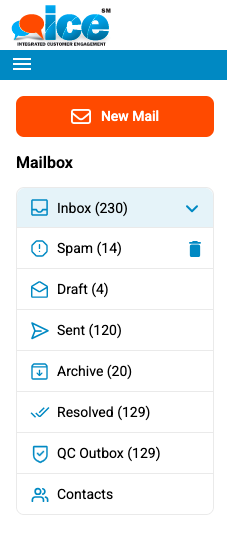
4. Folder List– It displays a list of folders like Inbox, Spam, Draft, Sent, Archive, Resolved and Quality Control Outbox. This is as shown below-
5. Editor Section– It allows an email supervisor to reply or forward a ticket to the customer who has raised a ticket. Also, it provides options like Canned Responses, Attach File, Escalate and Save as Draft along with information section such as activity, details, history, notes, and survey, which is same like an email agent’s window. This is as shown below-
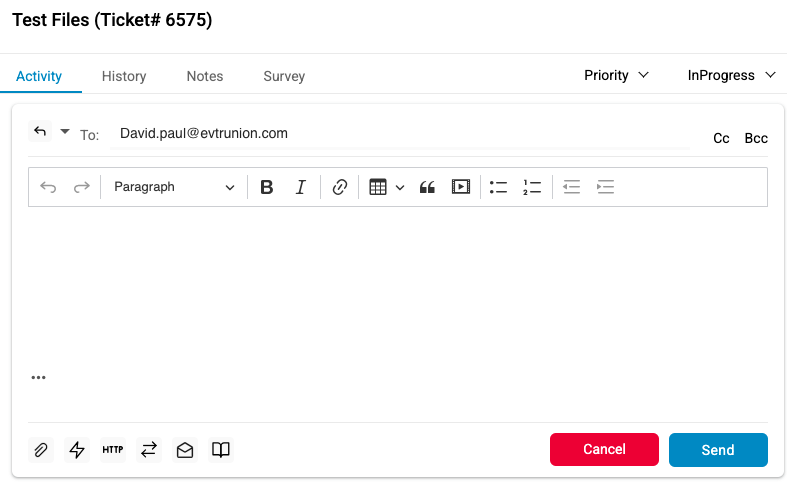
6. Compose Icon– This is used to compose an email and is denoted by  icon. Click it and the system will redirect to the following screen-

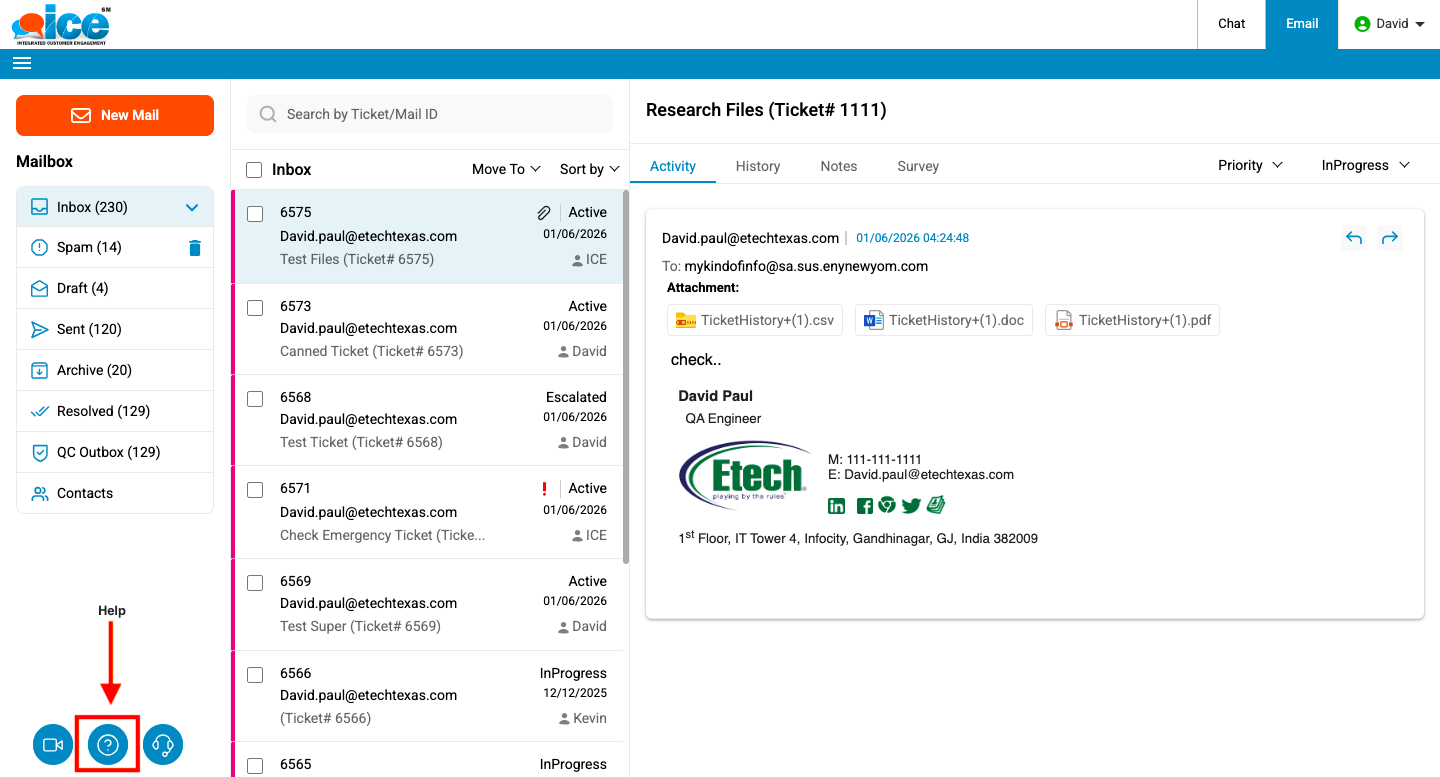
7. Help Icon–
A user can always click  icon in case of any help, doubts or concerns regarding the operations of software. The help icon is shown highlighted in the screen below-
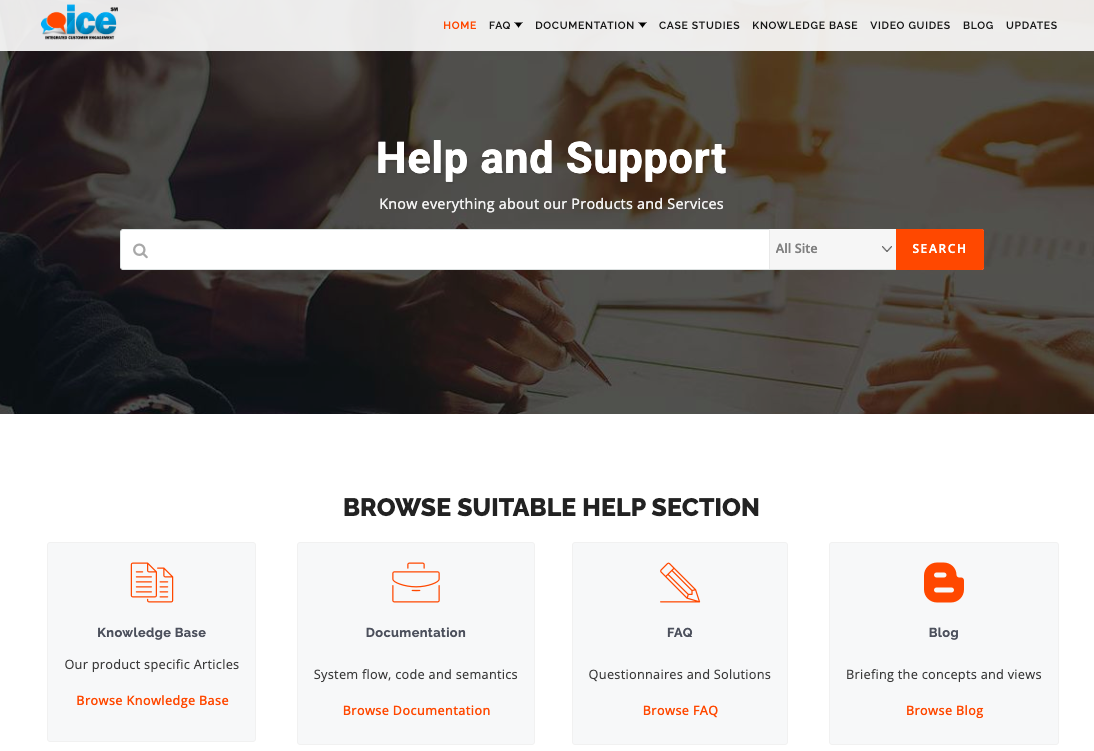
This will redirect the user to ICE Help Manual as shown below.
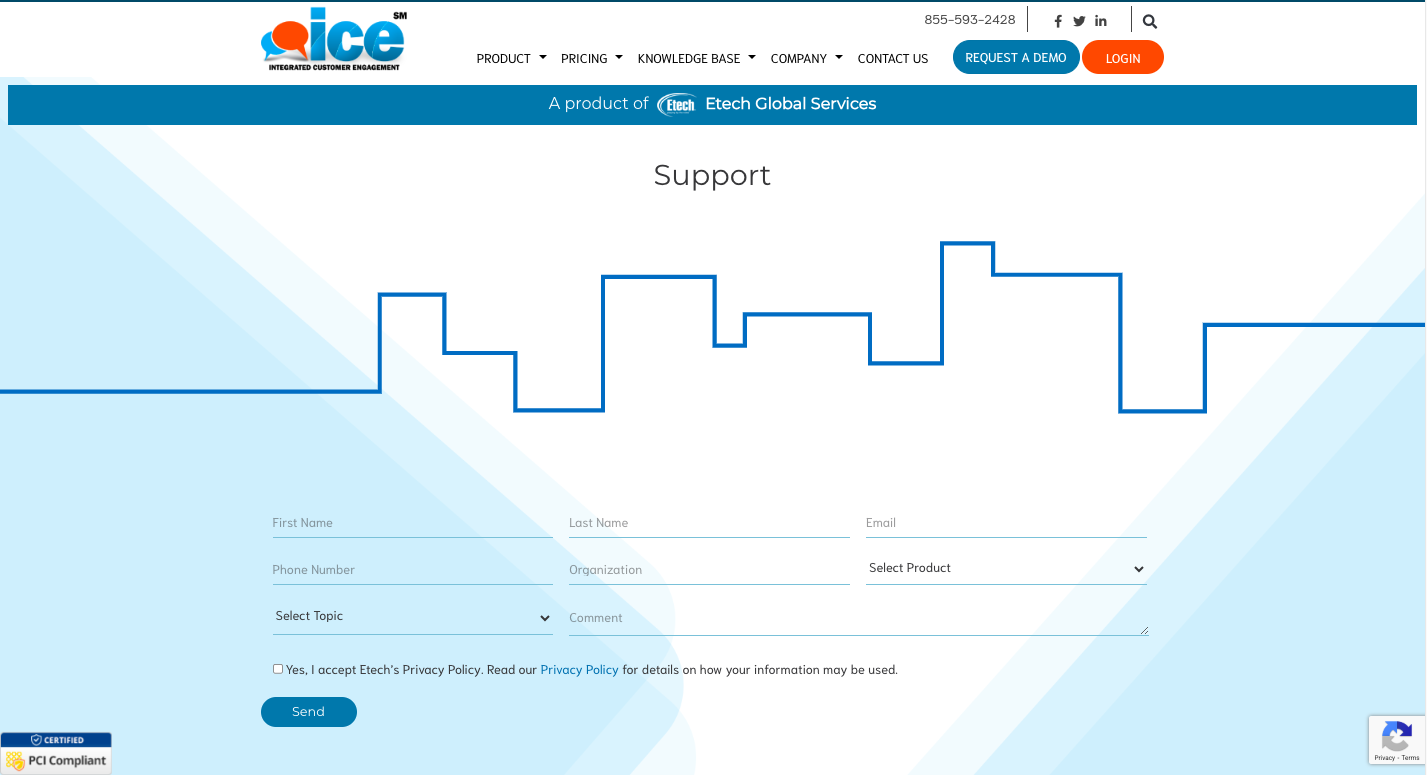
8. Support Icon–
This icon is denoted by  and is shown highlighted in the screen below-
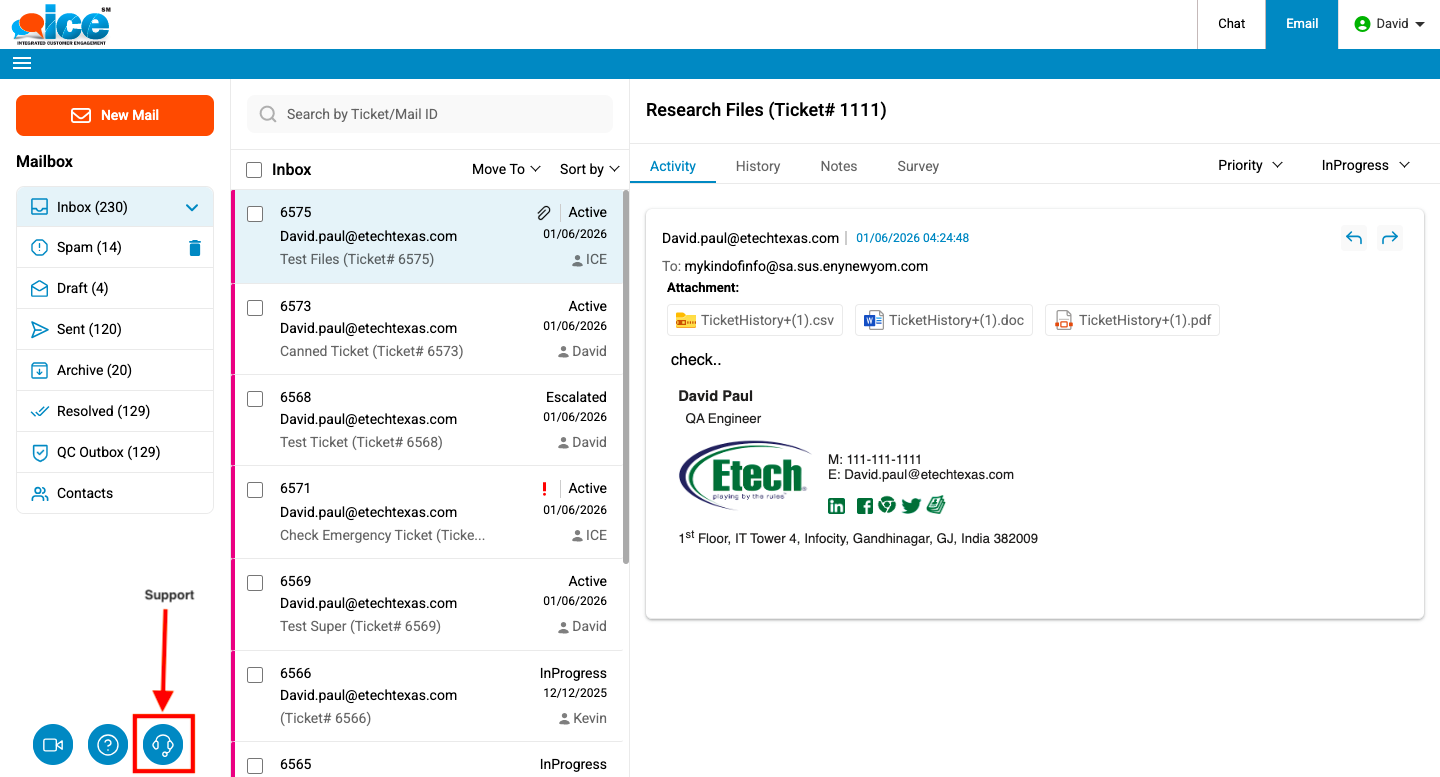
Clicking the Support option redirects users to the Support window, where they can enter the required details. After completing the form and clicking Submit, a support ticket is created in the ICE Help Desk. The Support console is shown below.
9. Video icon
When users click the video icon, they can access a video guide that provides an on-demand walkthrough of the portal whenever assistance is needed. This icon is denoted by