To add Quality Control Outbox Keywords following are the steps:
1.Select skill for which the Quality Control Outbox keyword is to be used from the Skill dropdown list.
2.Enter keywords to be added in the Keyword (at least none of these keywords) field. This is a mandatory field.
3.Enter keywords to be added in the Keyword (none of these words) field.
Note:
•An email ticket containing keywords configured from the Keyword (at least none of these keywords) field will directly go to the Quality Control Outbox folder of Supervisor Console.
•An email ticket containing keywords configured from the Keyword (none of these words) field or from both the fields will go to the Inbox folder and is visible in both the Operator and Supervisor Console respectively. Tickets will be locked for agents and hence they will not be able to access those tickets
4.Click ![]() button to add the keywords or click
button to add the keywords or click ![]() to cancel the process.
to cancel the process.
5.A confirmatory message stating ![]() is displayed and the record is visible in the grid of Quality Control Outbox page as shown below.
is displayed and the record is visible in the grid of Quality Control Outbox page as shown below.
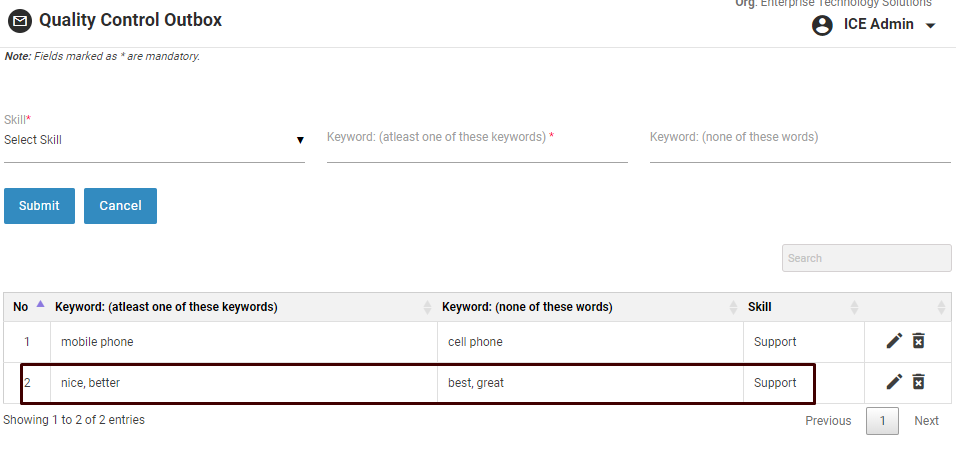
Newly added Keywords
6.Click ![]() icon to edit a particular Keyword, the following screen appears.
icon to edit a particular Keyword, the following screen appears.
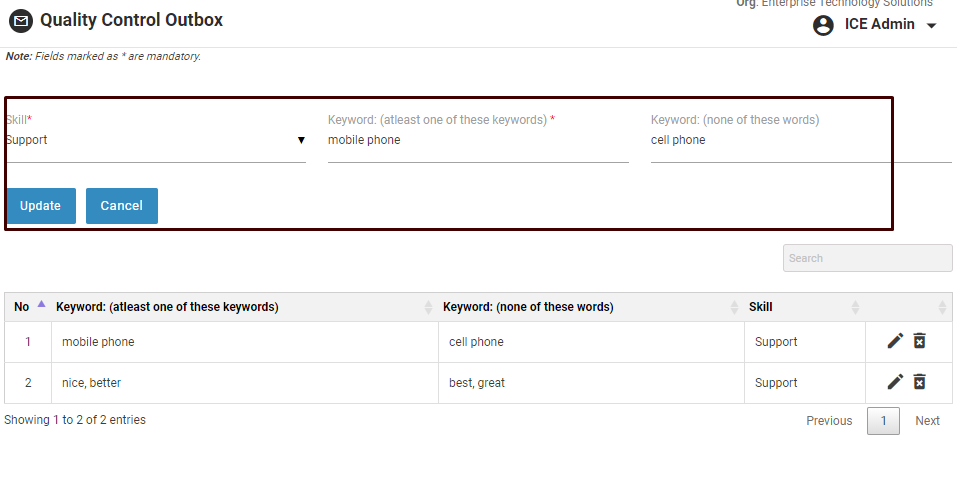
Edit Keywords
7.Admin can edit the Keywords and Skill from the field above the grid itself. Once the changes are done, the admin can click perform any one of the actions from below.
•Click ![]() button to update the changes made and a confirmatory message stating
button to update the changes made and a confirmatory message stating ![]() is displayed.
is displayed.
•Click ![]() icon to cancel the process.
icon to cancel the process.
•Click ![]() icon to delete the Keywords and a confirmatory message stating
icon to delete the Keywords and a confirmatory message stating ![]() is displayed.
is displayed.