In order to get connected with agent through Facebook, a user needs to set a Facebook page through Admin console.
The process is initiated by assigning a skill to a Facebook page. To set a skill to a Facebook page, select Settings > Common > Campaign > Campaign Administrator , and the user will be redirected to the following screen:
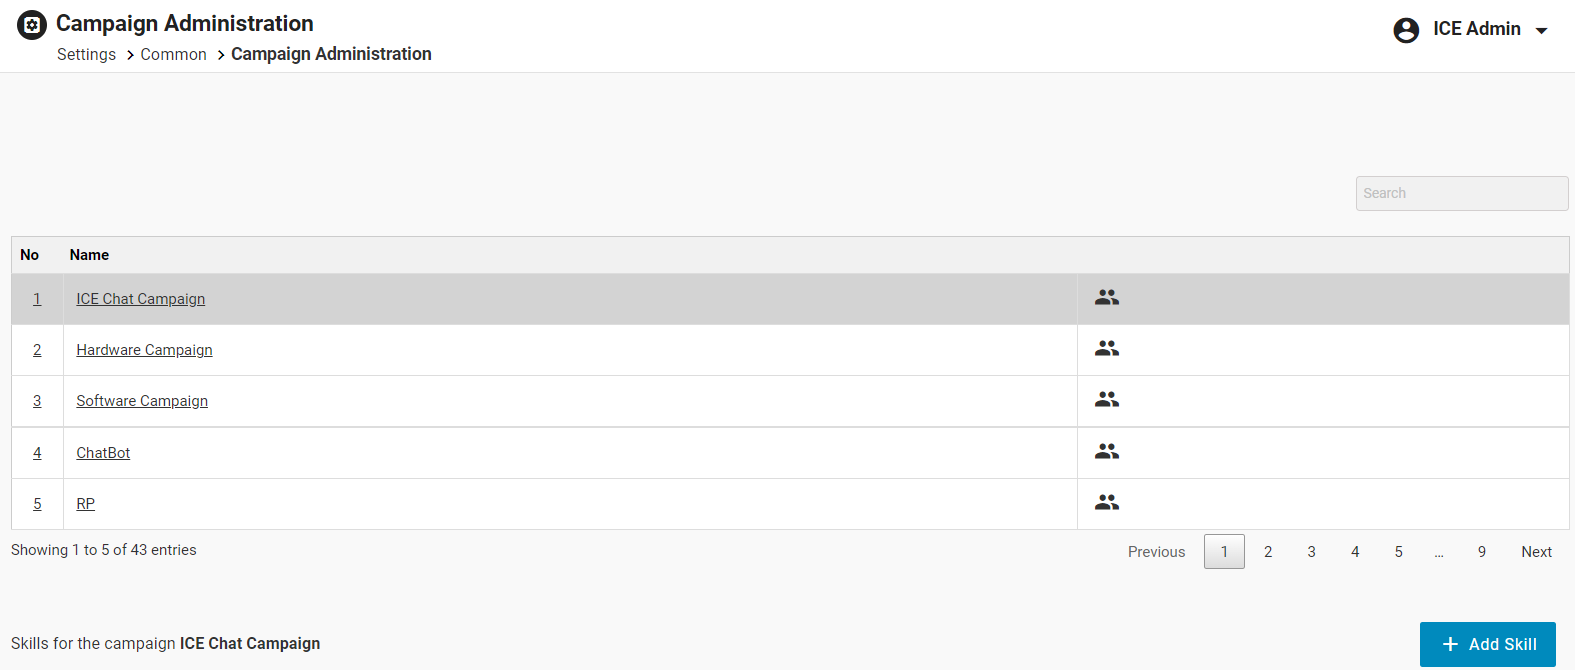
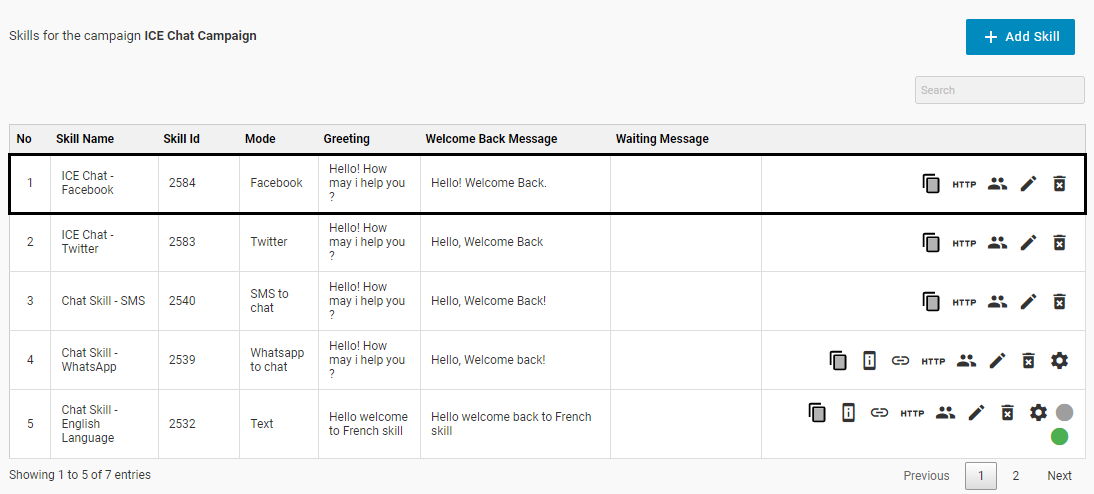
Select a particular campaign from the grid as shown highlighted on the screen:

Click Add Skill button for the selected campaign as shown on the below screen:

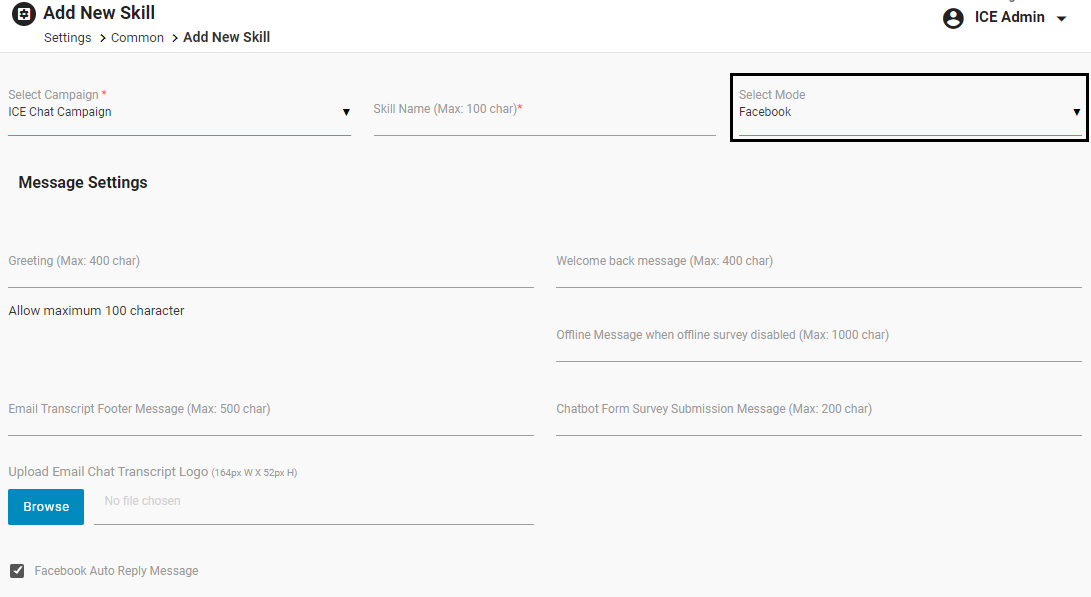
The user will be directed to the Add New Skill screen as shown below:

Make entries in the fields and select Facebook from Select Mode dropdown box. This is as shown highlighted in the screen below:
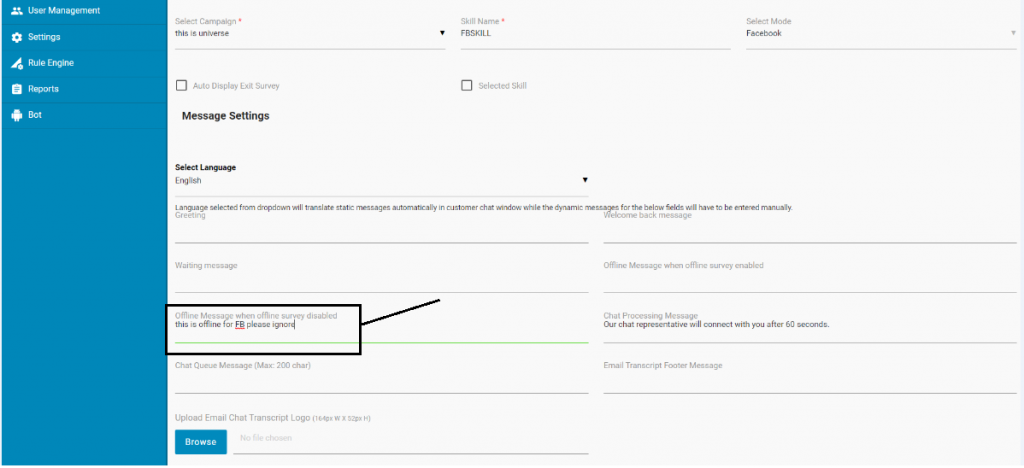
An admin can enter a custom offline message in the field as shown below-
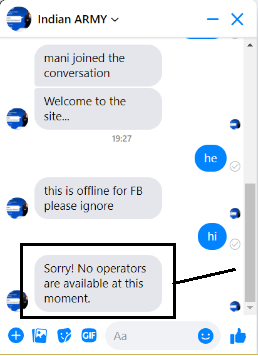
In case if an admin has not entered any custom offline message, the system will display the default offline message to visitor as- “Sorry! No operators are available at this moment.”. This is as shown in the below screen-
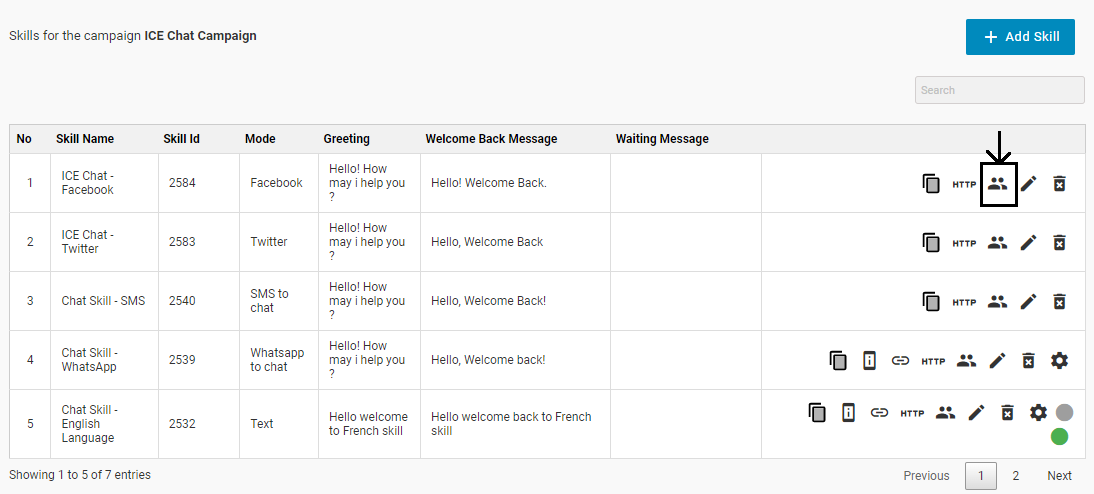
After making all the entries, click Submit button and the system will redirect to the skills grid displaying the newly created skill. This is as shown below:
Click ![]() icon to assign the skill to a particular agent like the one as shown below:
icon to assign the skill to a particular agent like the one as shown below:
The system will redirect the user to the following screen-
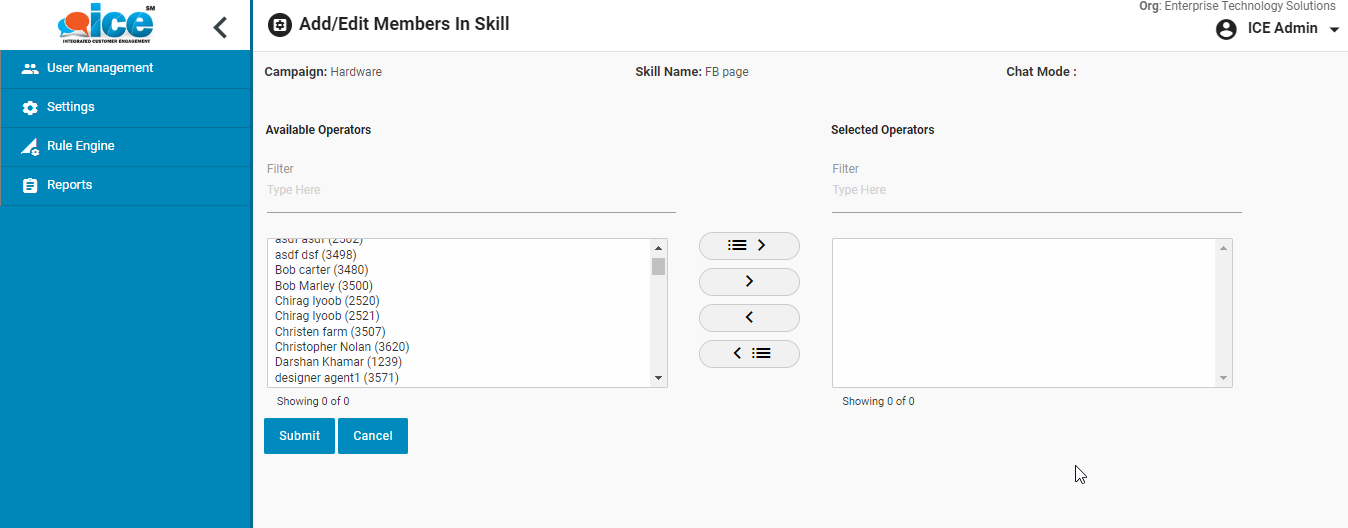
Select the operator(s) through ![]() or
or ![]() buttons and click on Submit button.
buttons and click on Submit button.
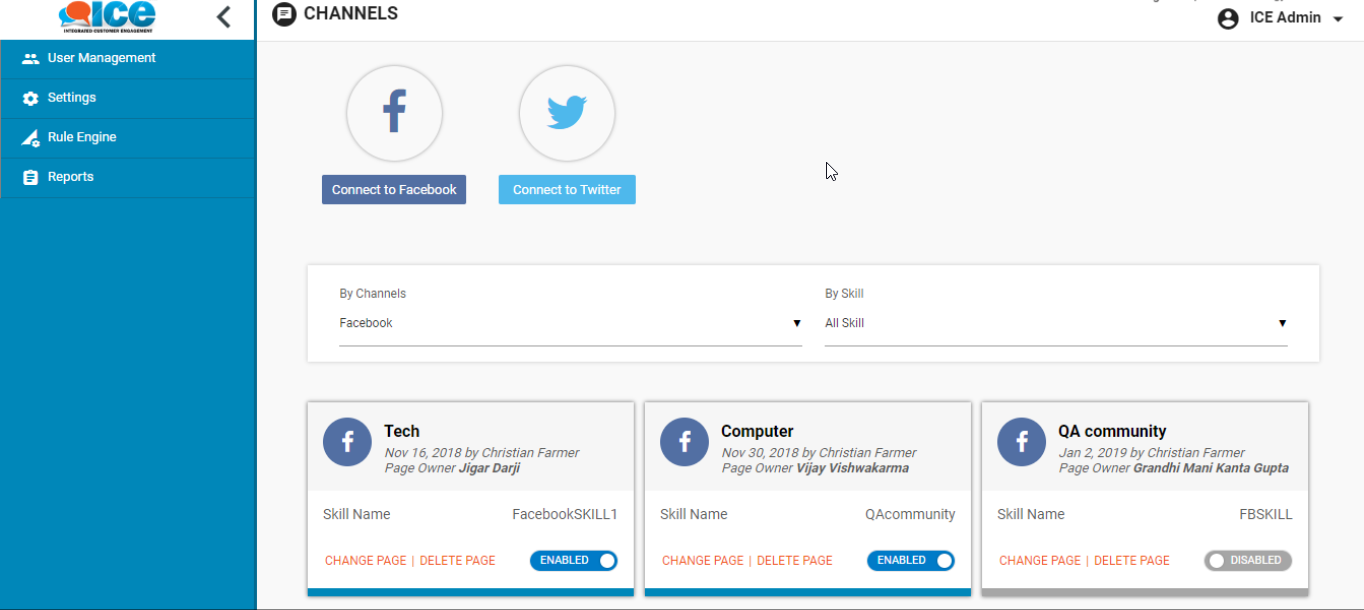
Further, click Admin > Settings > Chat > Channels to get into the below page-
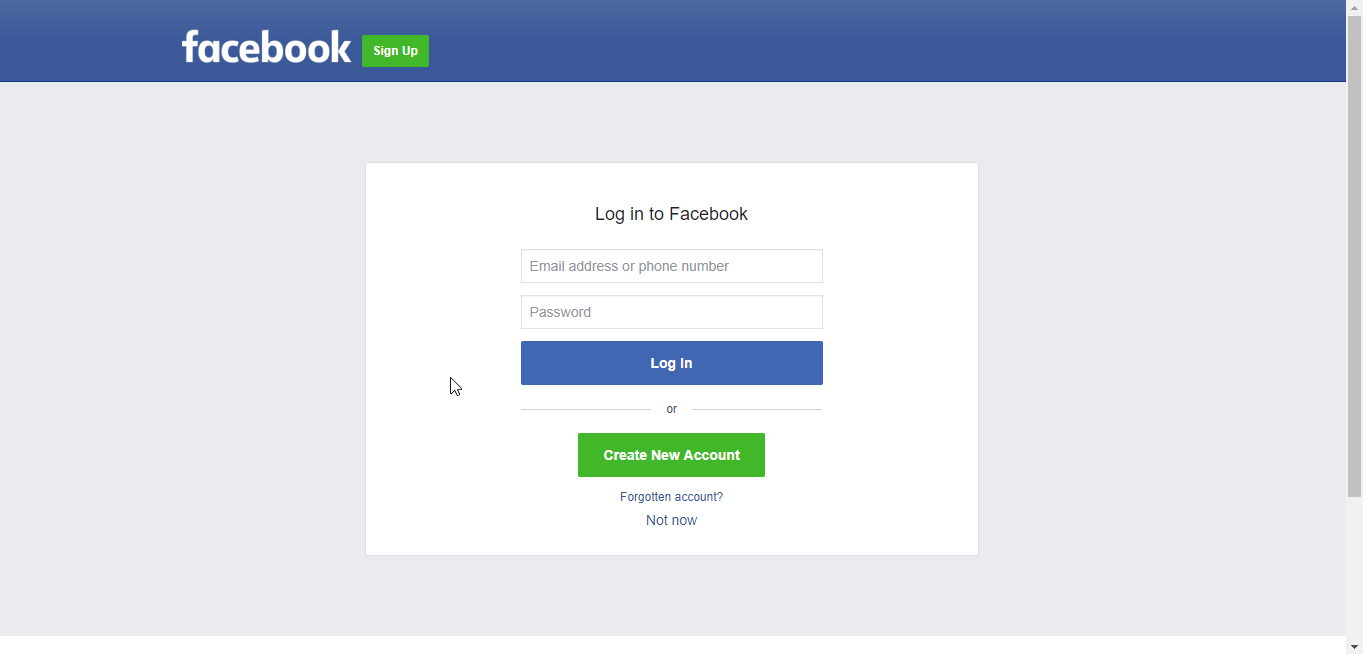
Enter the credentials into Facebook login page that opens in the next screen after clicking Facebook icon-
 The system will keep the user logged in once the credentials are entered unless cookies are cleared. Further, the system will redirect to the channel page.
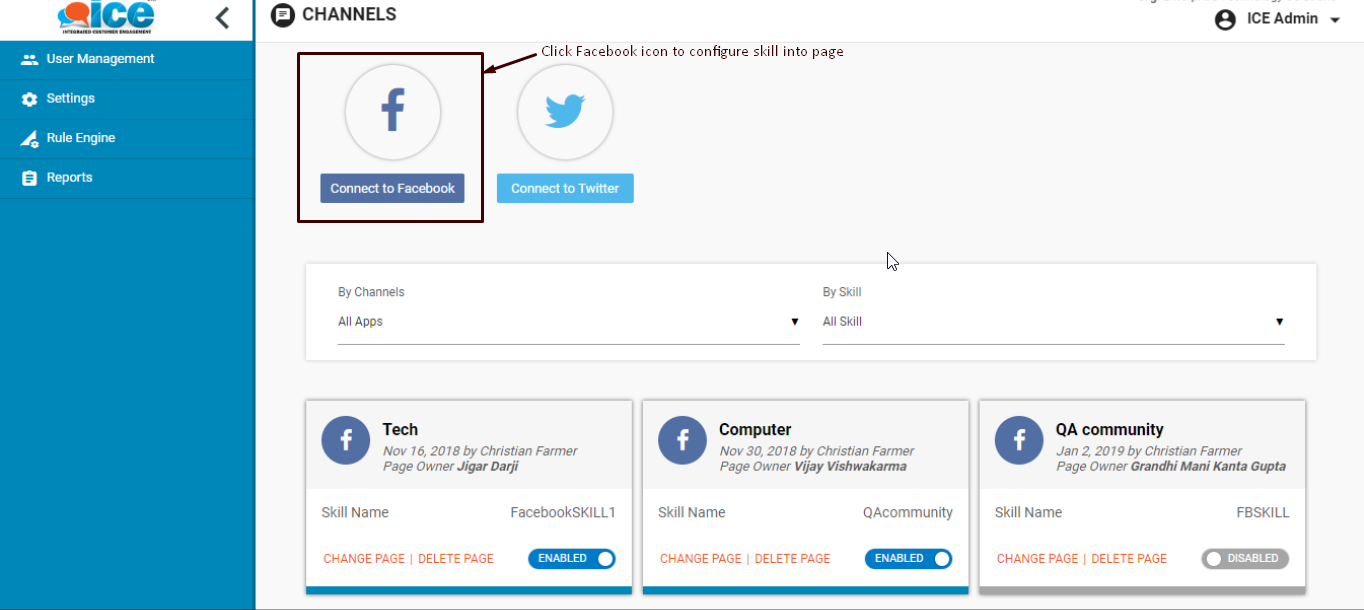
Click the Facebook icon to configure the skill to the selected page. This is as shown below-
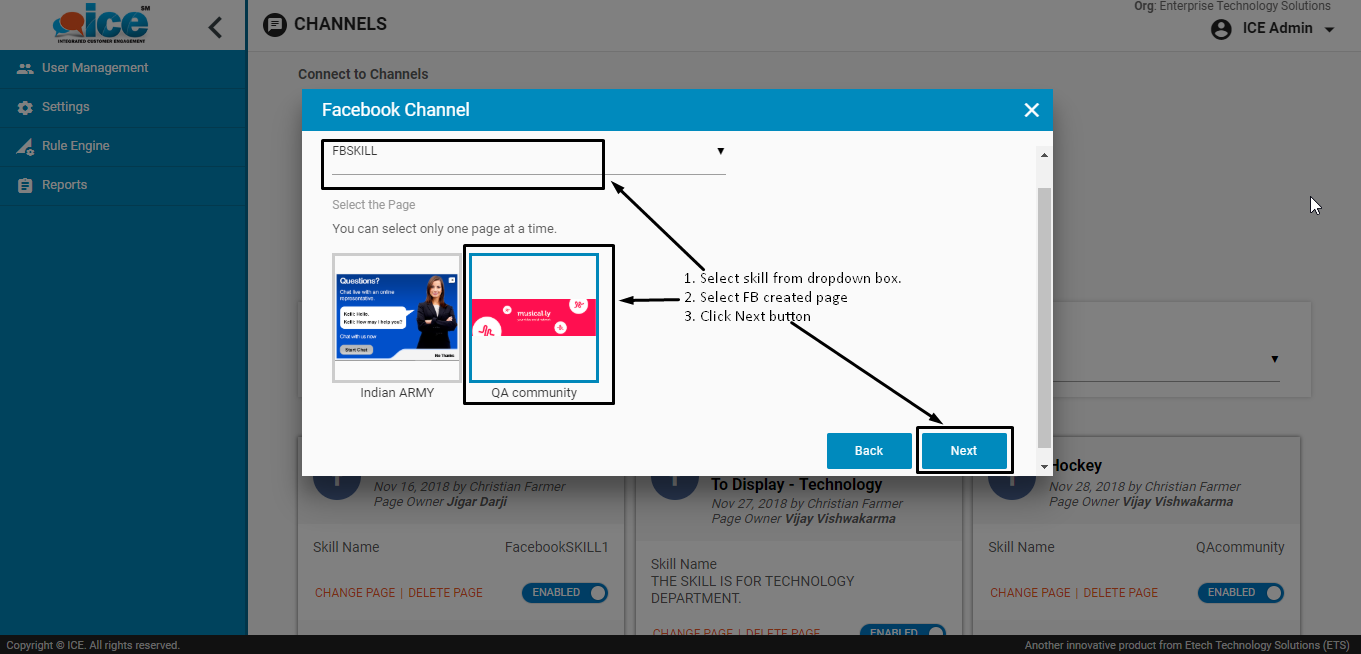
The following interface appears on the screen-
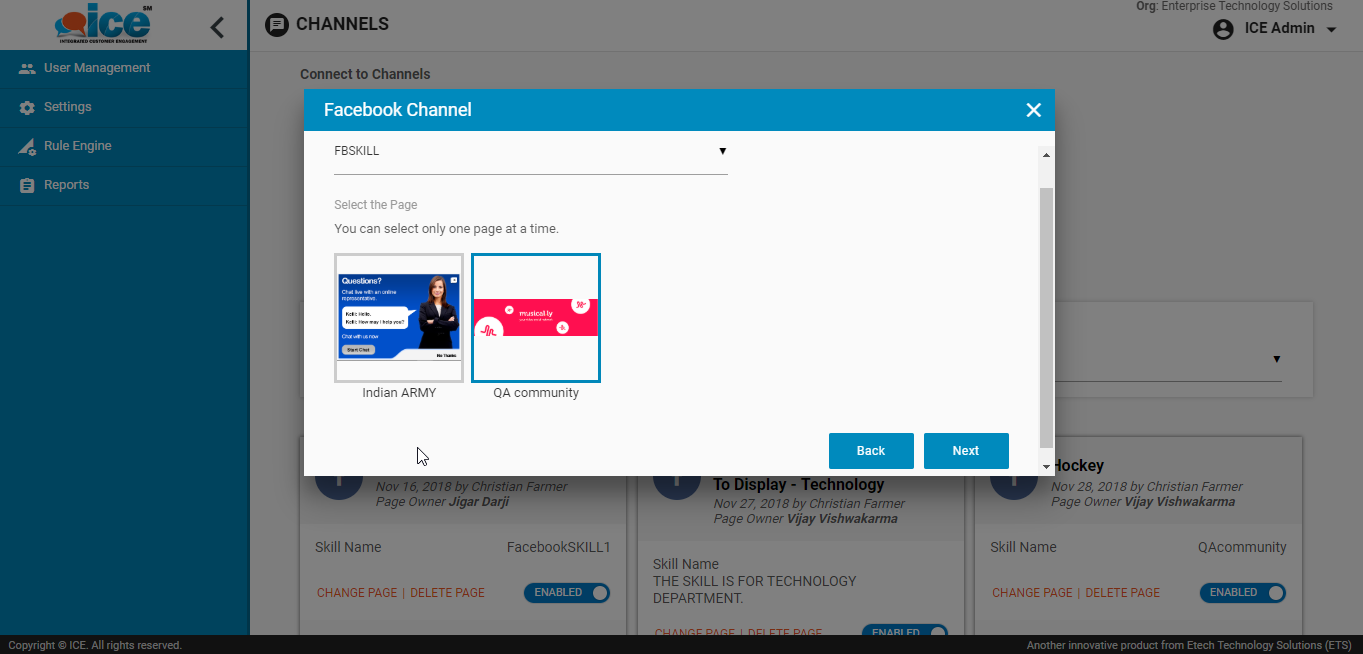
Select the skill from dropdown box thereby selecting the desired Facebook page and click Next button. This is as shown instructed in below screen-
For better results set the filter of the Channel to Facebook and the Skill to All Skill from respective dropdown boxes. This is as shown in the below screen-
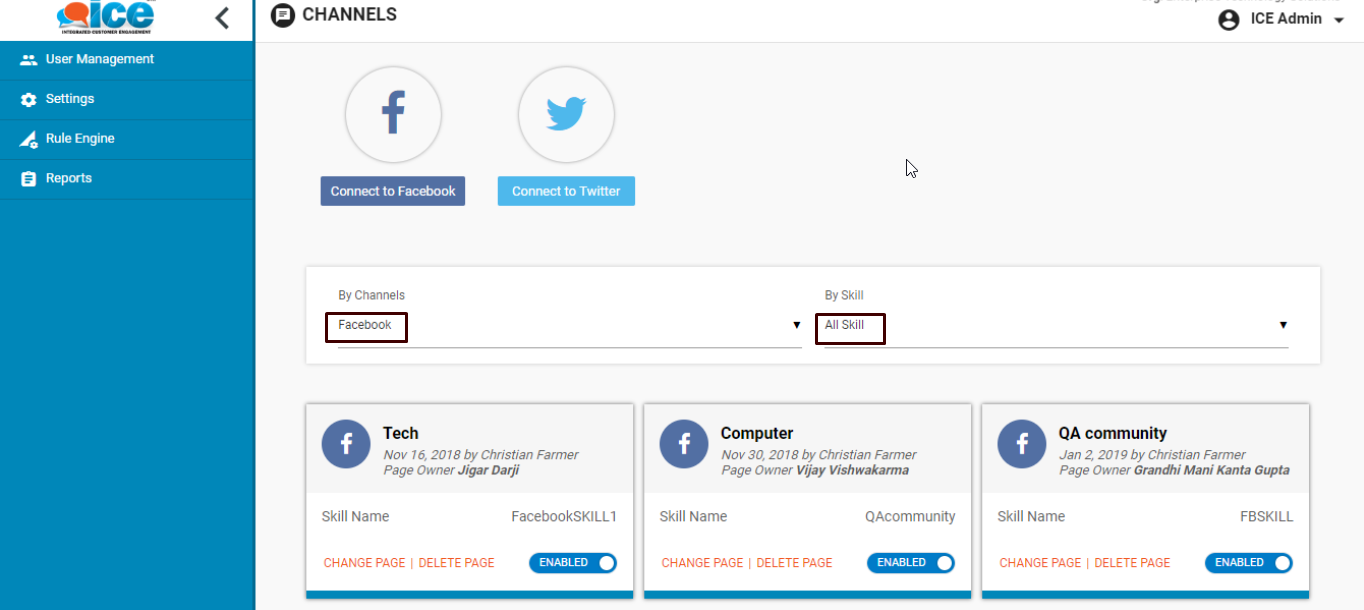
The selected page along with the skill will be displayed in the screen-
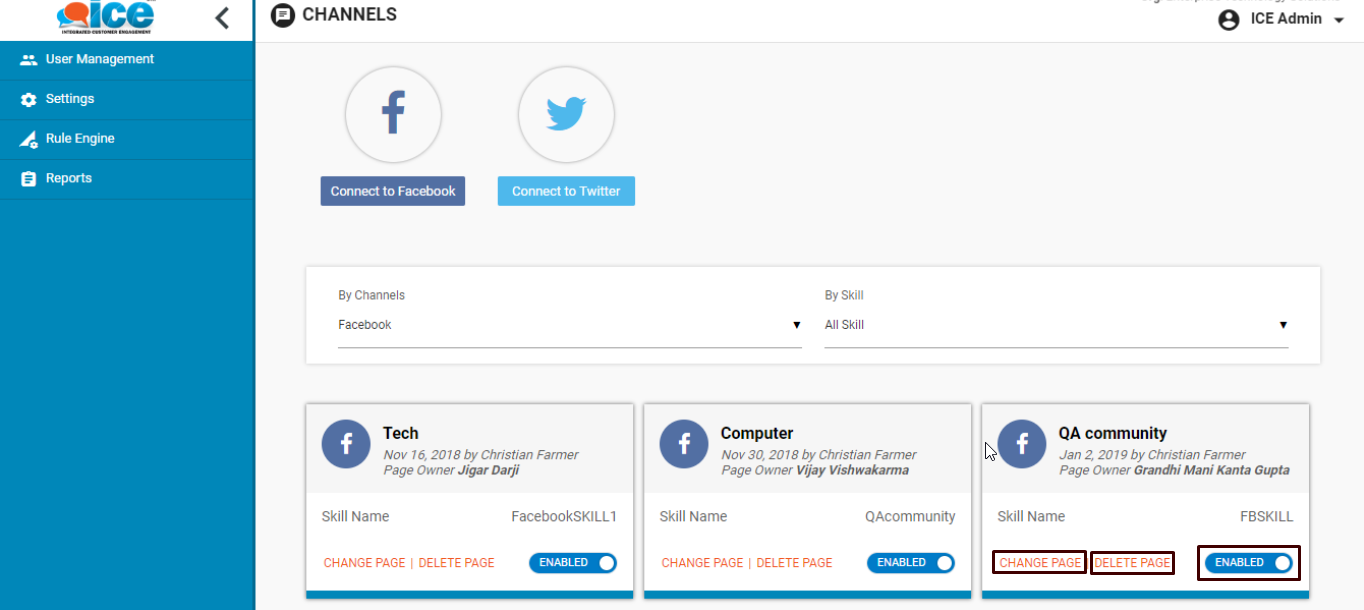
A user can delete, change or enable/disable the page through provided buttons as shown in the above screen.
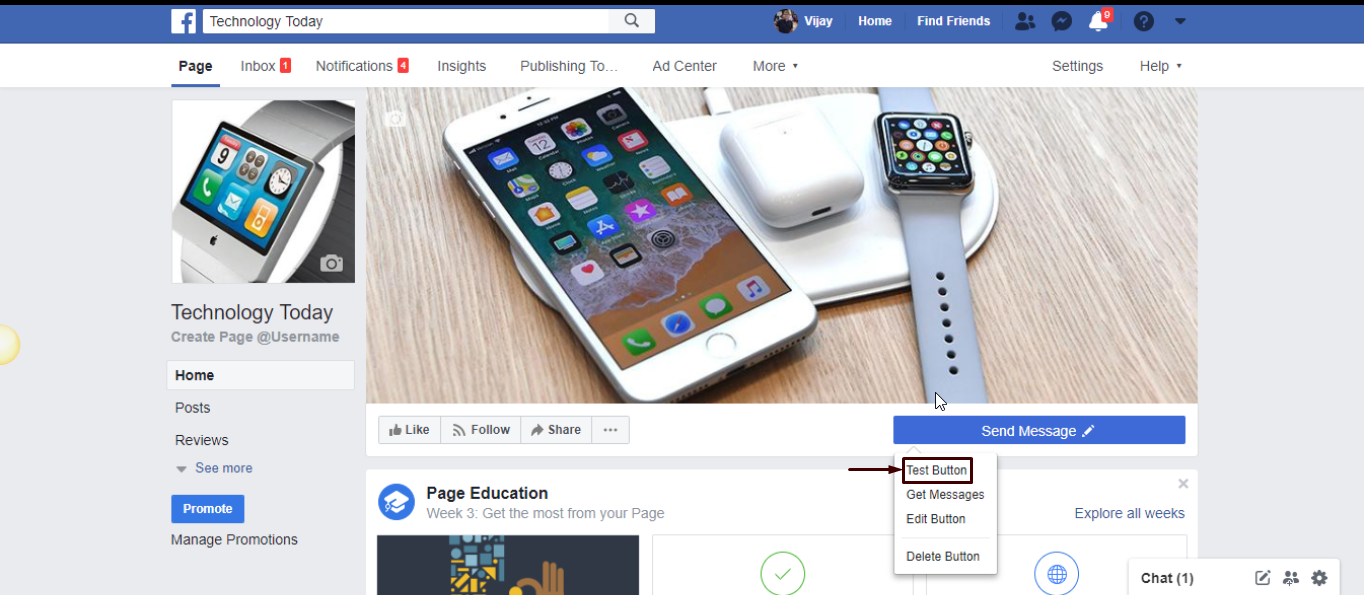
To initiate the chat, click Send Message button and click Test Button as shown in the screen below-
This will generate a chat interface on the screen as shown below-
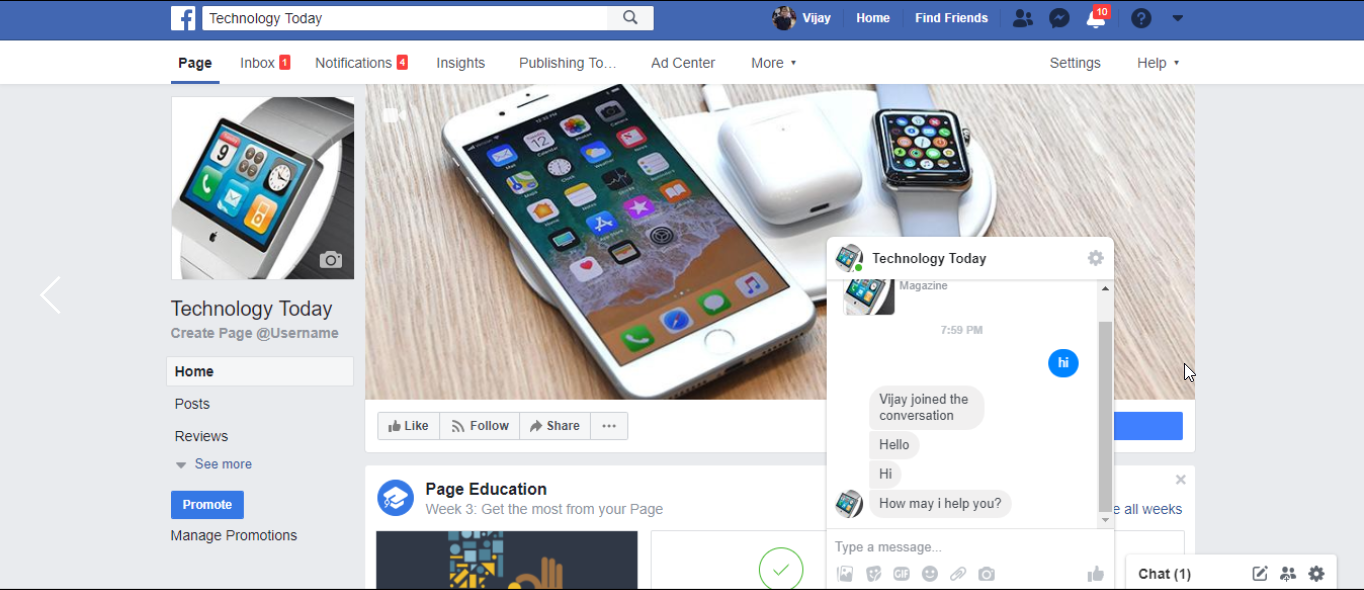
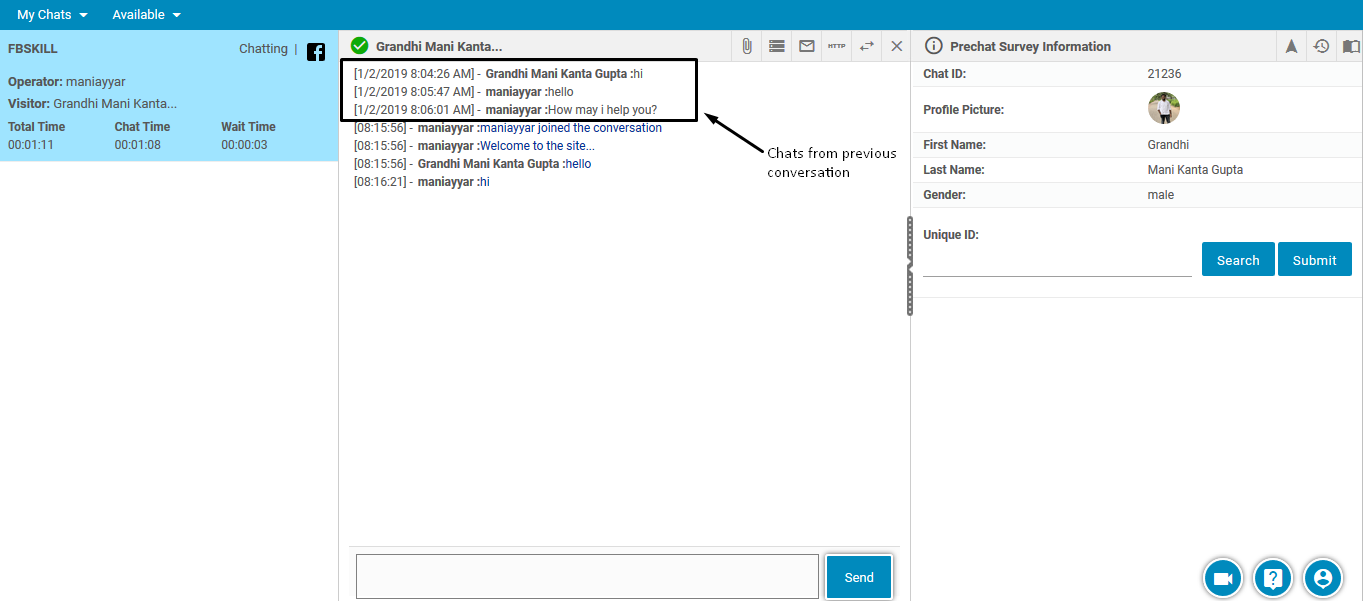
The agent will receive a chat message on the console like the one as shown below-
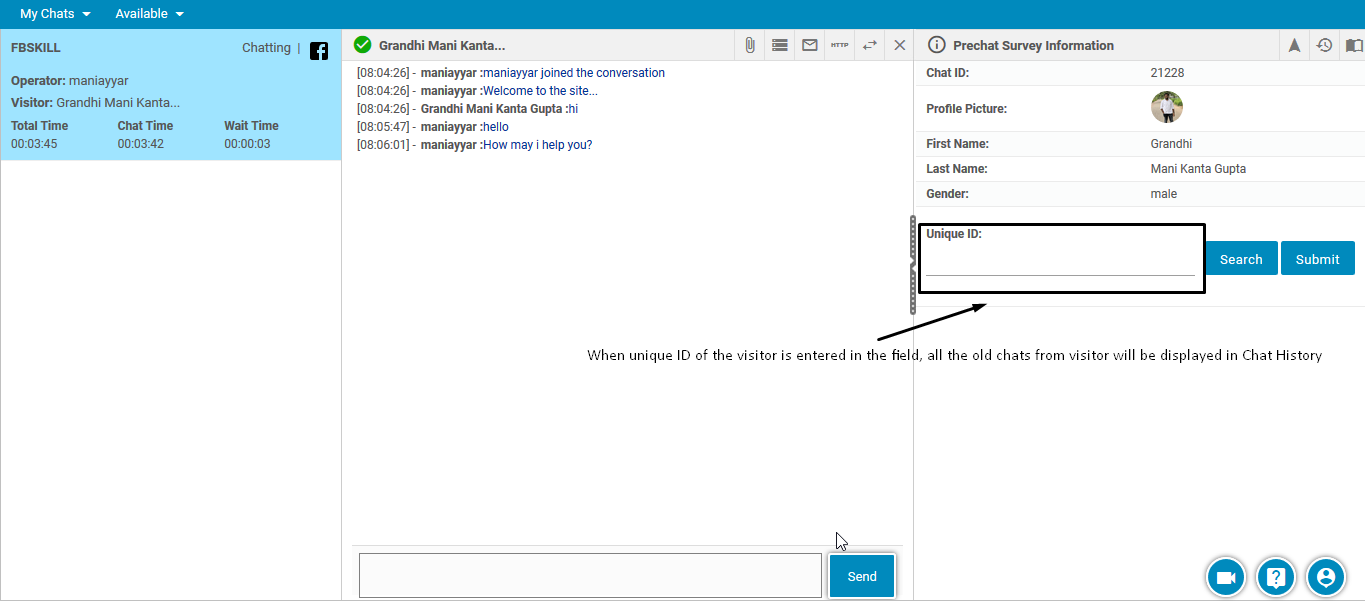
The console also includes a Unique ID field, which when entered with an ID, displays all the previous chats of the connected visitor in chat history. 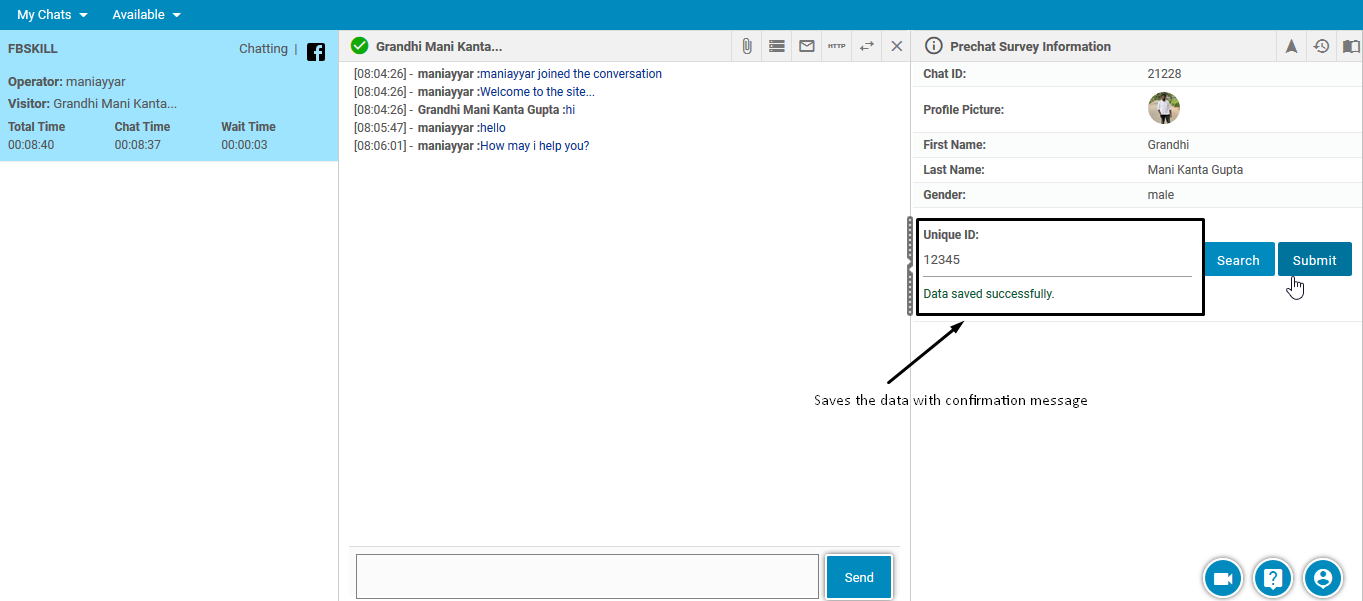
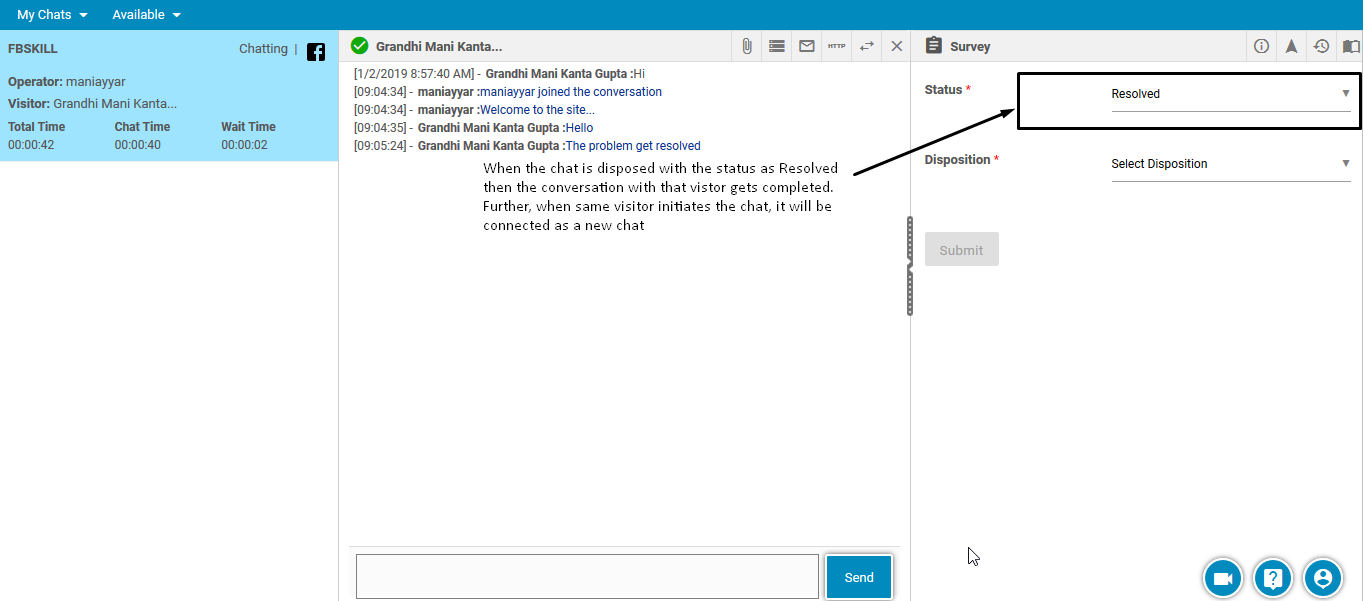
An agent can dispose the chat setting the status as In Progress. This is as shown below-
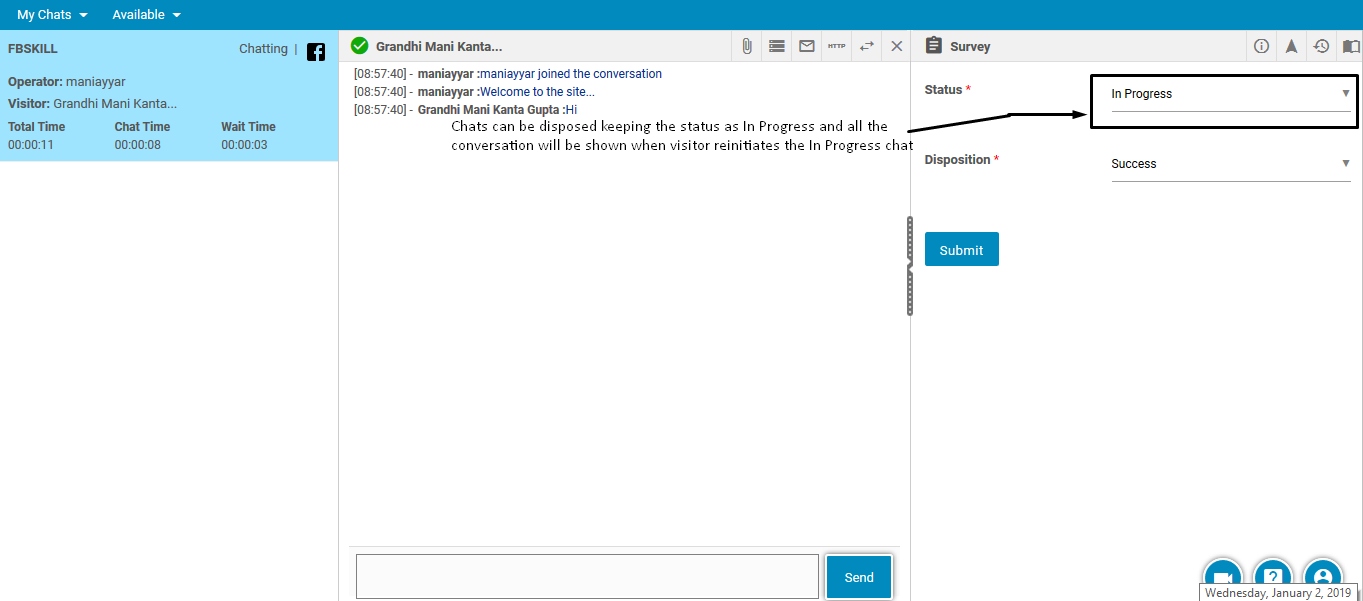
This will keep the conversation in progress whenever the user re-initiates the chat. This helps the newly connected agent to view the older conversations of the customer with previous agent.
The below screen shows the process when the chat is disposed with the status set to Resolved–